Classic Series Vacuums Low Voltage Control Panel Test and Repair
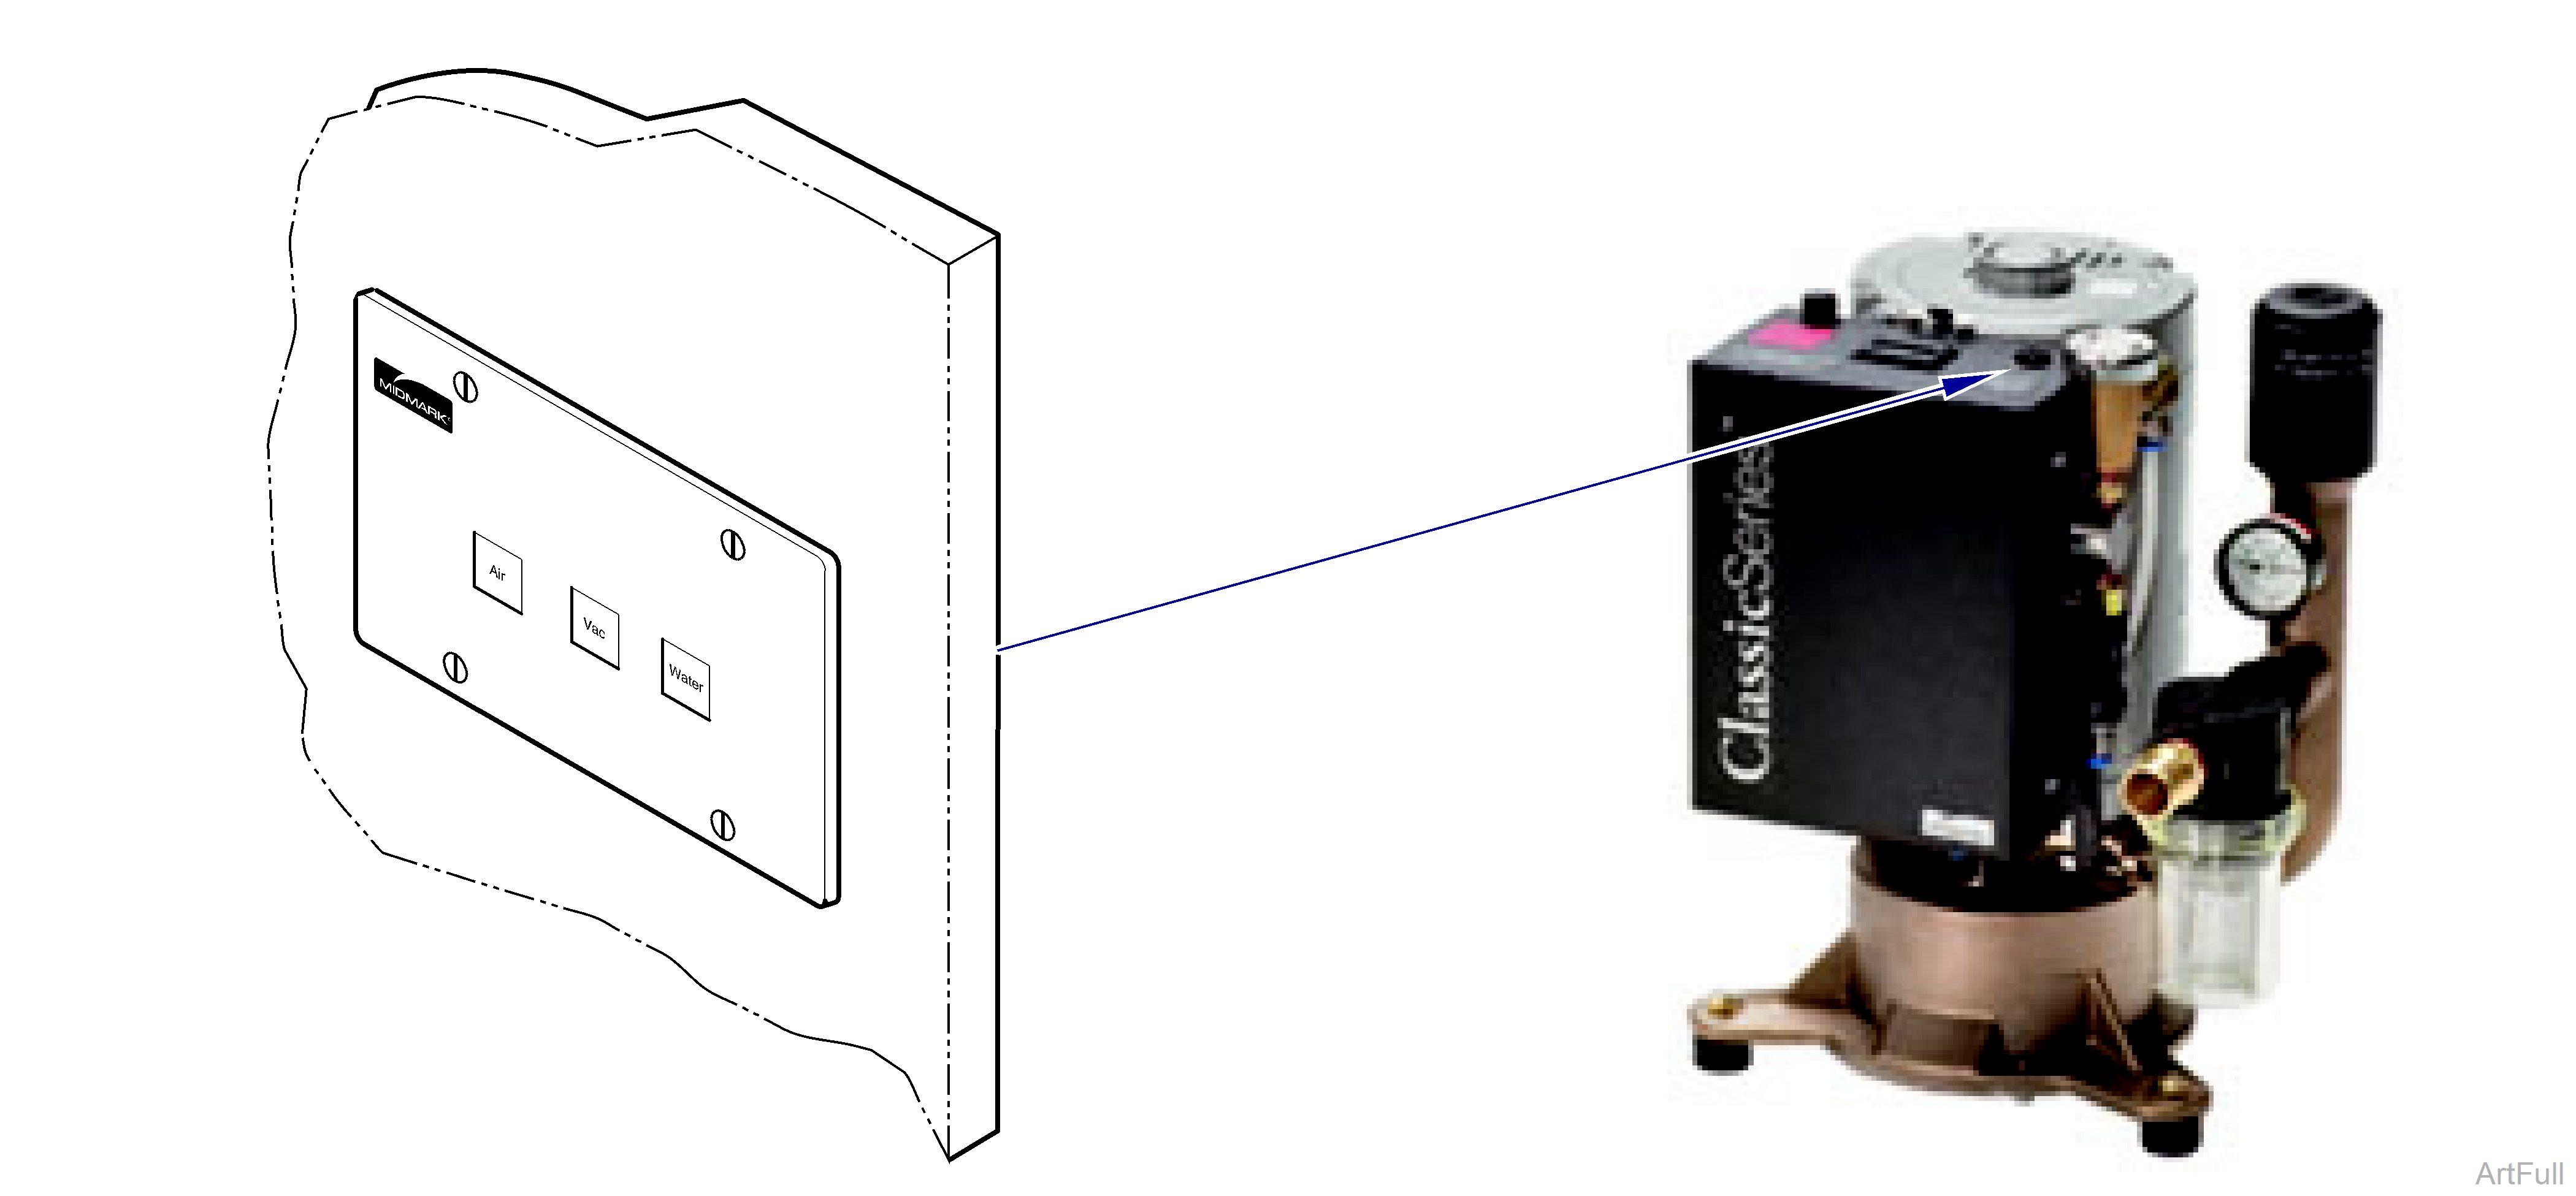
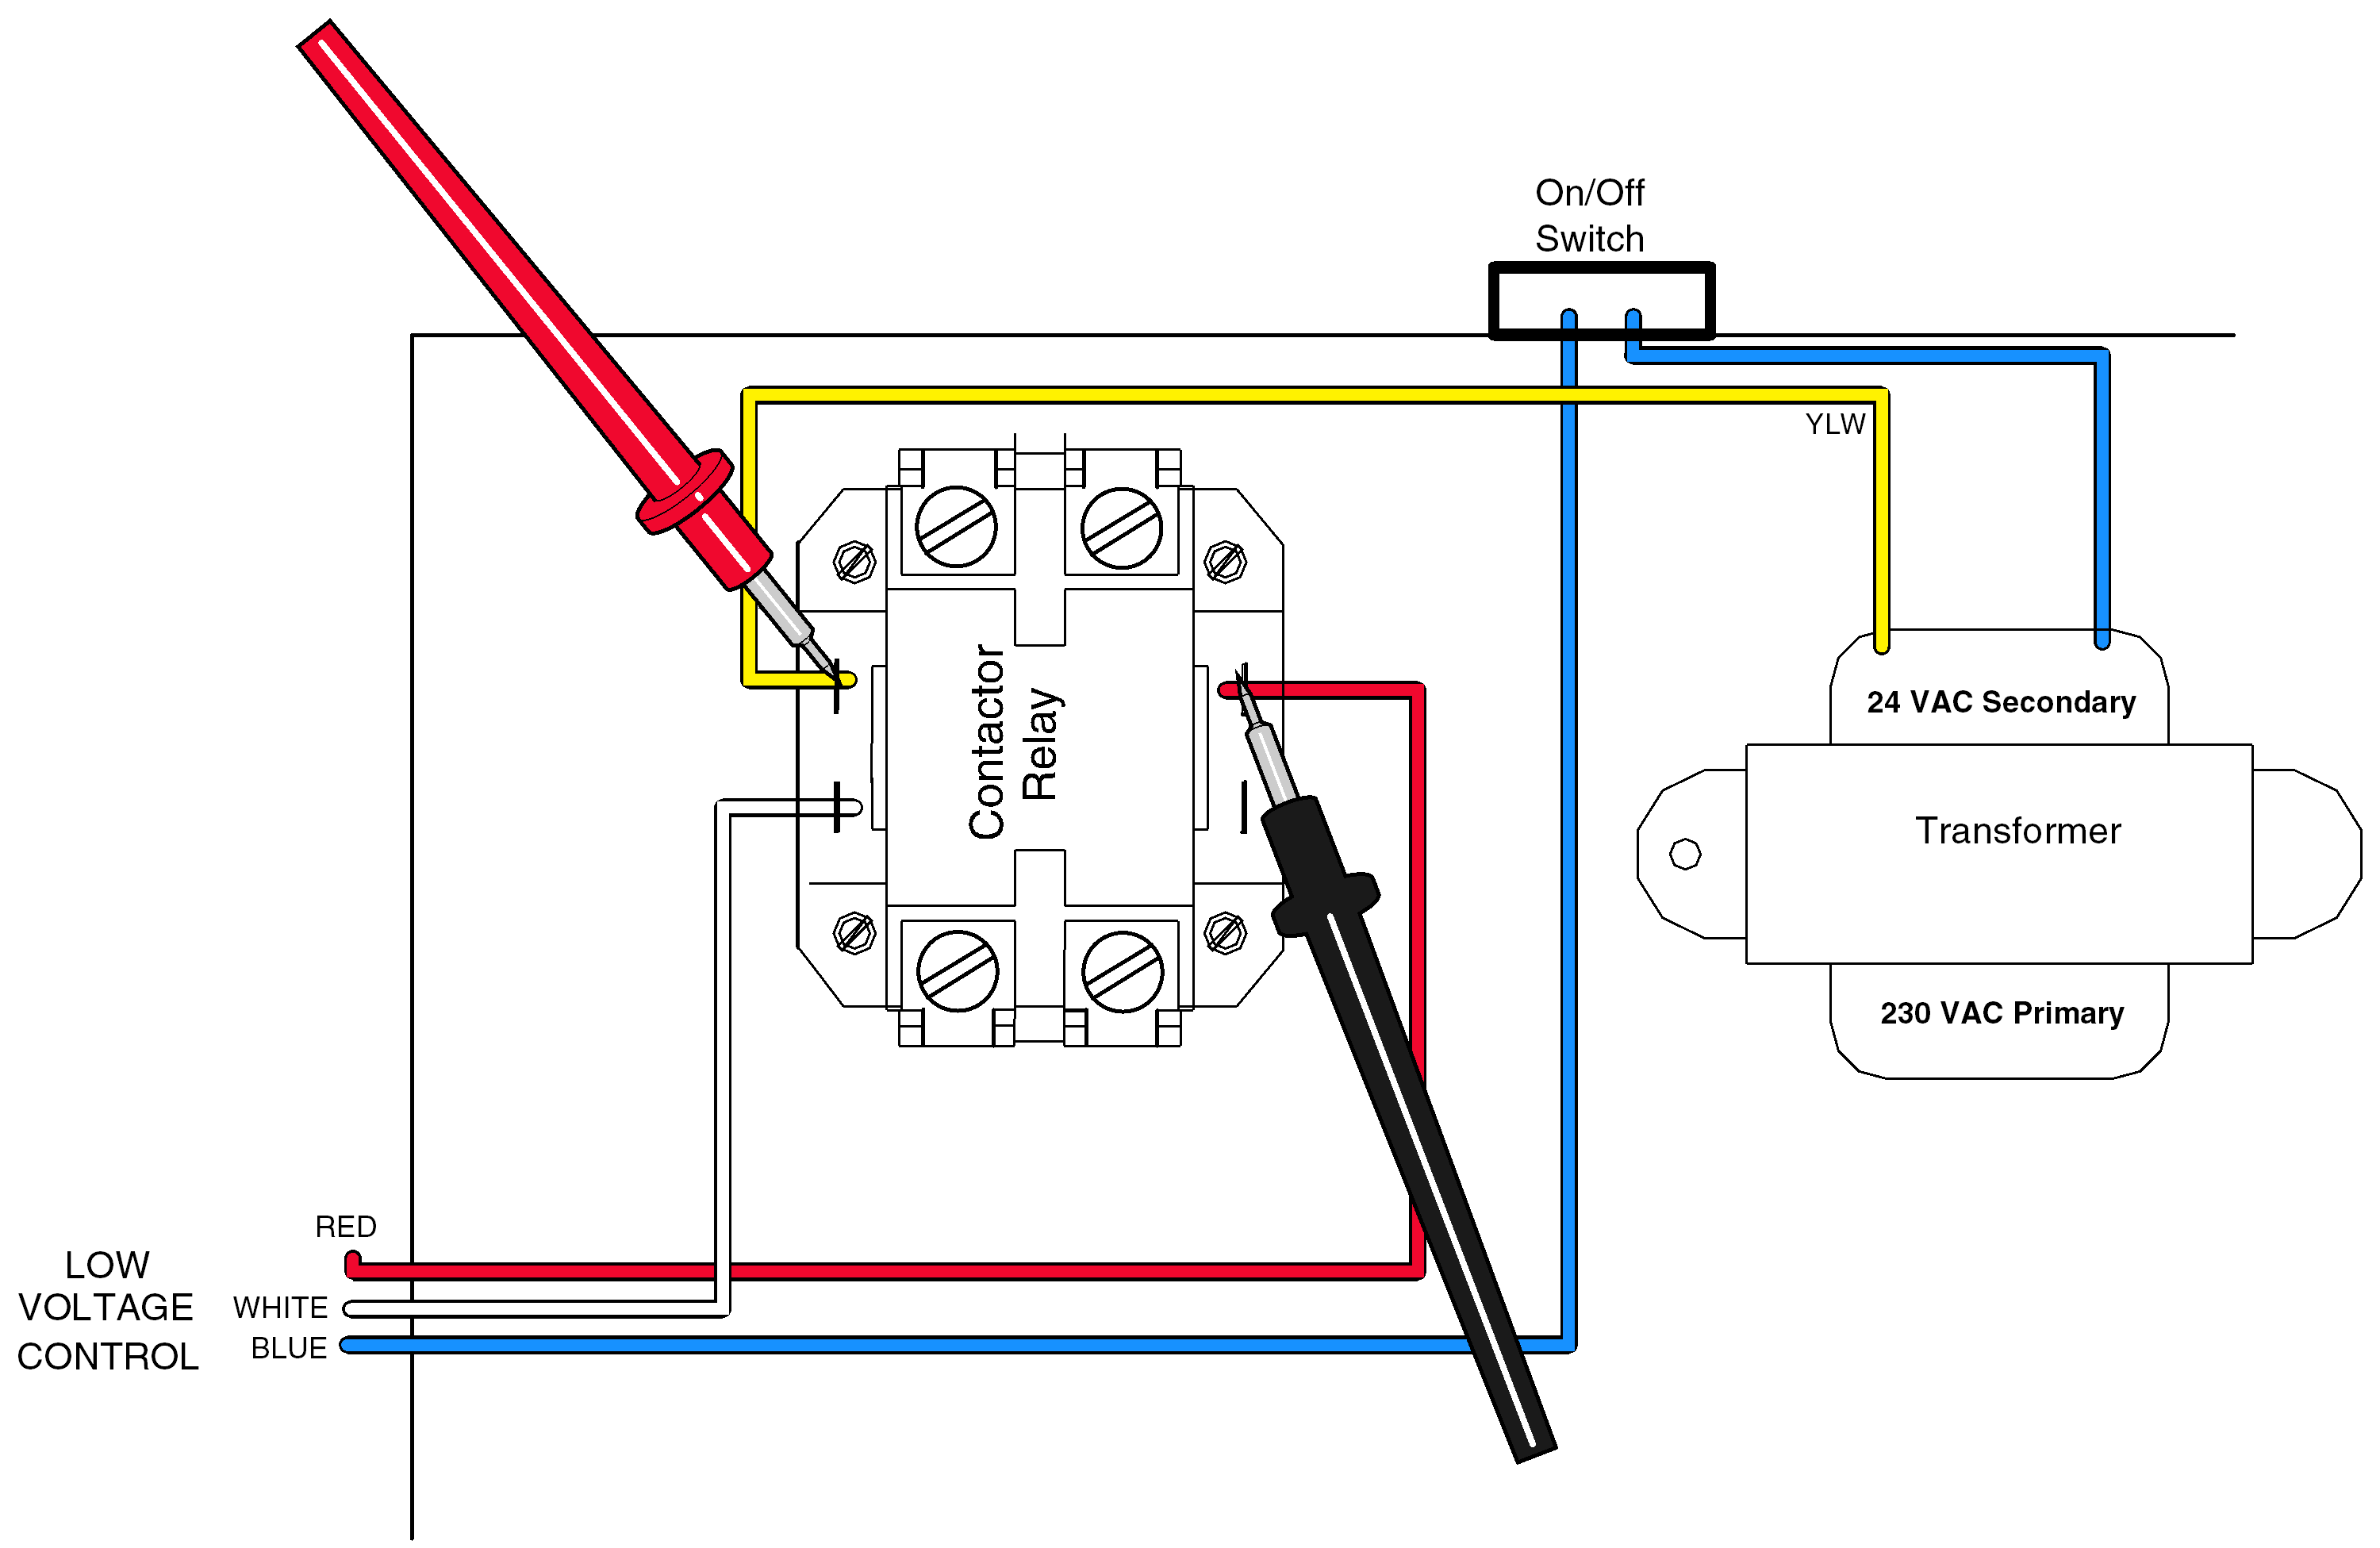
The Control Panel will allow the user to control the dental equipment from the office area. It supplies power to the relay switch. Red, White, and Blue wire connections for control panel are located on top of Single models and side of Twin models electrical boxes.
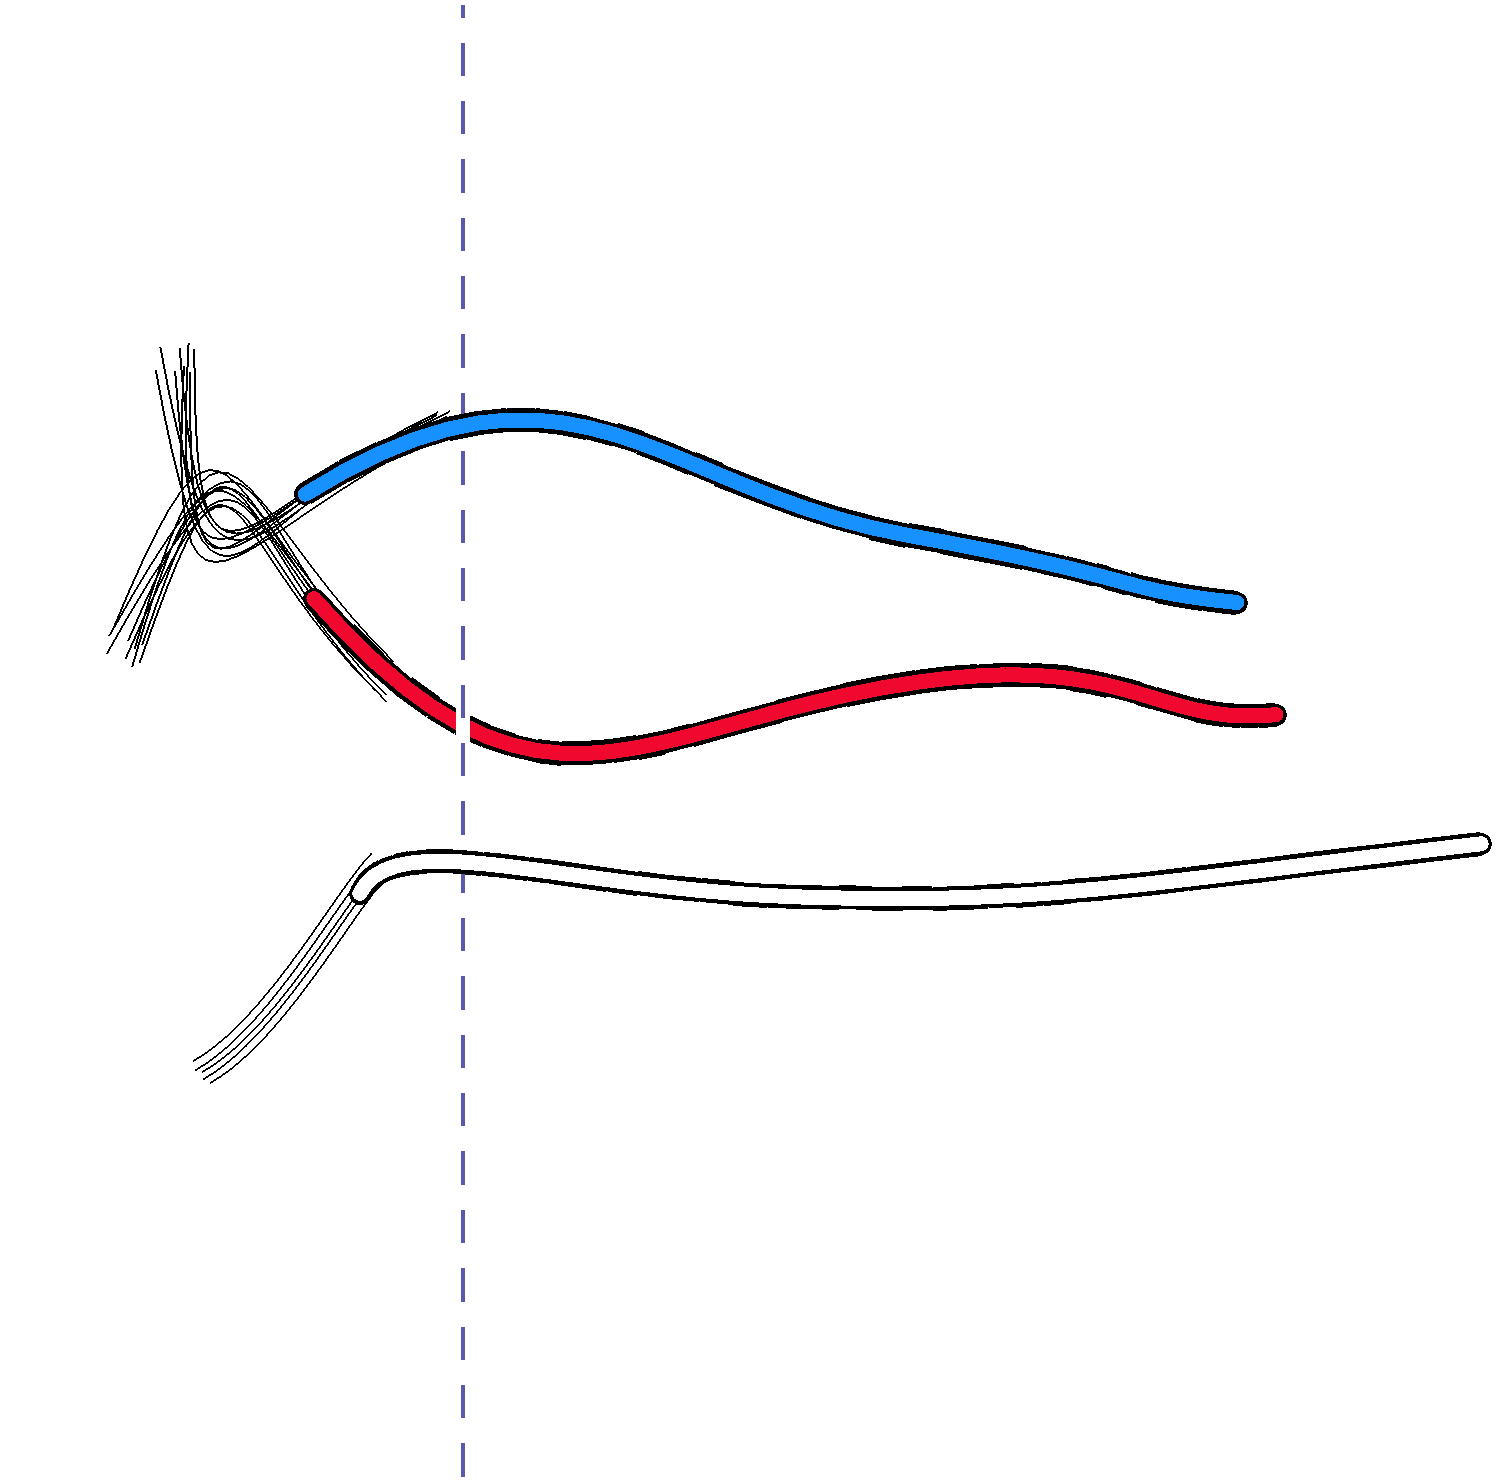
Relay Switch is always live unless Low Voltage is turned off.
Low Voltage - Control Panel Testing
When testing components with power on, use care to prevent electrical shock.
1.Remove electrical box cover. Check for broken or loose wiring. Refer to: Electrical Box Cover
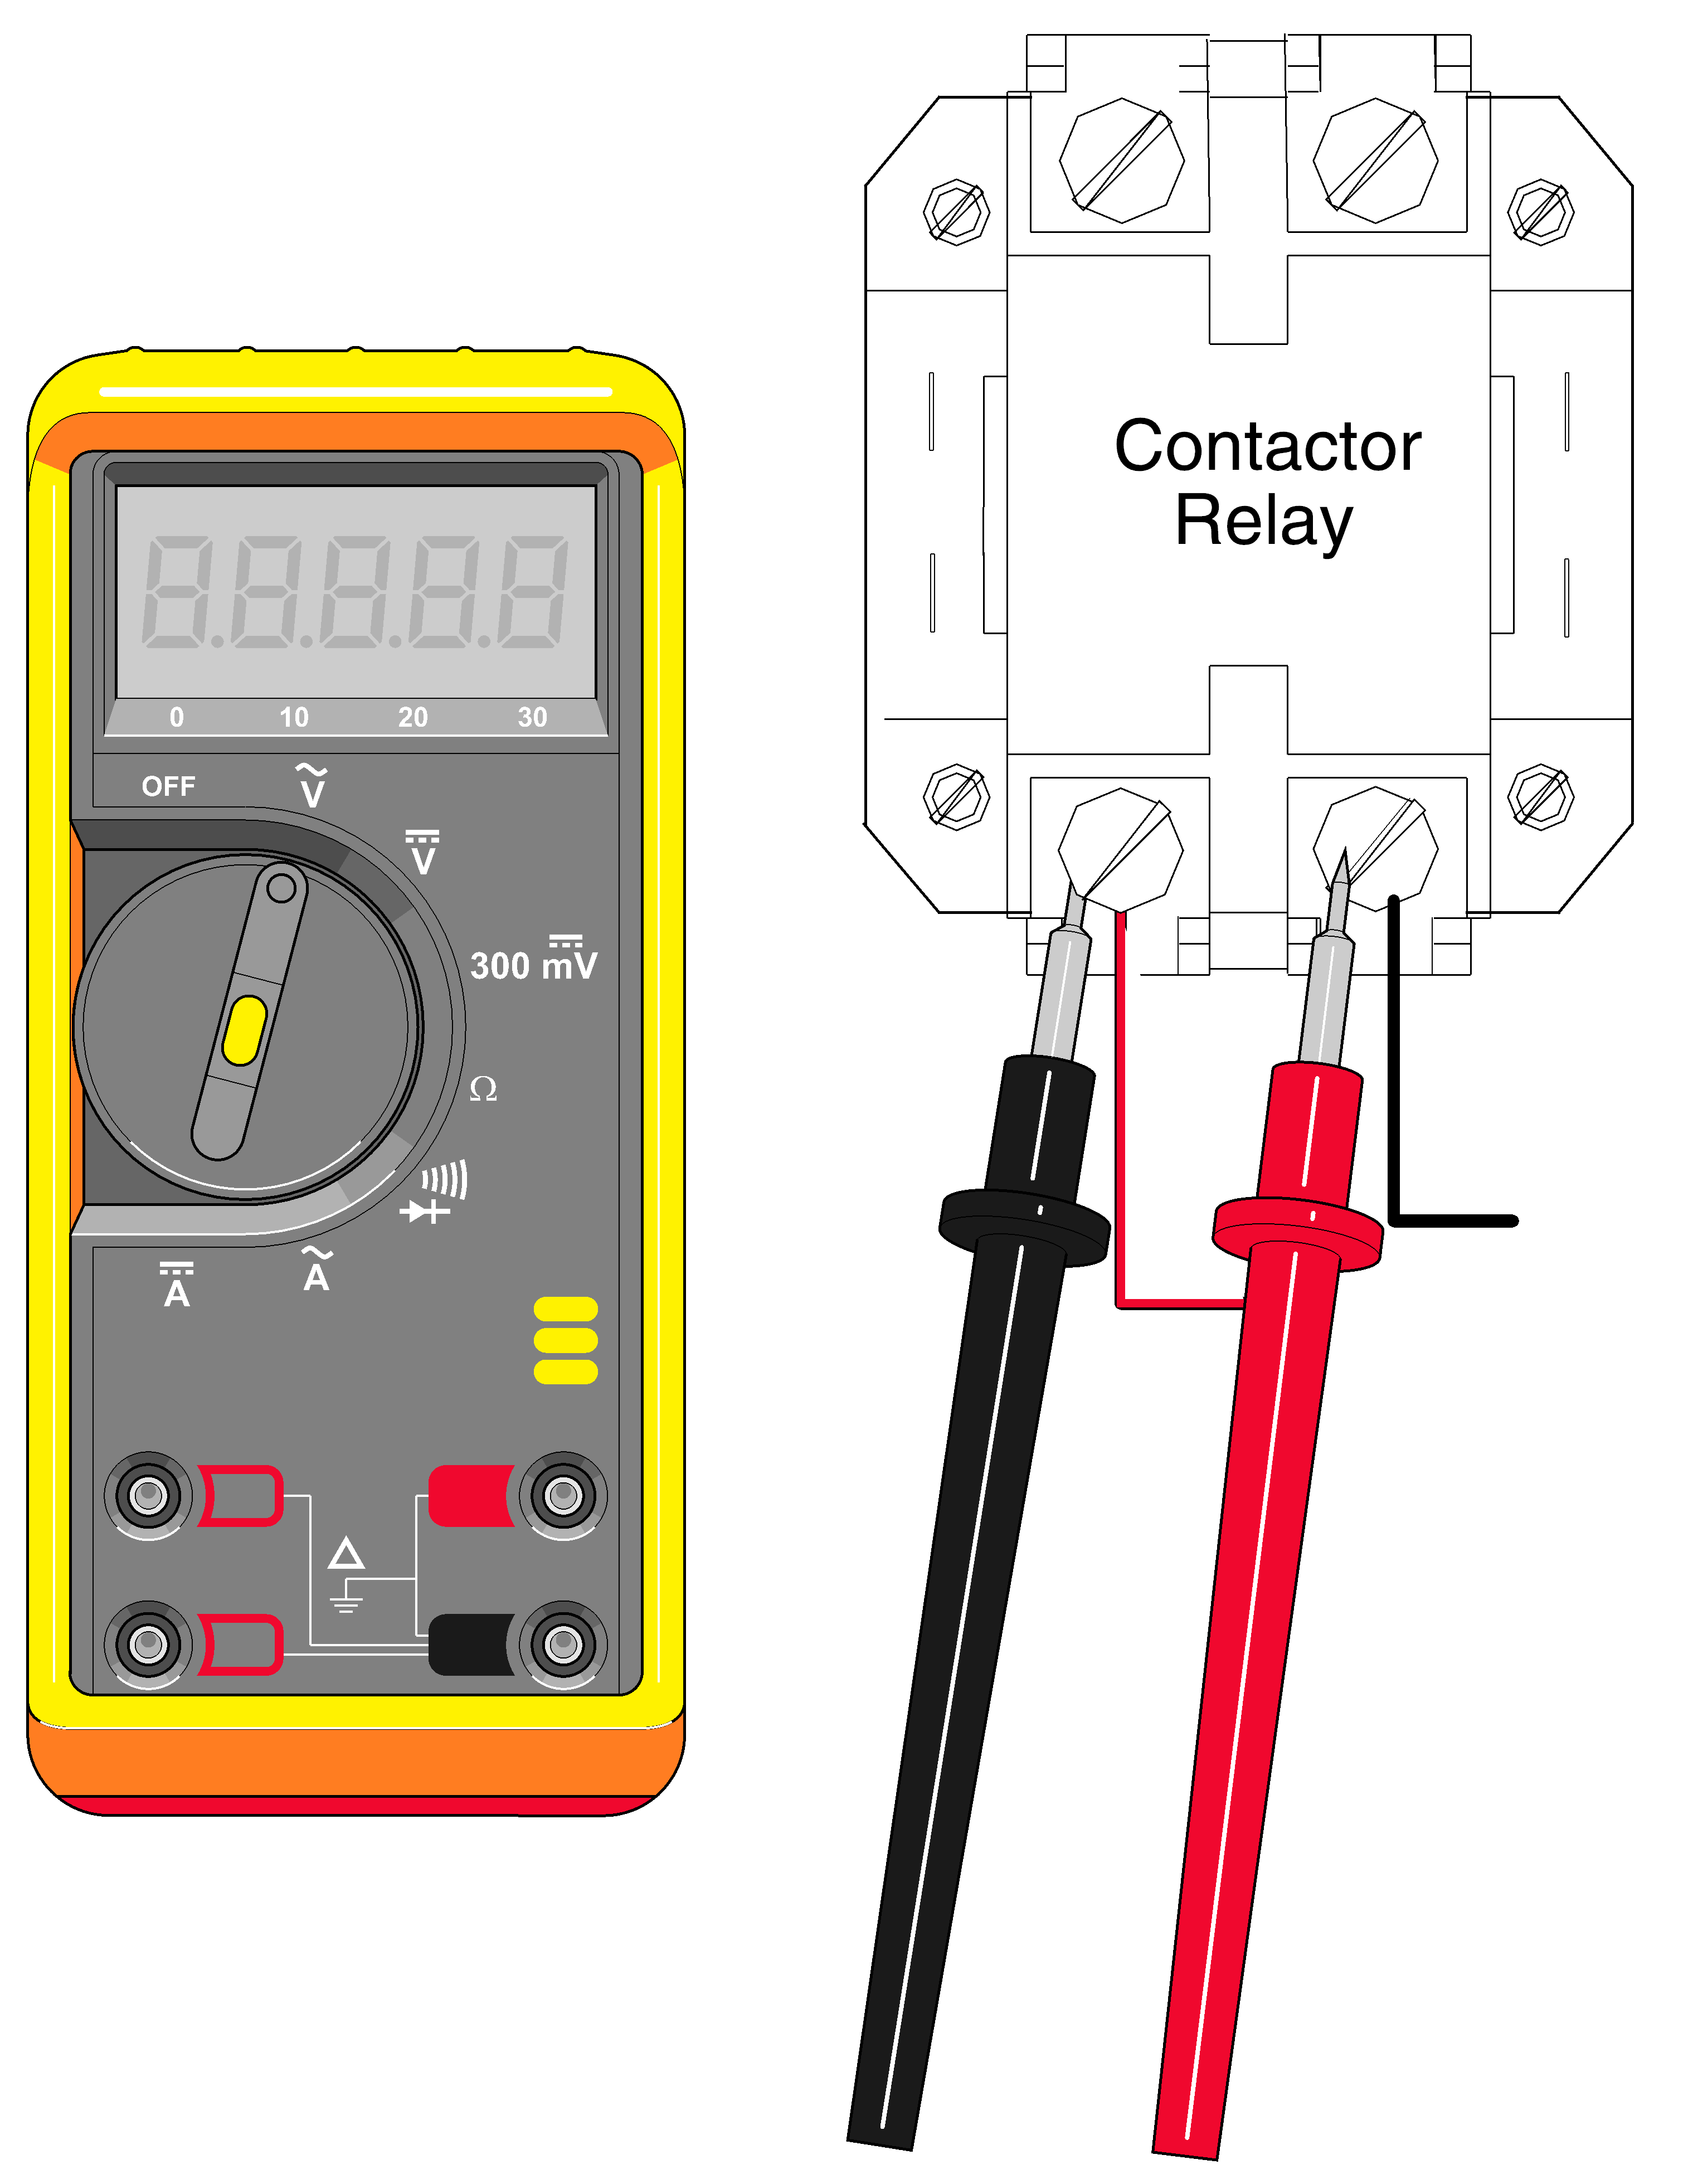
2.Check high voltage on contactor relay. Set meter to V. Place meter probes on front, red and black wires. Verify reading is 230 volts.
3.Check Low Voltage. Place meter probes on Yellow and Red wires (low voltage) at Contactor connections. Verify reading is 24 volts.
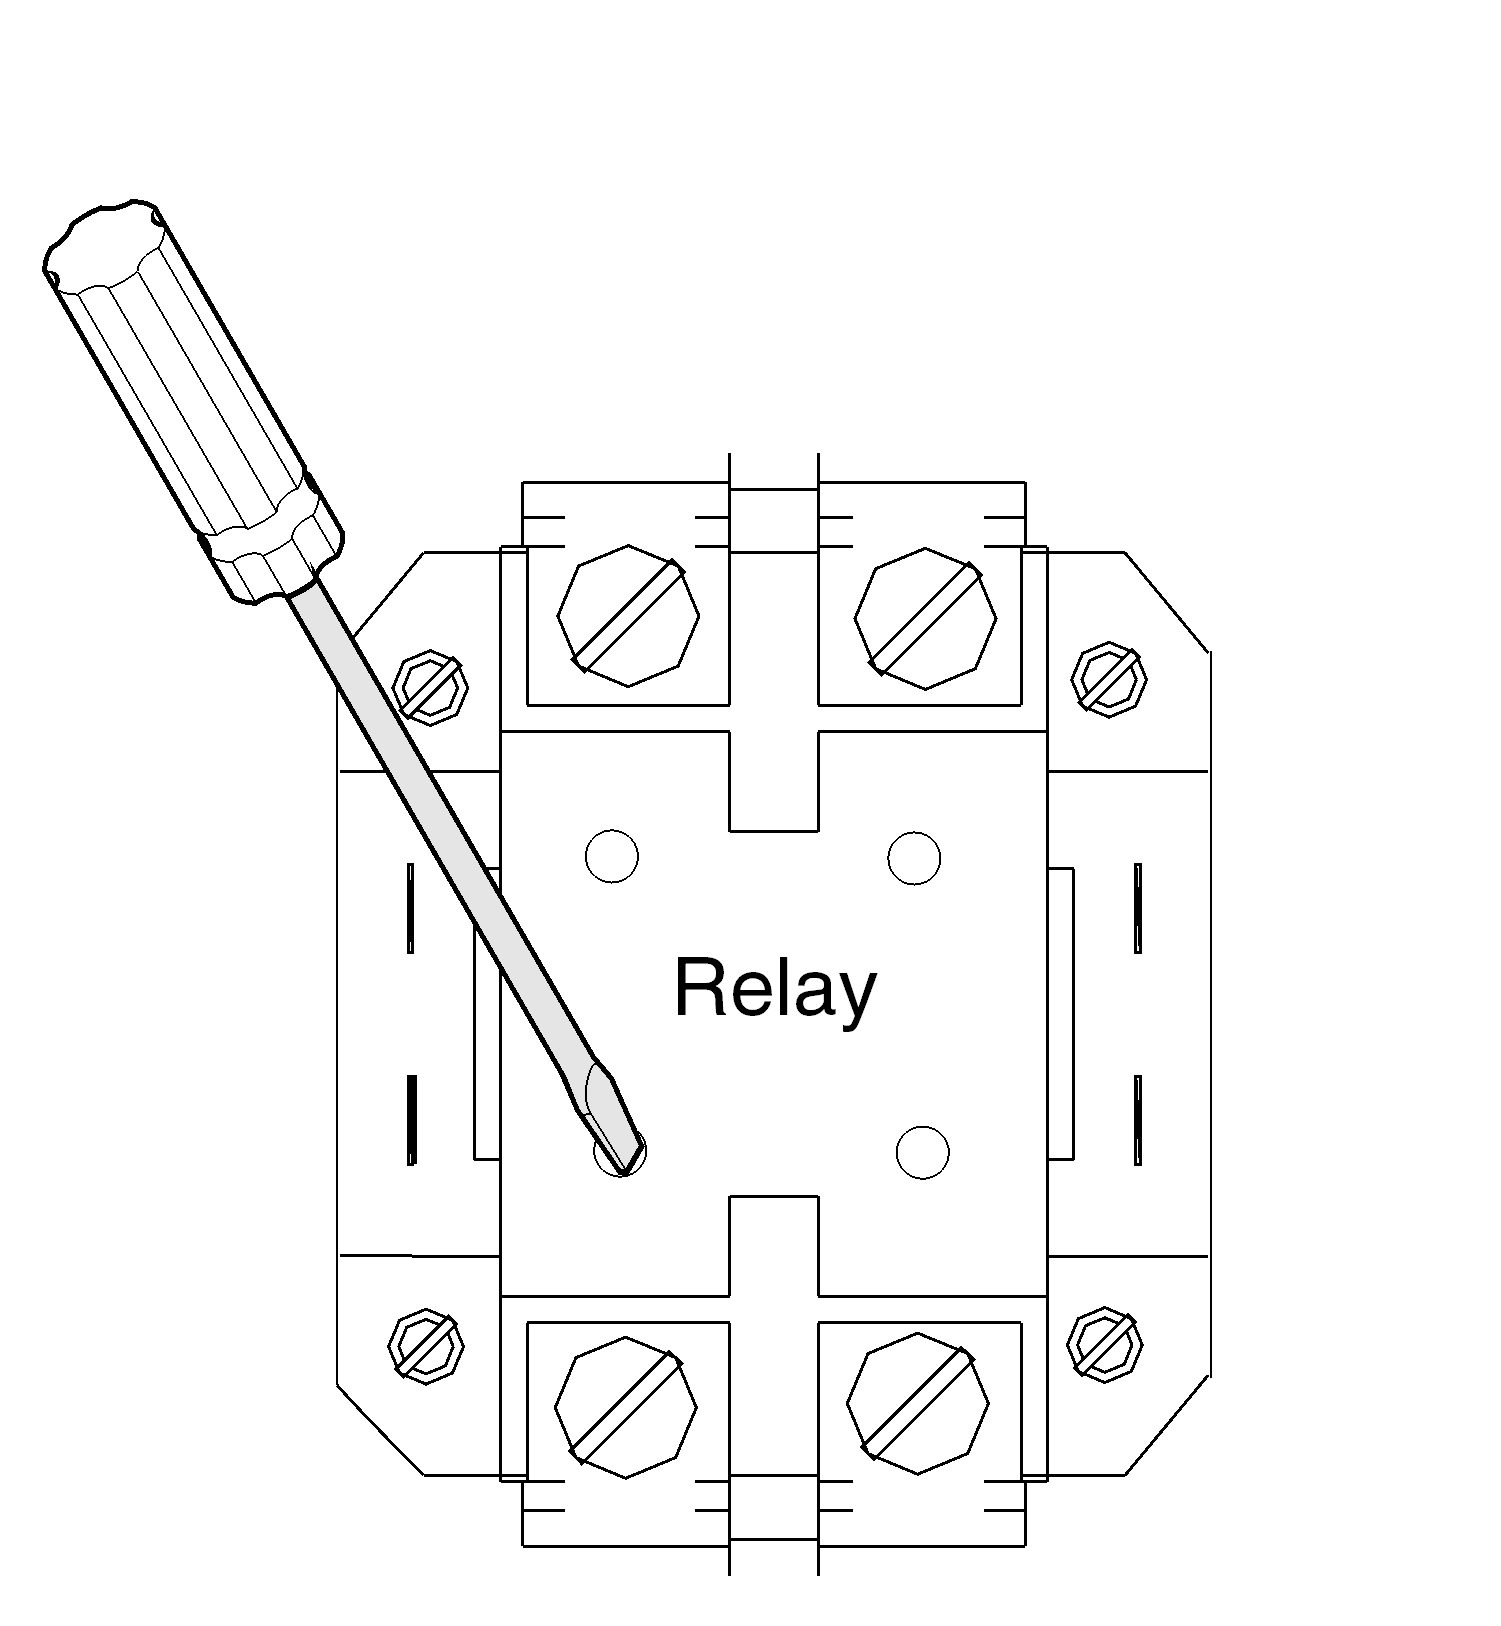
4.Insert screwdriver into relay to start manually. If system starts, replace contactor relay.
5.Bypass the remote switch to verify it is not defective. Disconnect the Red, White, and Blue wires from the remote switch. Connect the Blue and Red wires together.
| Meter Reading | Status | Required Action |
|---|---|---|
| High Voltage ≤ Line Voltage |

|
Replace Contactor Relay |
| Low Voltage ≤ 24 Volts |
|
Replace Transformer |
| High Voltage = Line Voltage |

|
Contactor Relay OK |
| Low Voltage = 24 Volts |
|
Transformer OK |
