Classic Series Vacuums Contactor Relay Test and Repair
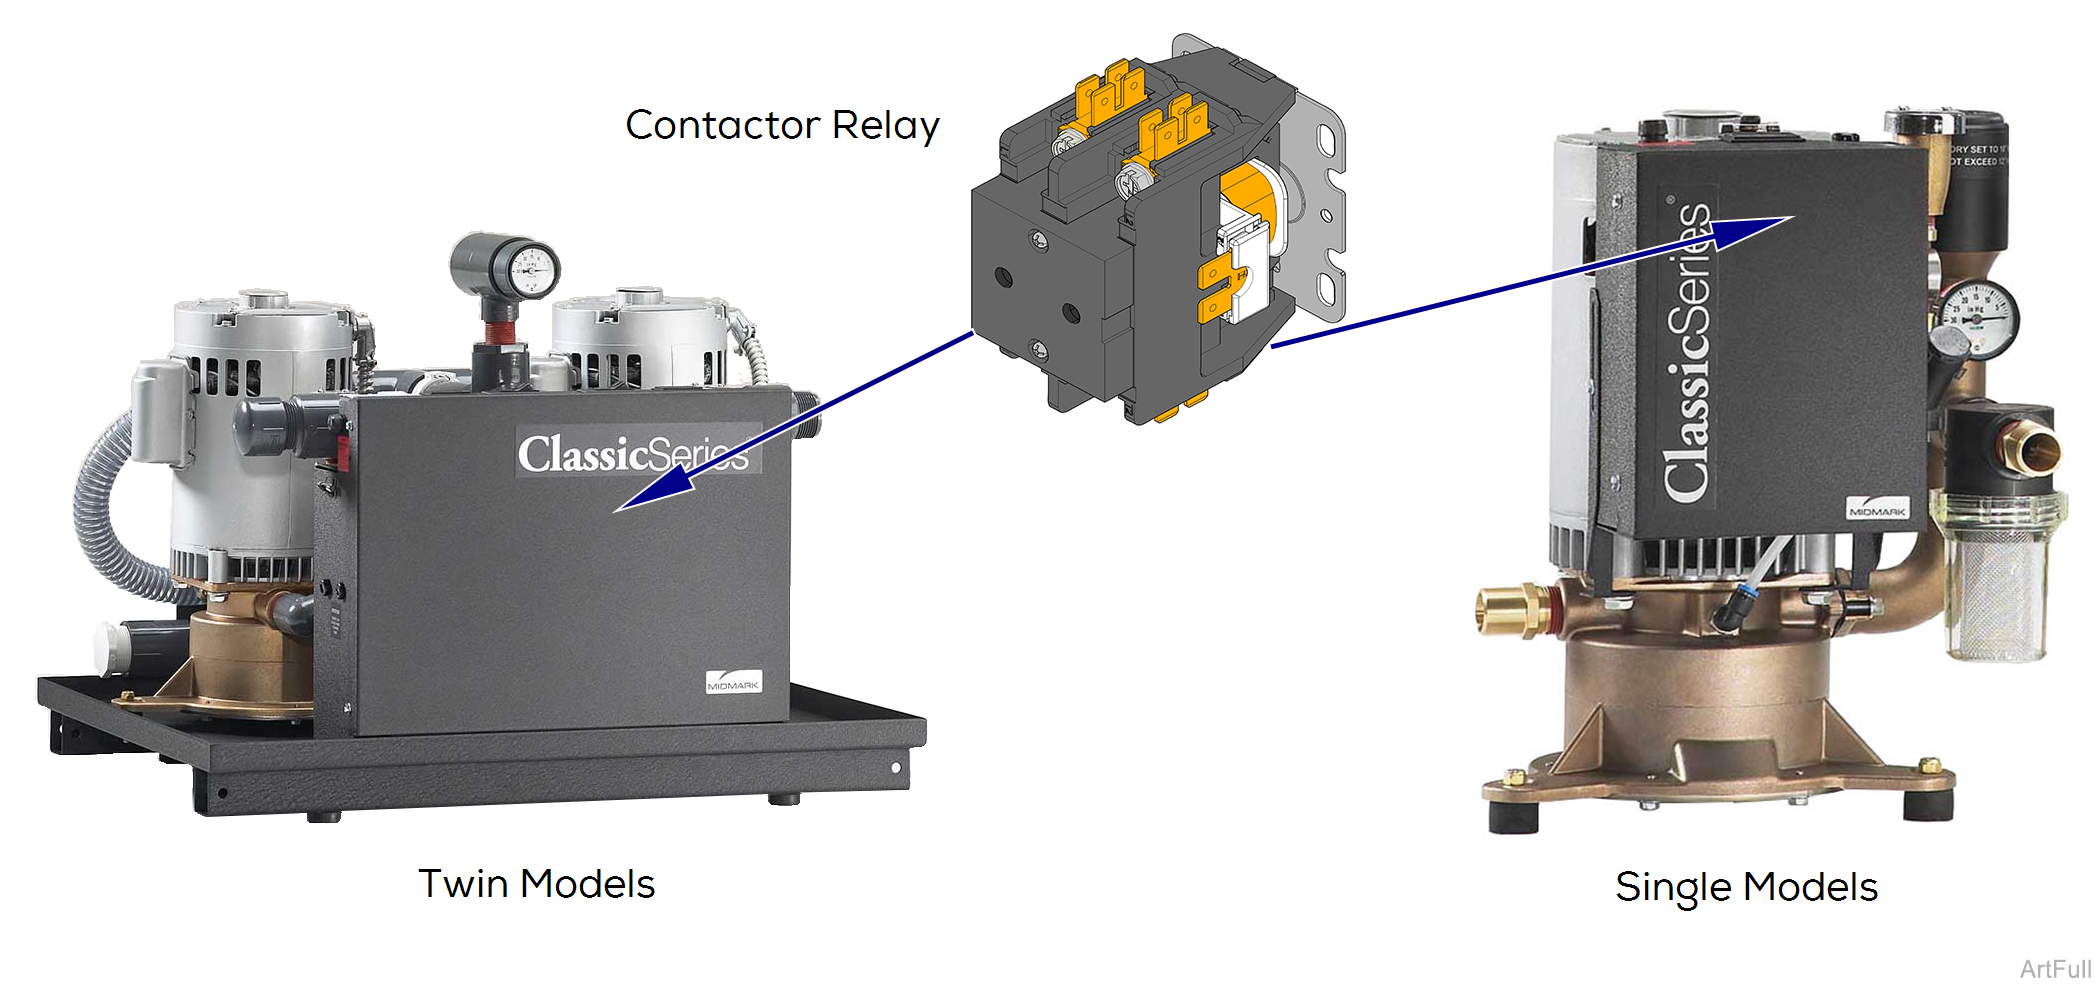
When the Vacuum is turned on either by the remote wall switch or vacuum unit on/off switch on Twin models, the Contactor is energized. It sends current to the hour meter, solenoid valve, and pump, turning them on. The Contactor is located in the electrical box.
Contactor Relay Test
When testing components with power on, use care to prevent electrical shock.
1.Turn power off.
2.Remove electrical cover. Refer to: Electrical Cover
3.Turn power on.
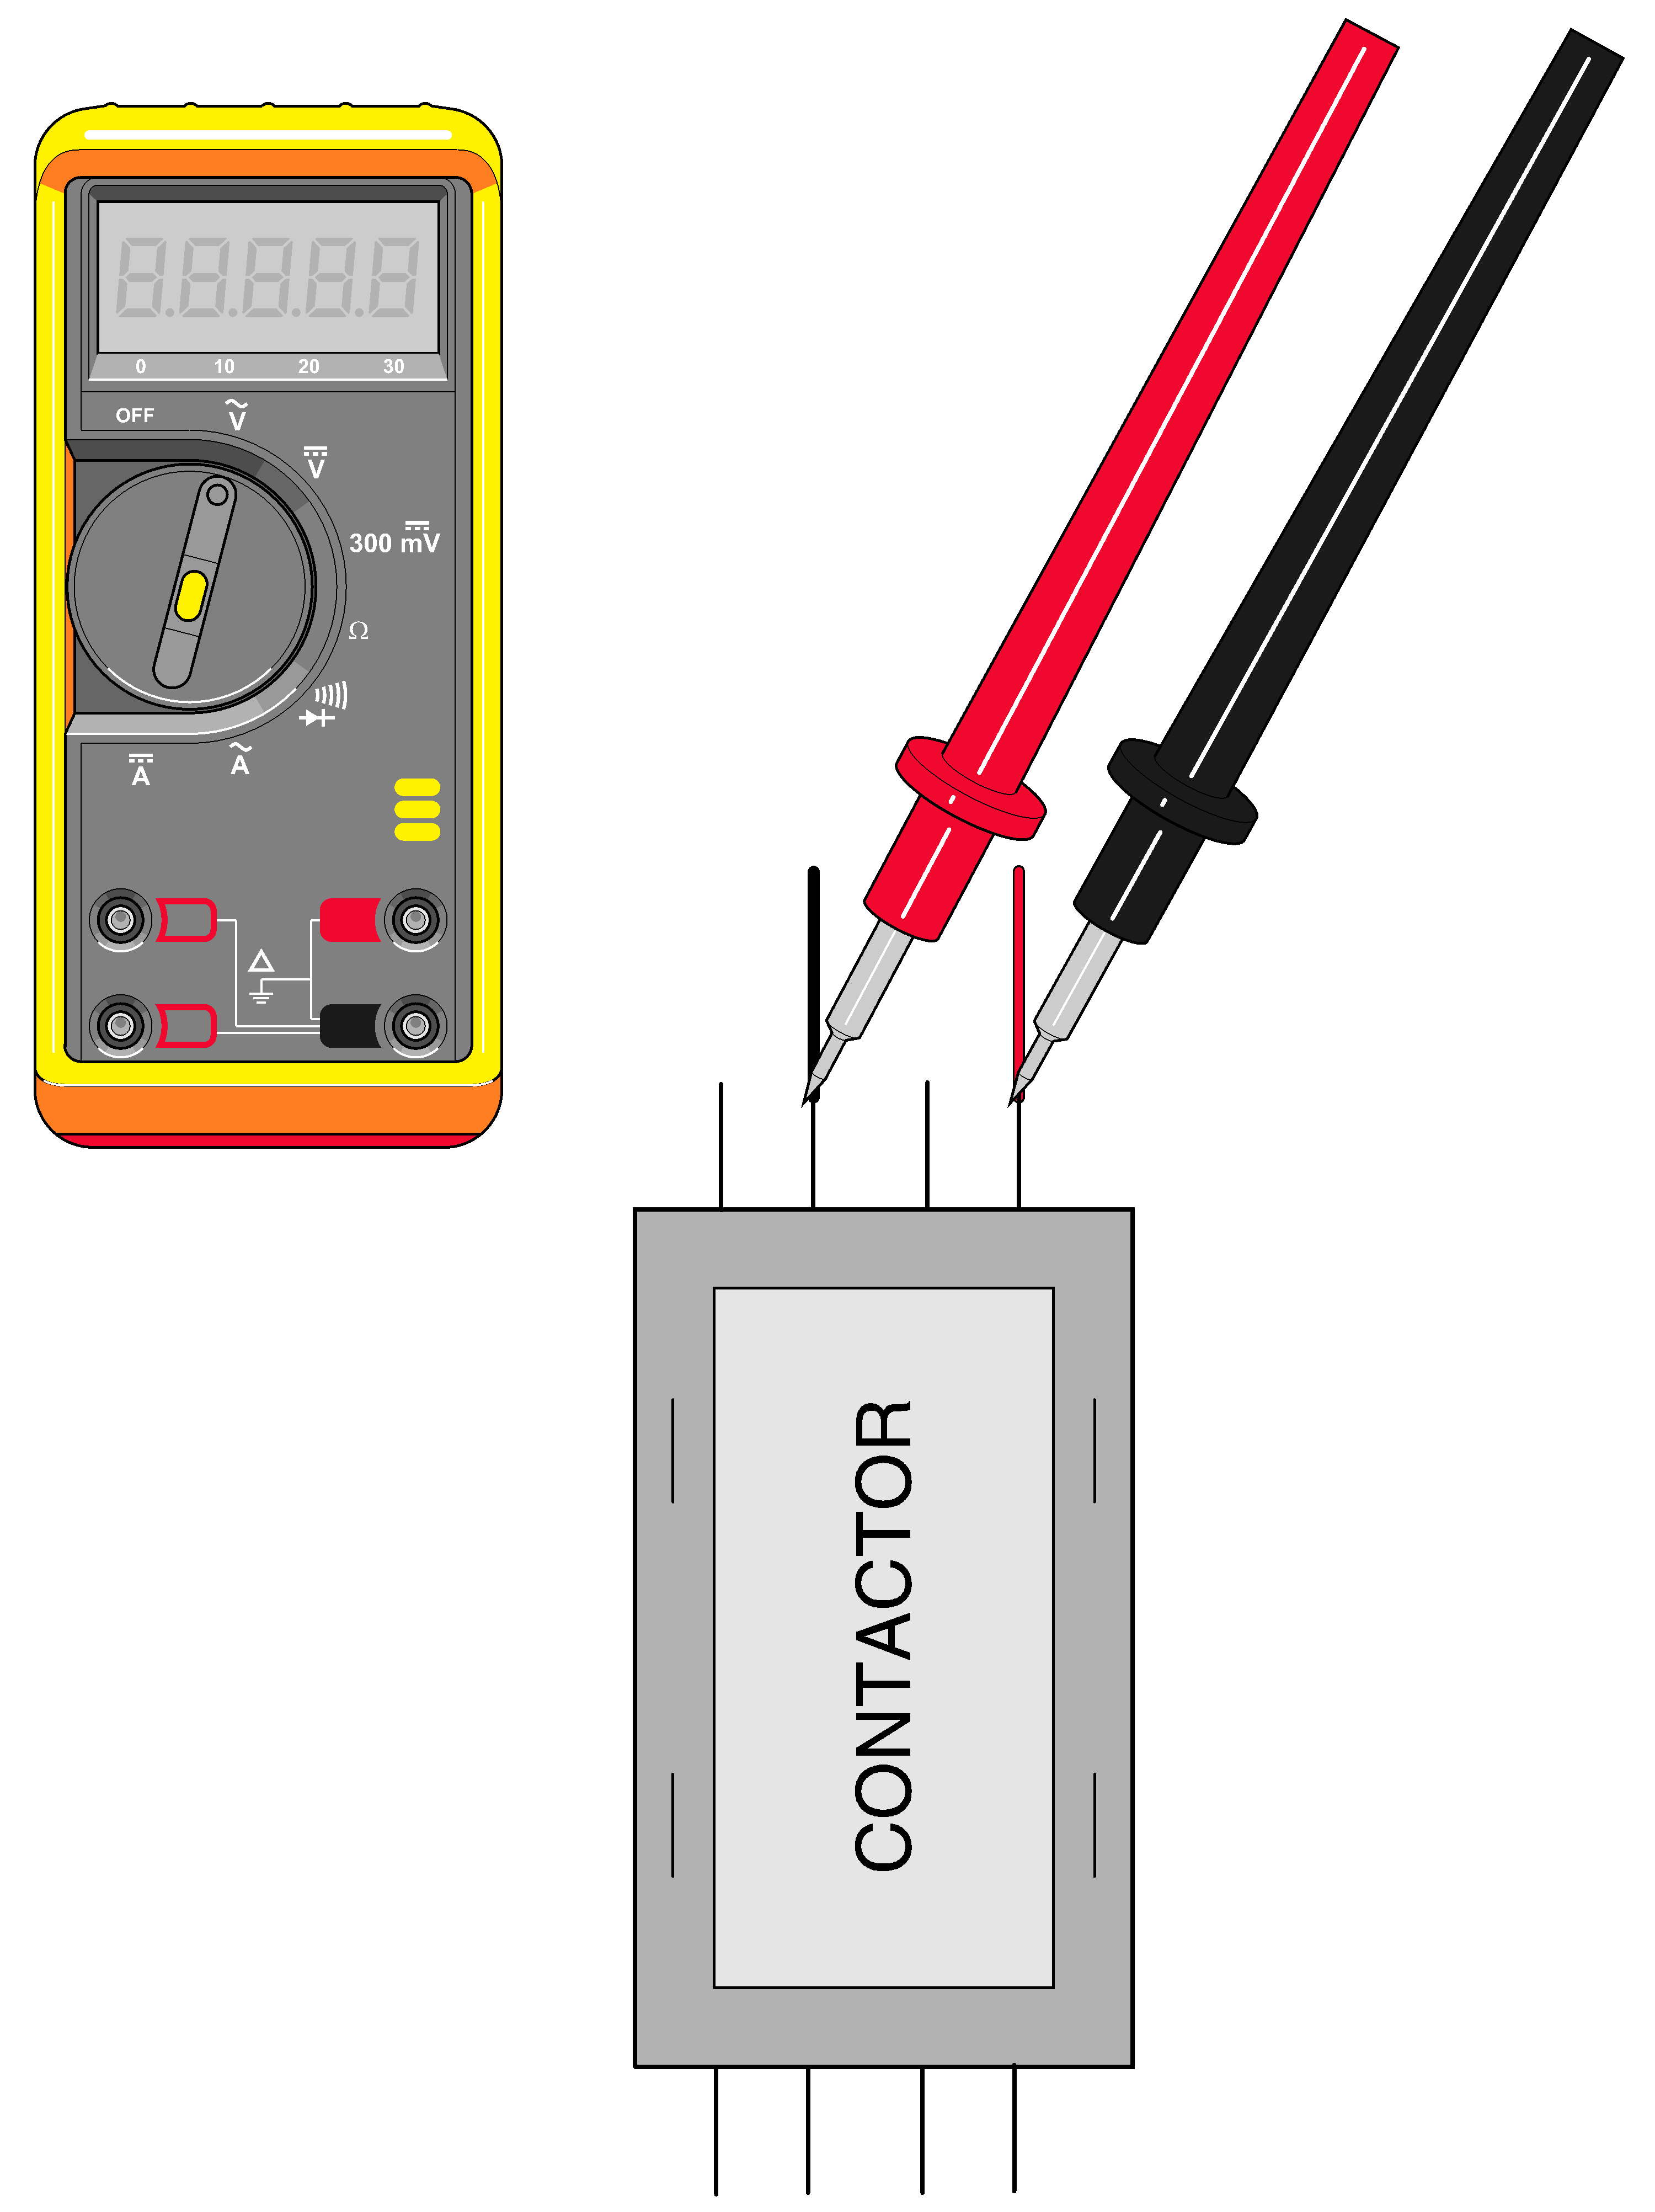
4.Check High Voltage on Contactor. Set meter to V.
a.1 HP Models - Place meter probes on two bottom wire connections.
b.2 HP Models - Place meter probes on two top wire connections. Reading: 115VAC or 208-230VAC depending on model. Refer to:Wiring diagrams.
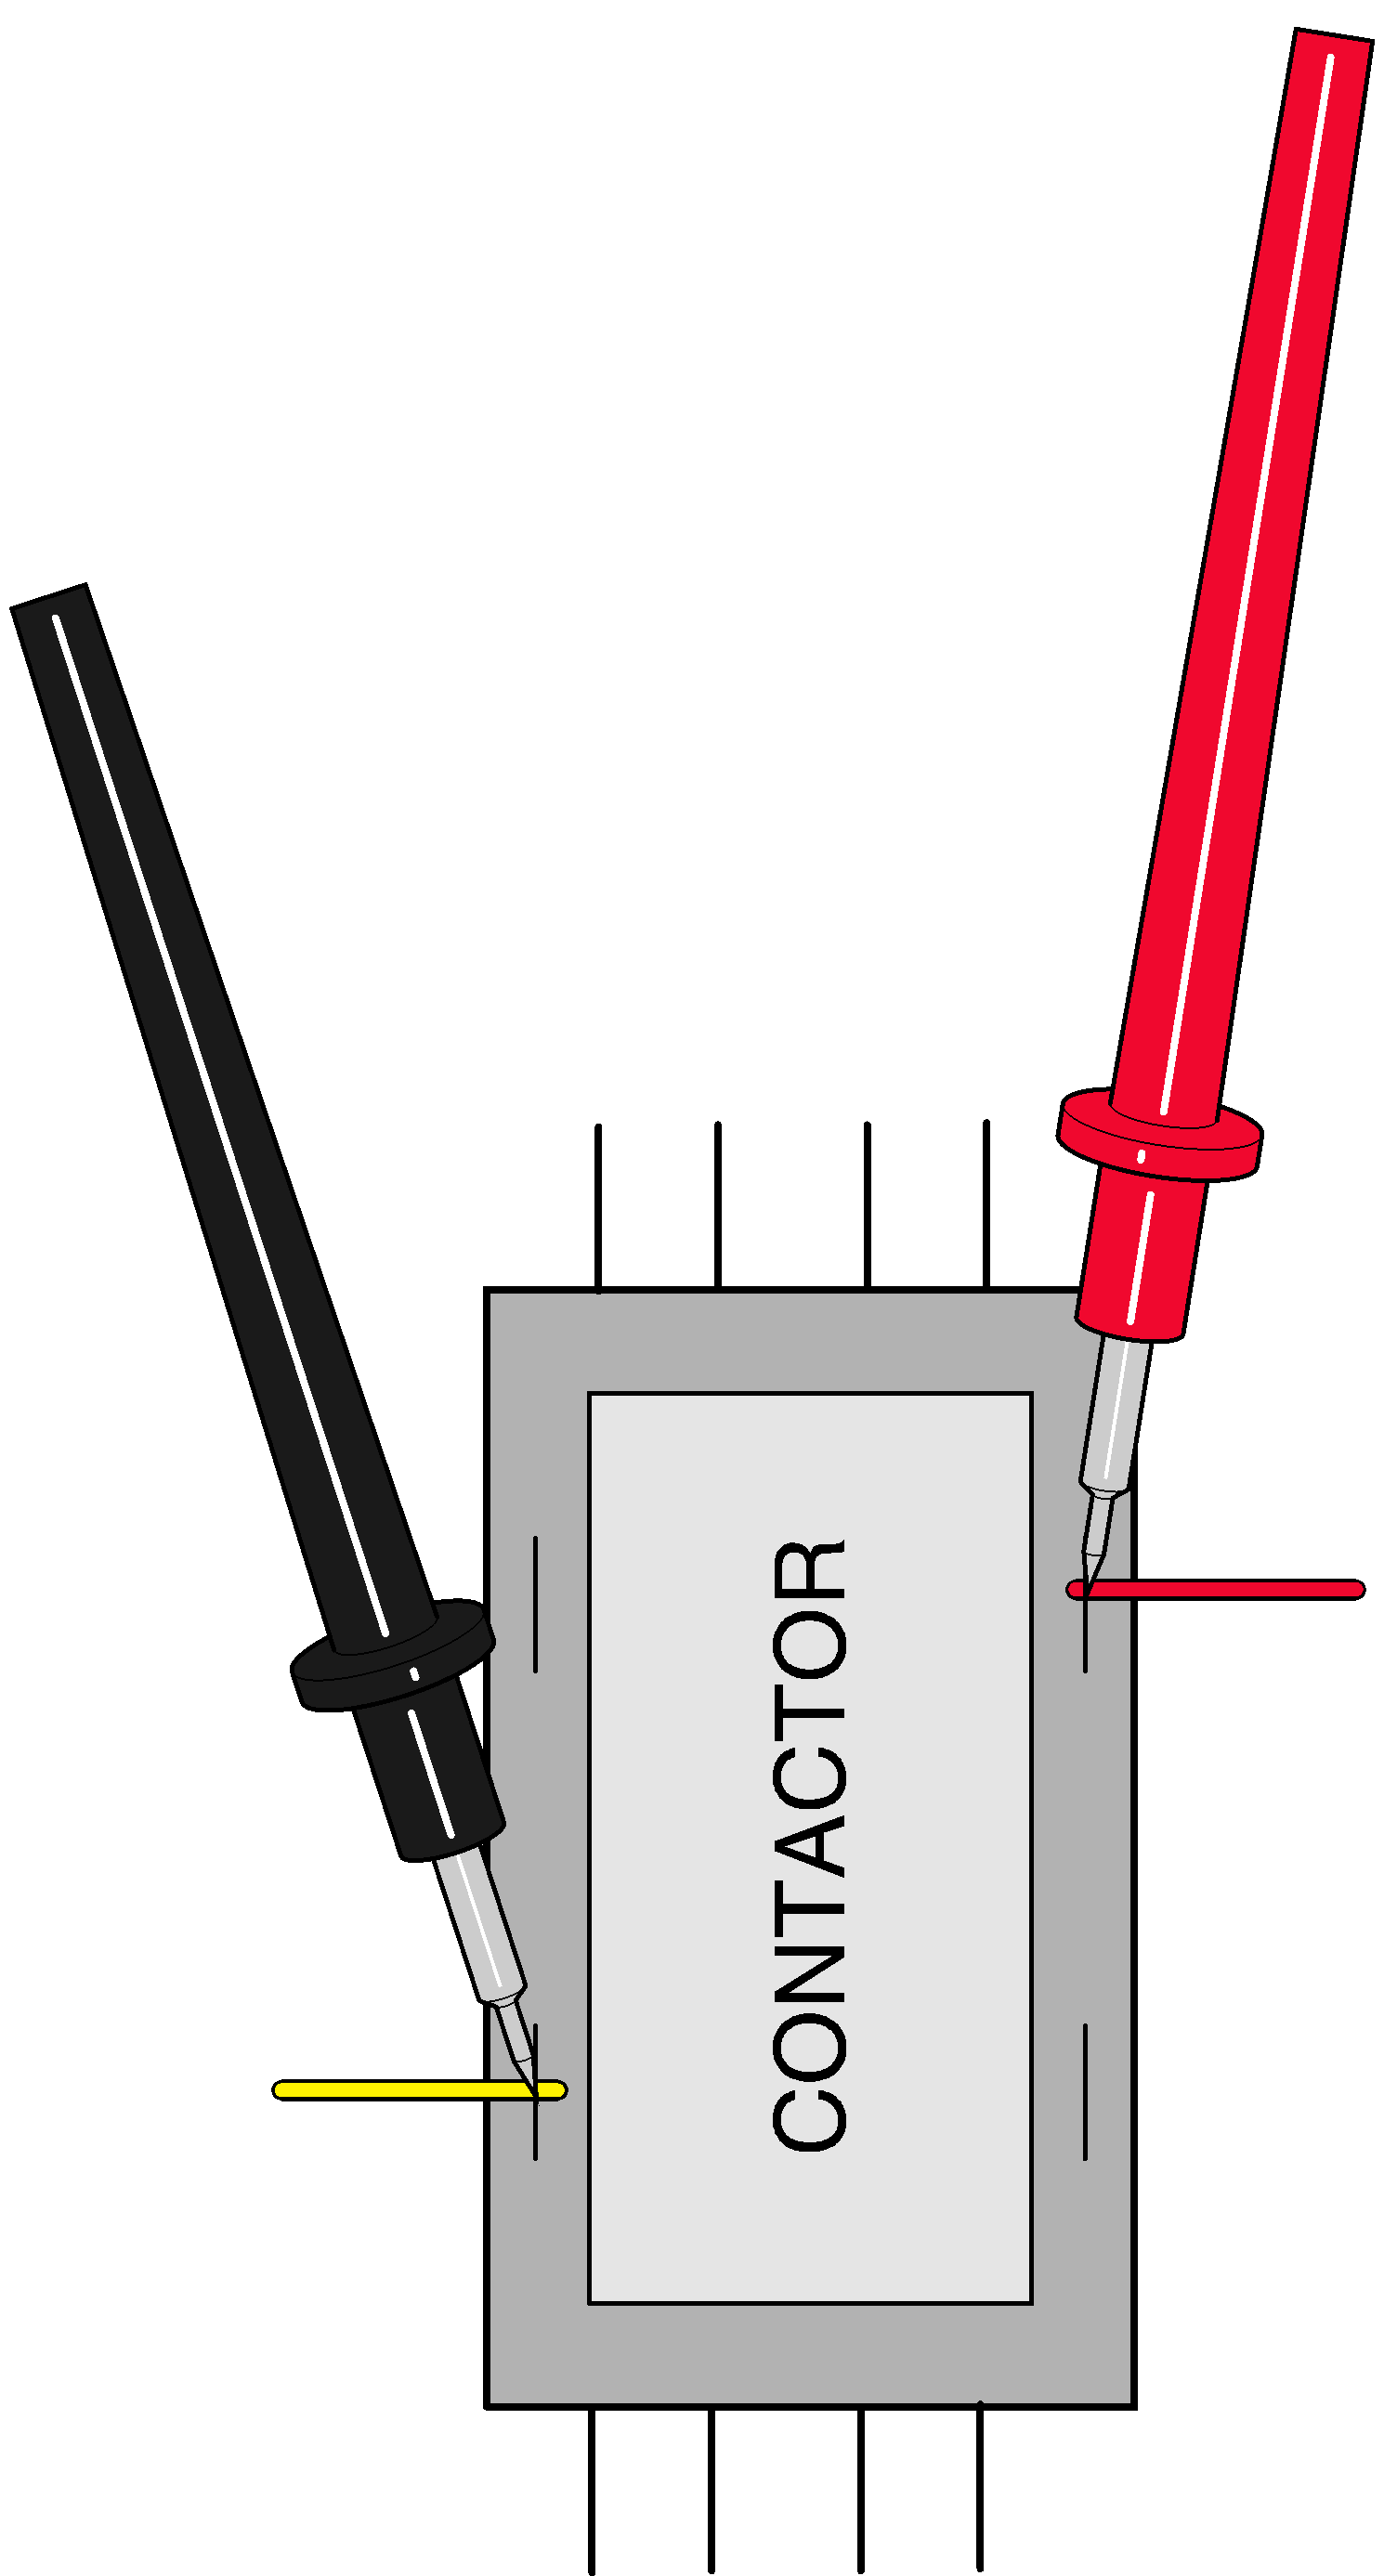
5.Check voltage across contactor. Set meter to V. Place meter probes on right and left side, red, and yellow wires. Reading: 24VAC. Red and Black wire location will vary depending on model. Refer to:Wiring diagrams
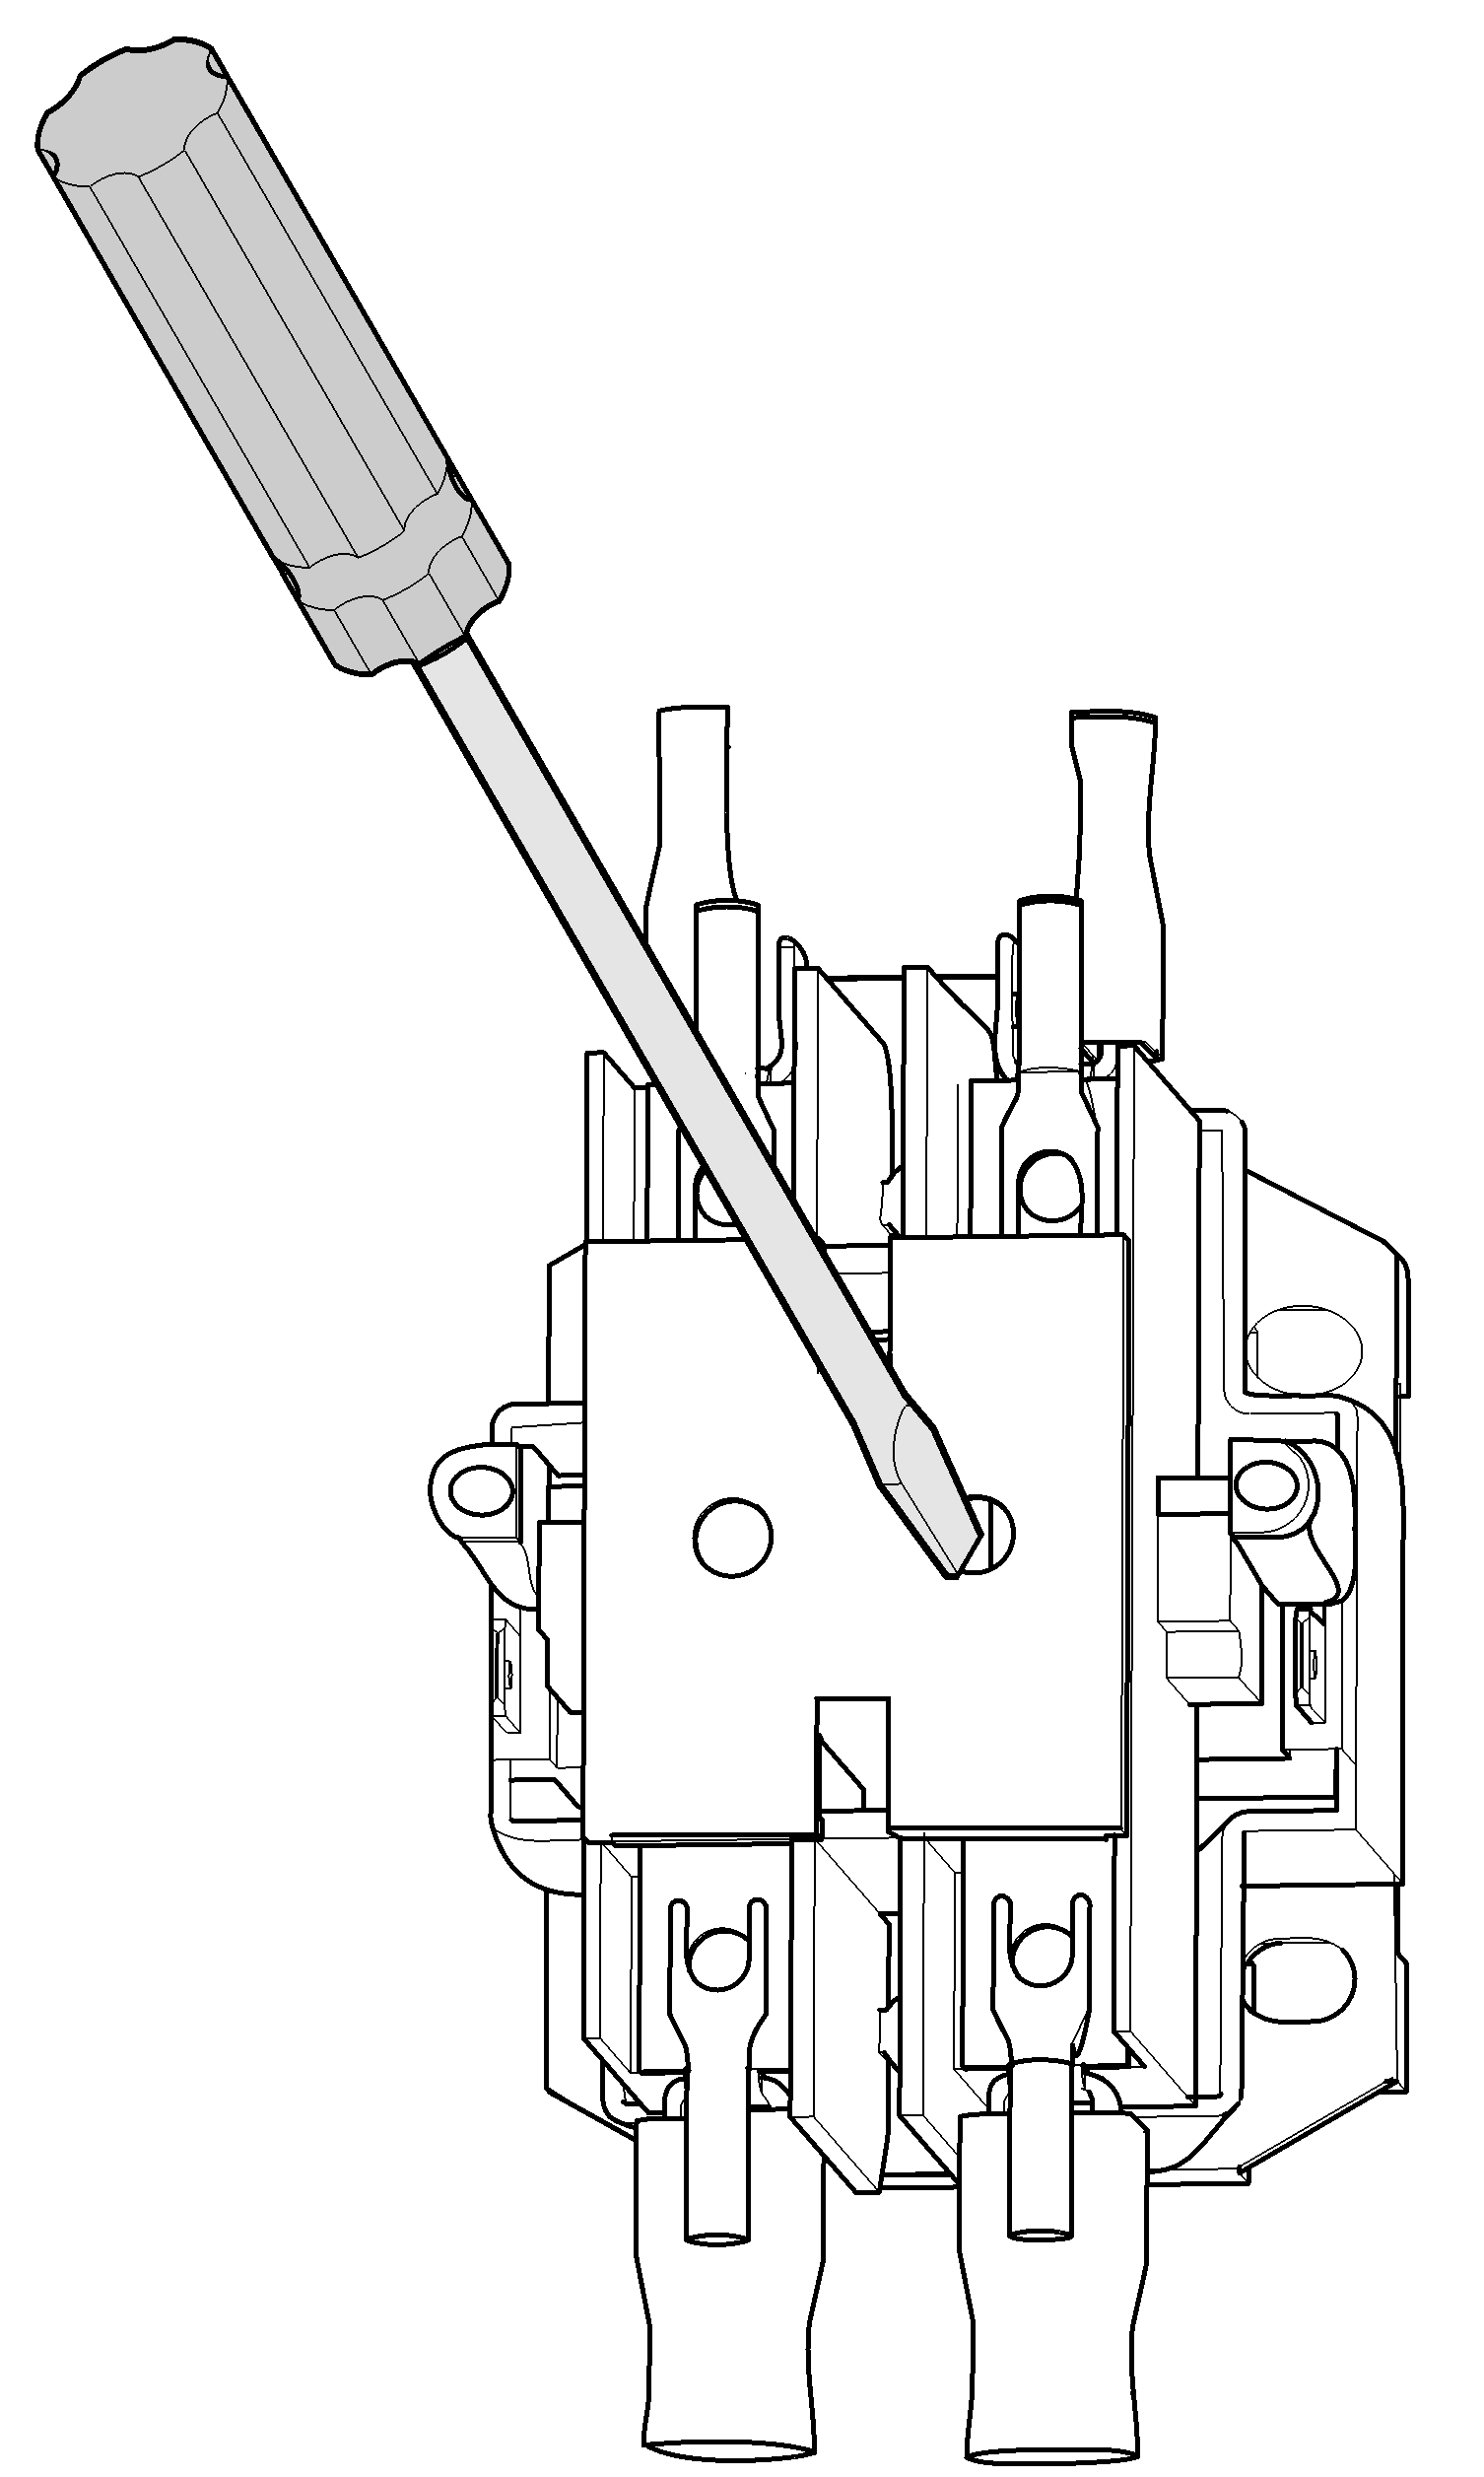
6.Insert screwdriver to start manually.
If system starts, replace contactor. Install electrical cover.
| Meter Reading | Status | Required Action |
|---|---|---|
| 115VAC or 208-230VAC - Depending on Model |

|
Contactor OK |
| 24 VAC - Side check |
|
Transformer OK |
| Less than 115VAC or 208-230VAC. Less than 24V. |

|
Replace Contactor |
