M9/M11 Sterilizer Input/Output (I/O) Test and Repair
To prevent risk of shock always disconnect power before removing covers or performing any service procedure.
Some procedures require power to be connected with covers removed. Line voltage is present. Use extreme caution to prevent electric shock.
|
Model |
M9M11 -040 thru -043 |
| Serial Number | All |
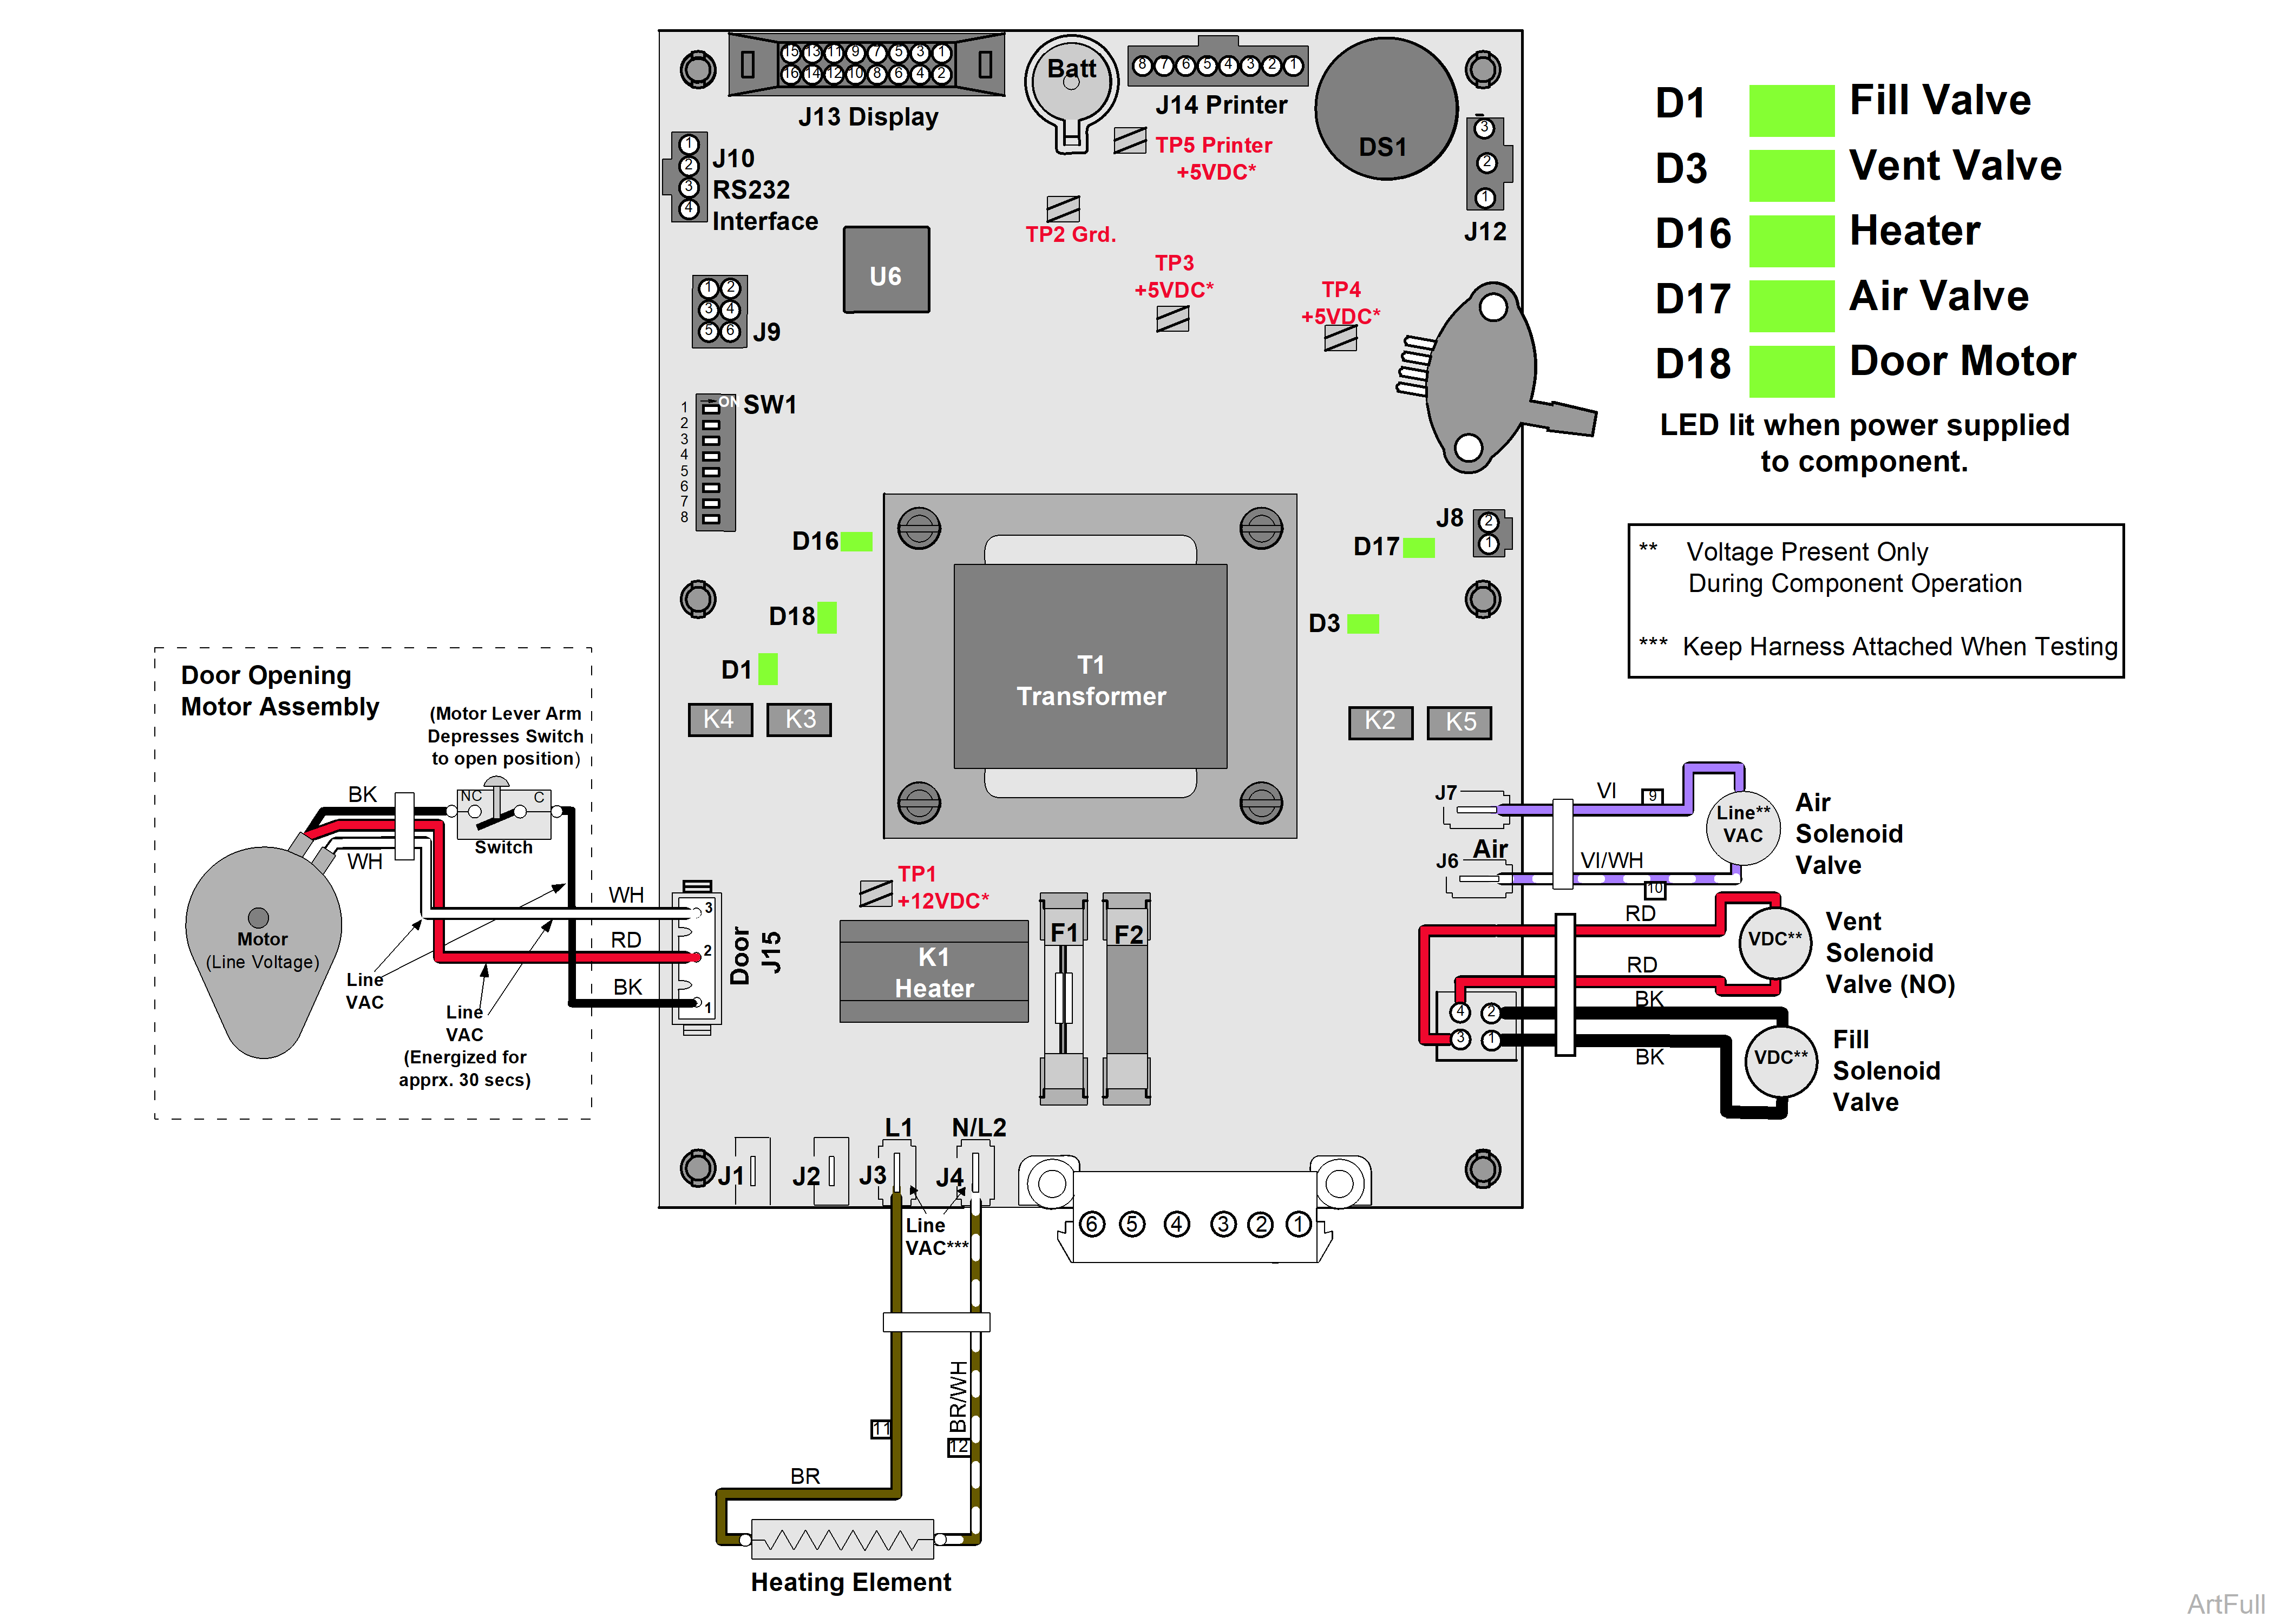
During the I/O testing process the LED’s shown are energized when power is being sent from the PC board to the specified component.
|
Model |
M9M11 -020 thru -022, -033, -034 |
| Serial Number | All |
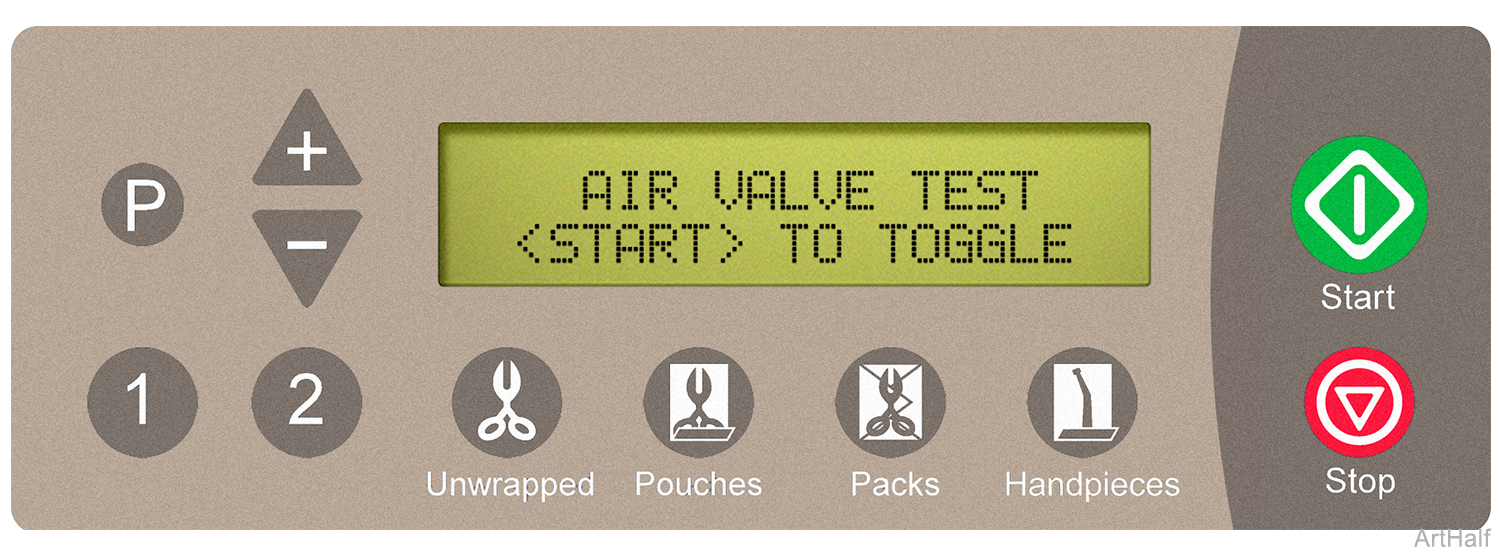
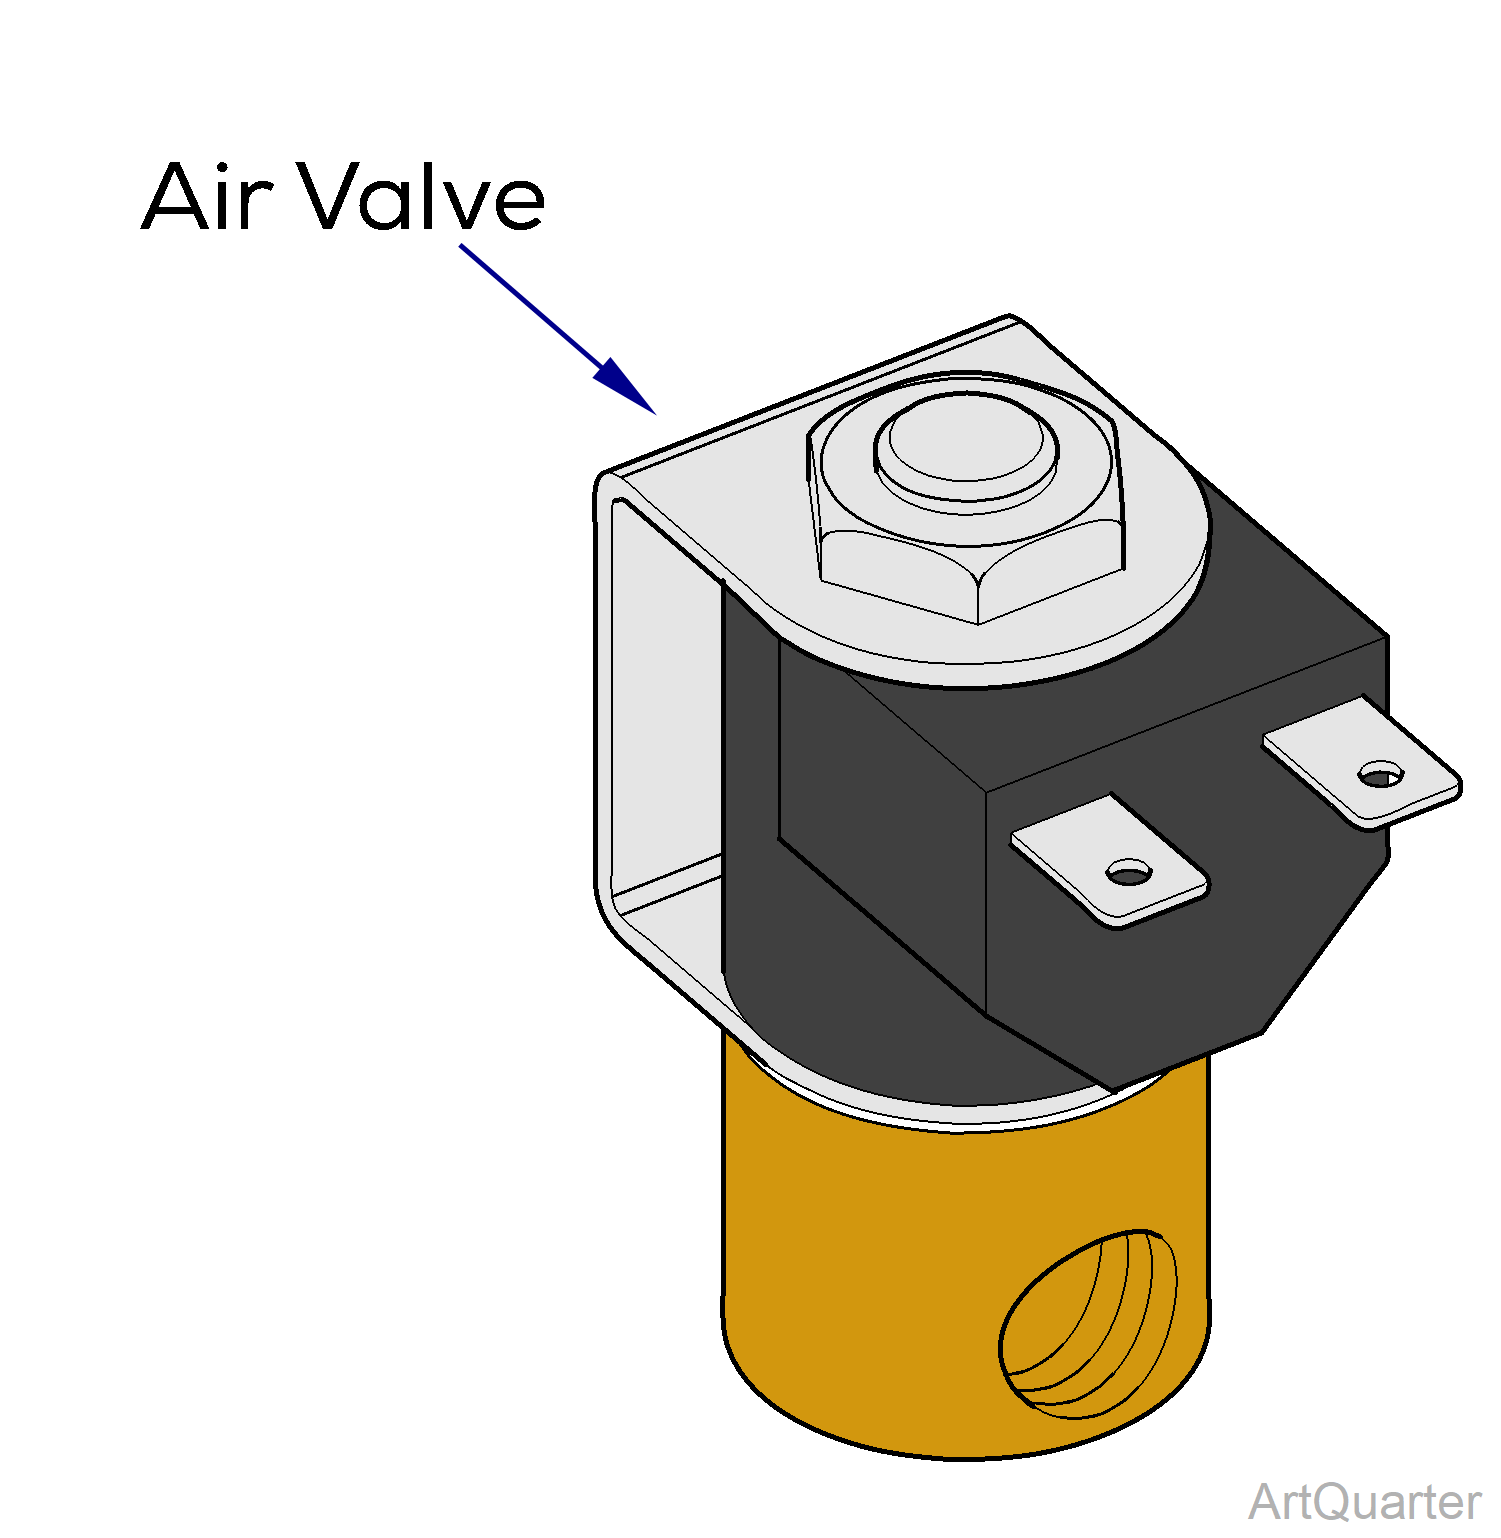
You should hear a click when the valve opens / closes. This indicates the PC board and valve are functioning properly.
1.Press the Start button. This energizes the Air Valve, causing it to open. Press the Start button again to close the valve.
2.Press the Stop button for the next test.
|
Model |
M9M11 -040 thru -043 |
| Serial Number | All |


You should hear a click when the valve opens / closes. This indicates the PC board and valve are functioning properly.
1.Press the Start button. This energizes the Air Valve, causing it to open. Press the Start button again to close the valve.
2.Press the Stop button for the next test.
|
Model |
M9M11 -020 thru -022, -033, -034 |
| Serial Number | All |
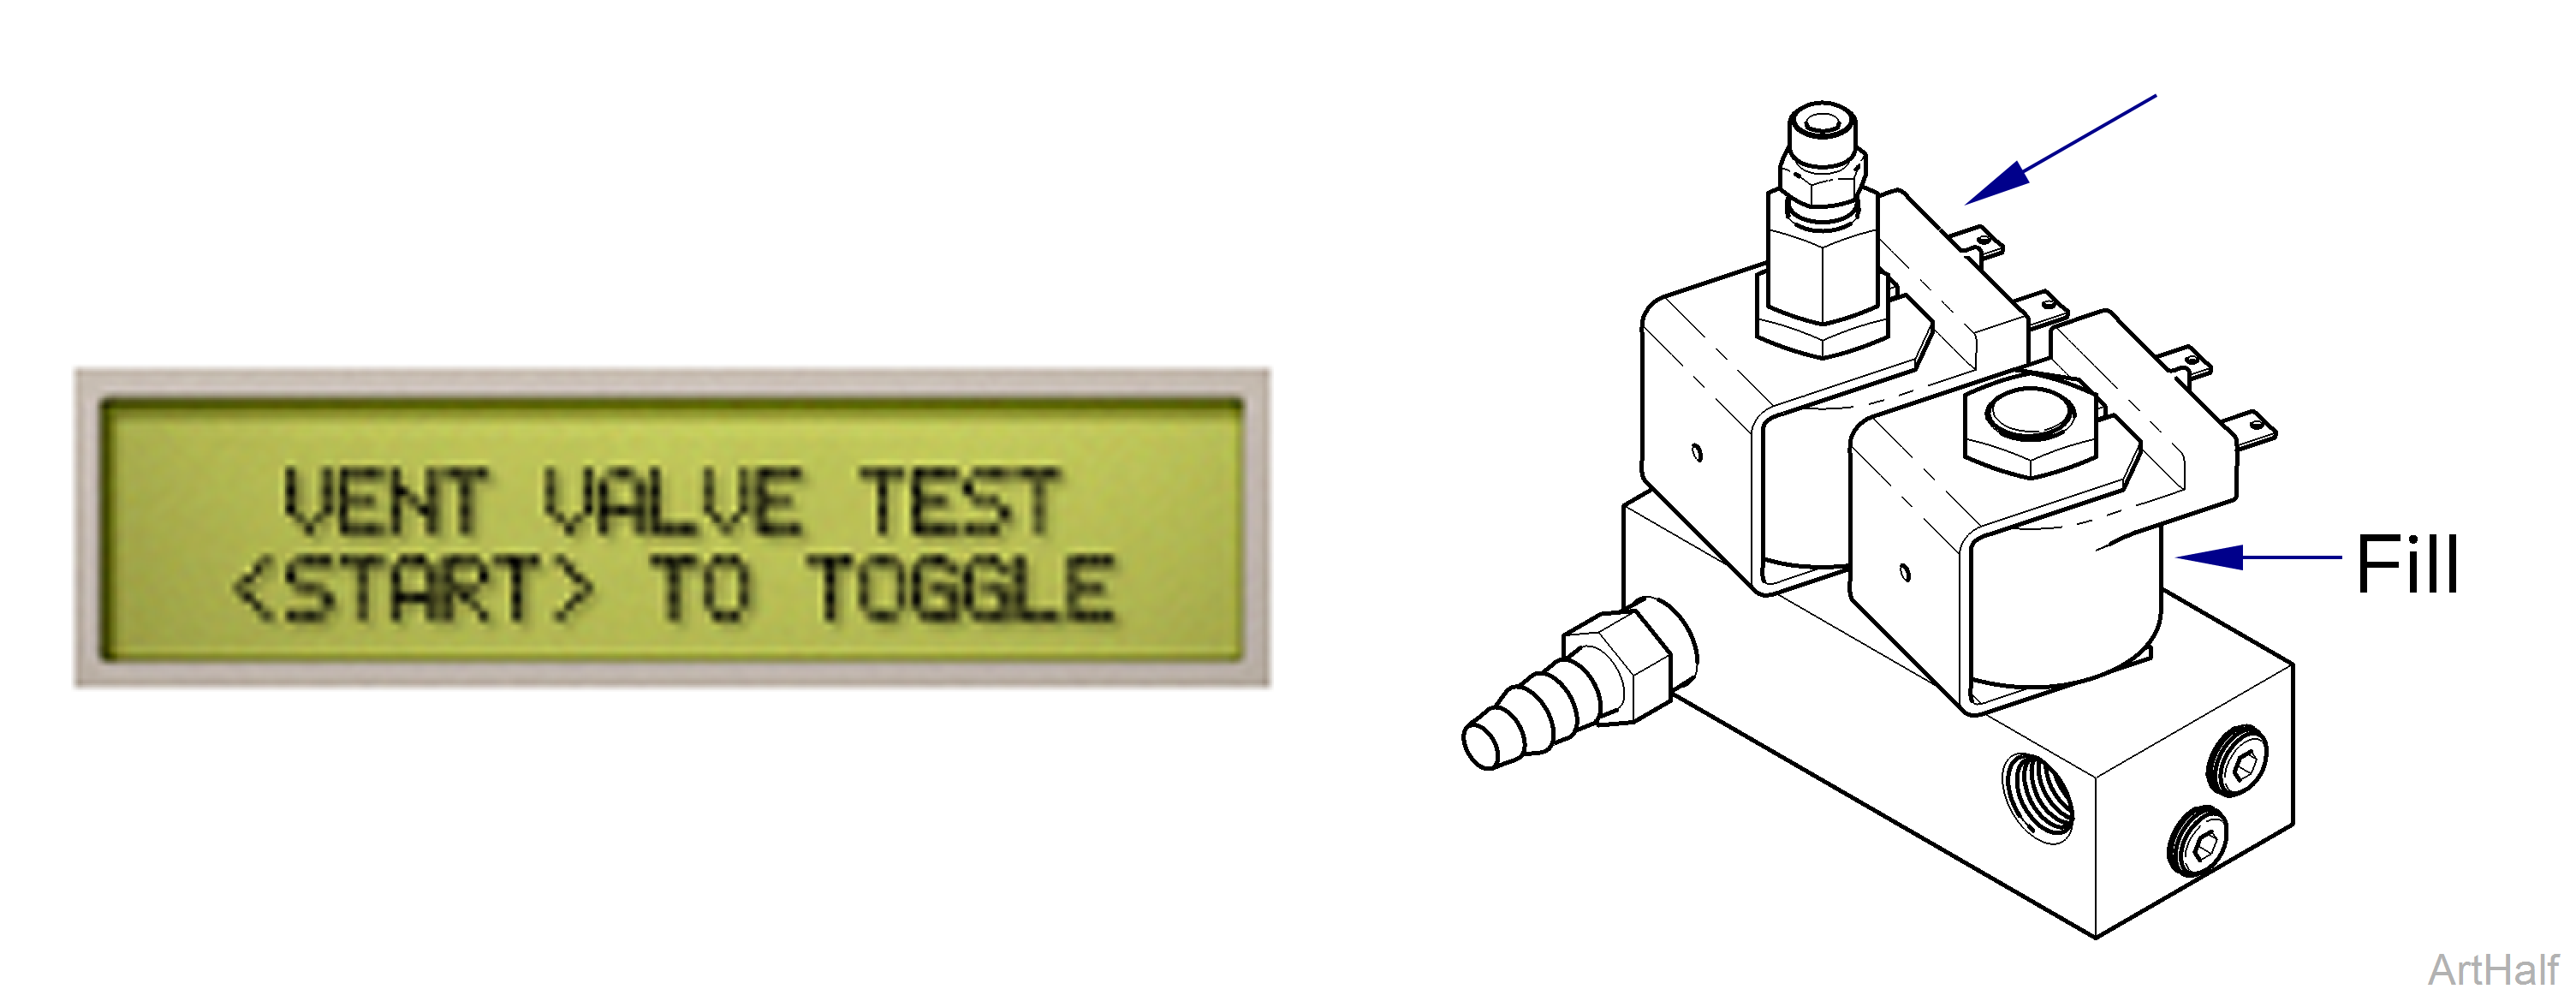
You should hear a click when the valve opens / closes. This indicates the PC board and valve are functioning properly.
1.Press the Start button. This energizes the Vent Valve, causing it to close. Press the Start button again to open the valve.
2.Press the Stop button for the next test.
|
Model |
M9M11 -040 thru -043 |
| Serial Number | All |
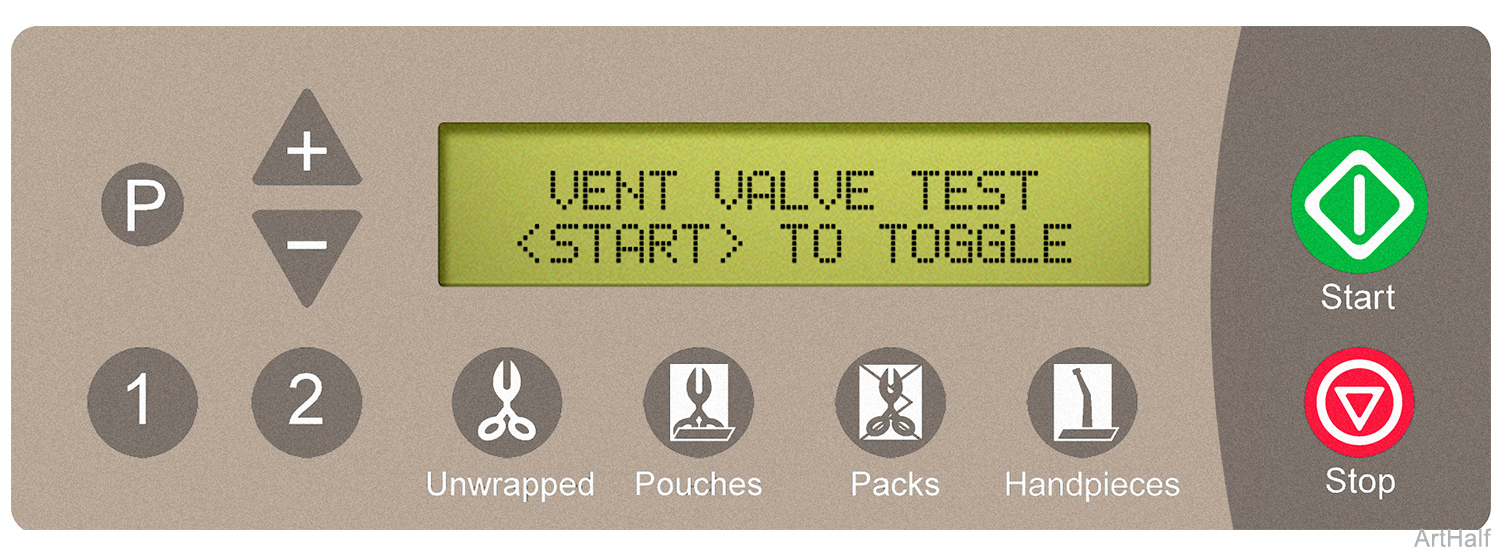
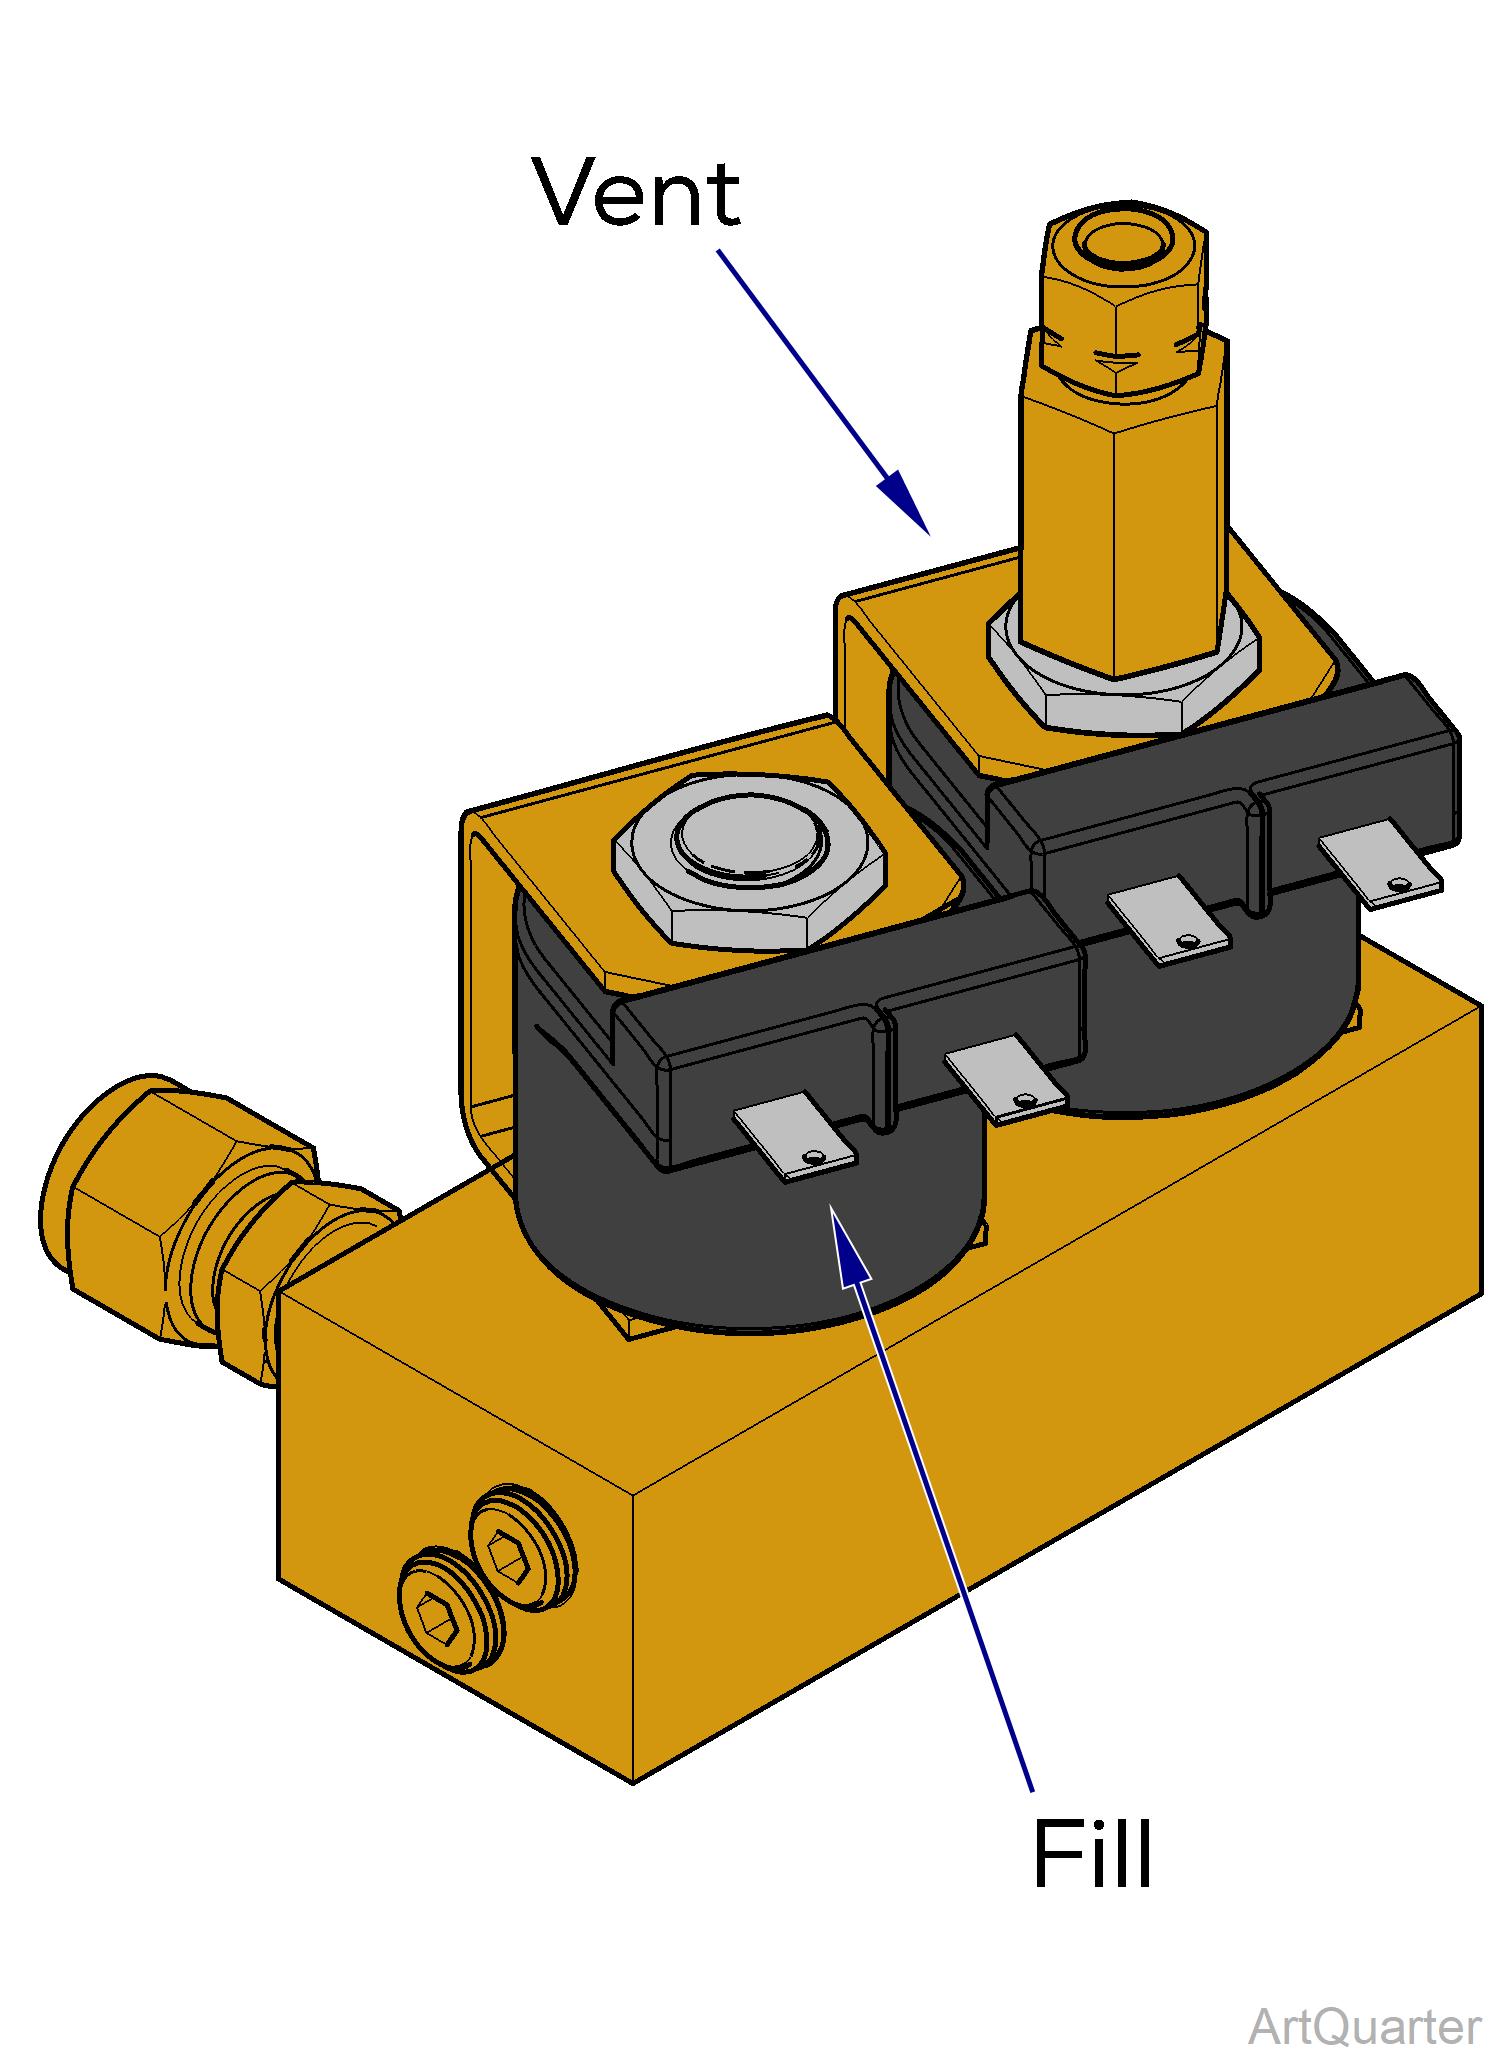
You should hear a click when the valve opens / closes. This indicates the PC board and valve are functioning properly.
1.Press the Start button. This energizes the Vent Valve, causing it to close. Press the Start button again to open the valve.
2.Press the Stop button for the next test.
|
Model |
M9M11 |
| Serial Number | All |
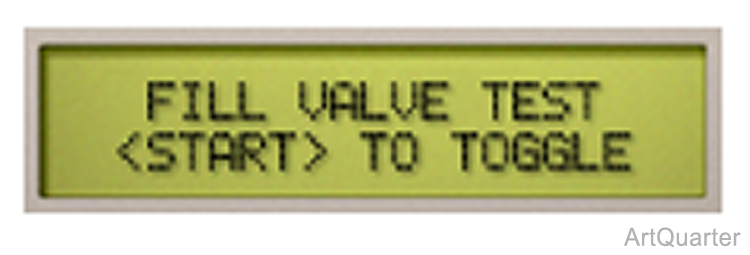
The door switch must be tripped when testing the Fill Valve. Close the door or manually trip the switch. The water level sensor does not function during this test. The chamber will overflow if the valve is left open too long.
Water will flow into the chamber when the valve opens. This indicates the PC board and valve are functioning properly.
1.Press the Start button. This energizes the Fill Valve, causing it to open. Press the Start button again to close the valve.
2.Press the Stop button for the next test.
This test should be done with the door closed.
|
Model |
M9M11 -020 thru -022, -033, -034 |
| Serial Number | All |
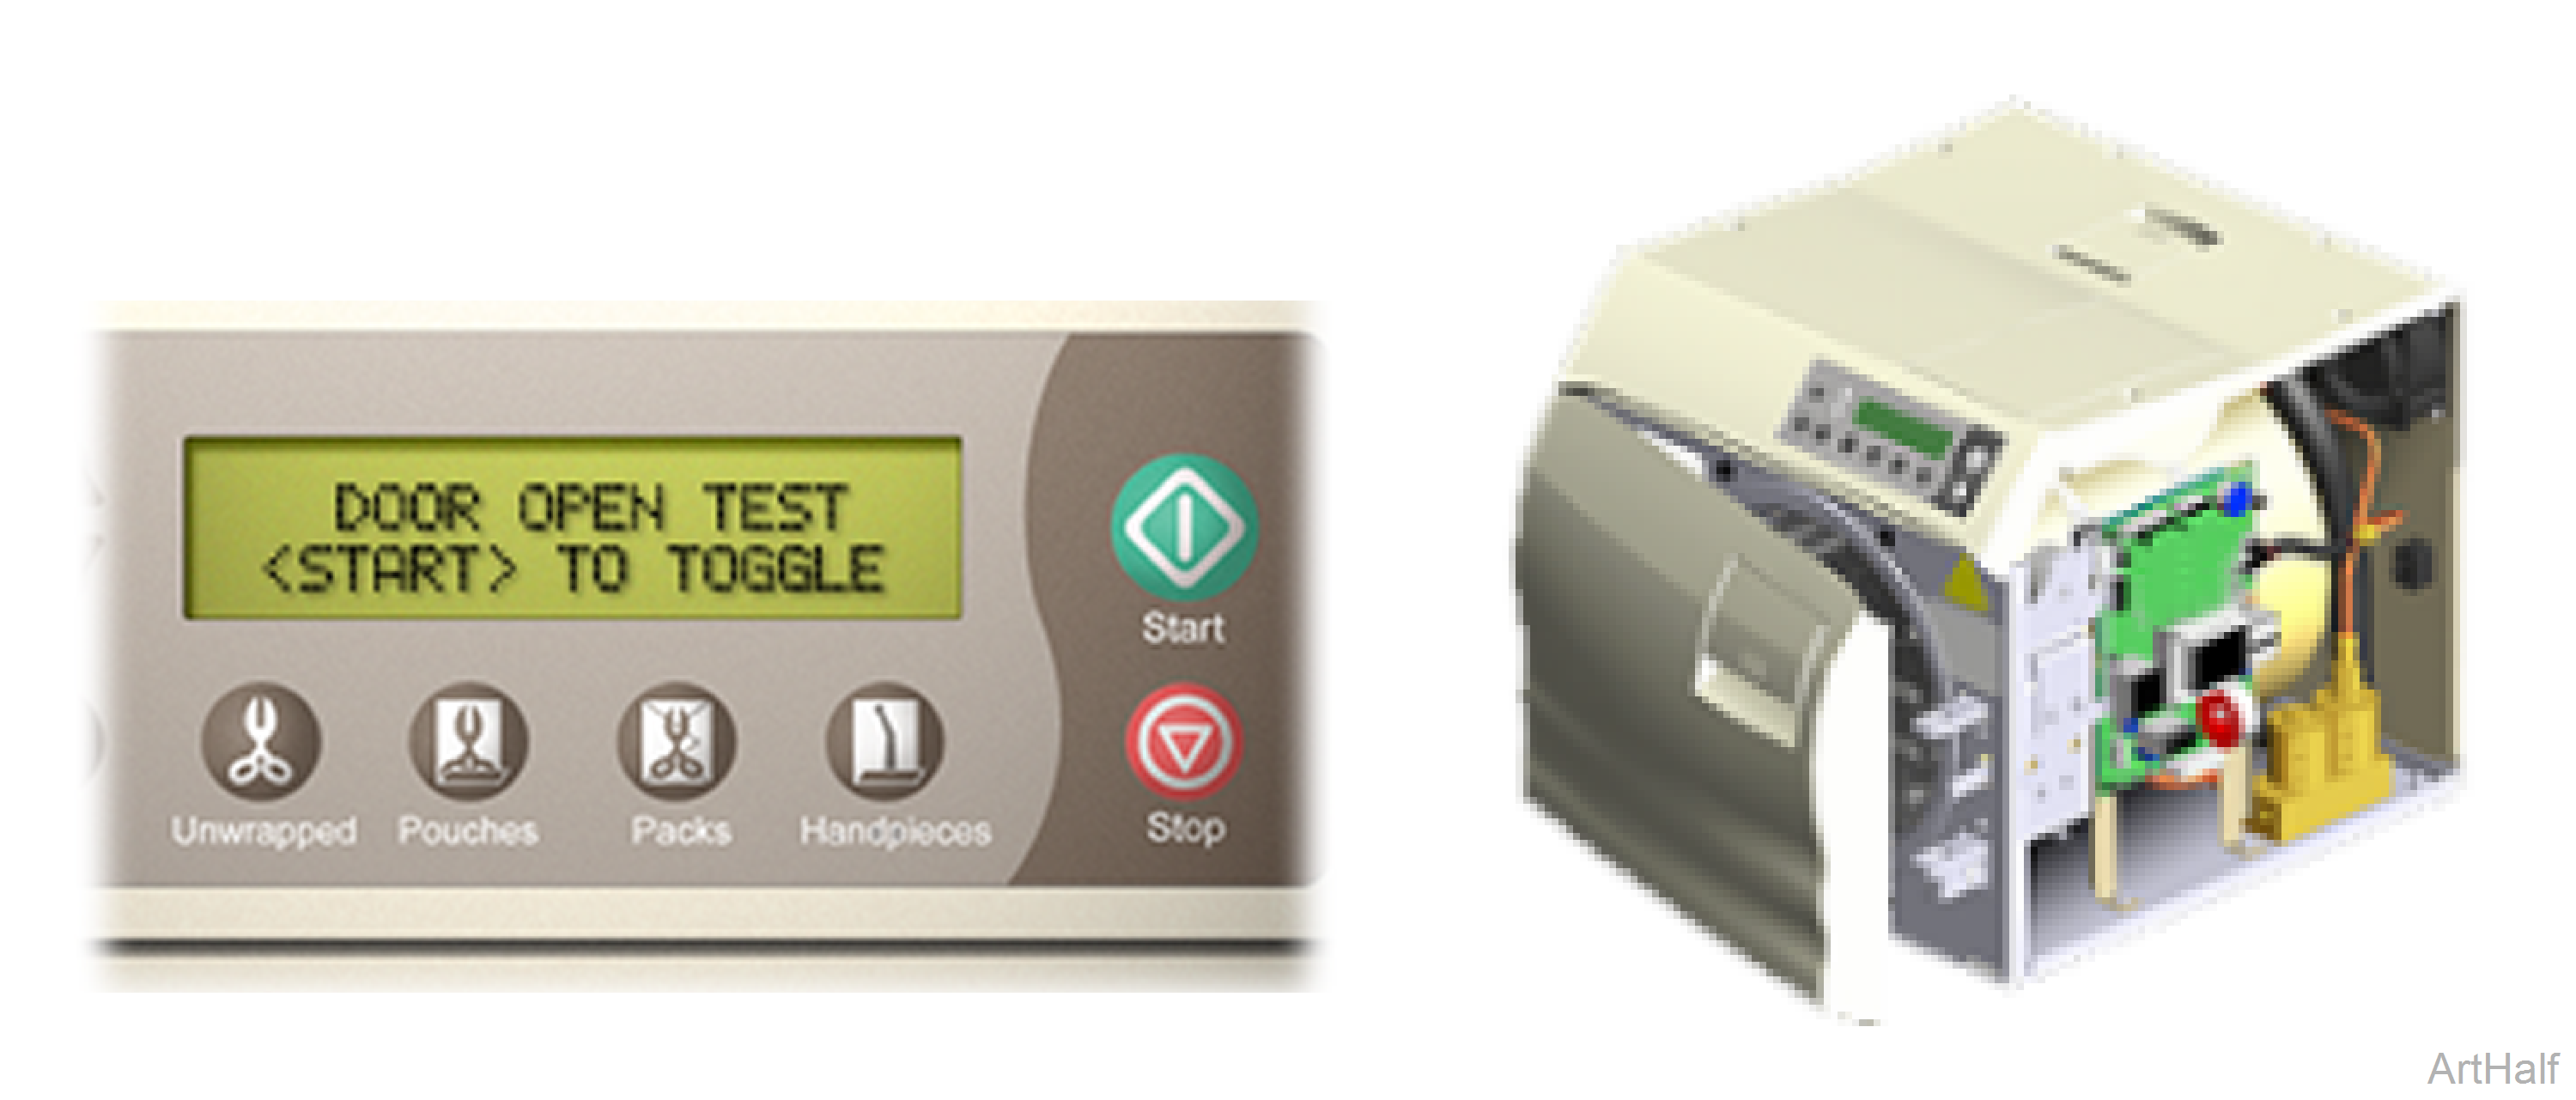
The door should open after approximately 15 seconds. This indicates the PC board and door motor are functioning properly.
1.Press the Start button. This energizes the Door Motor System.
2.Press the Stop button for the next test.
|
Model |
M9M11 -040 thru -043 |
| Serial Number | All |
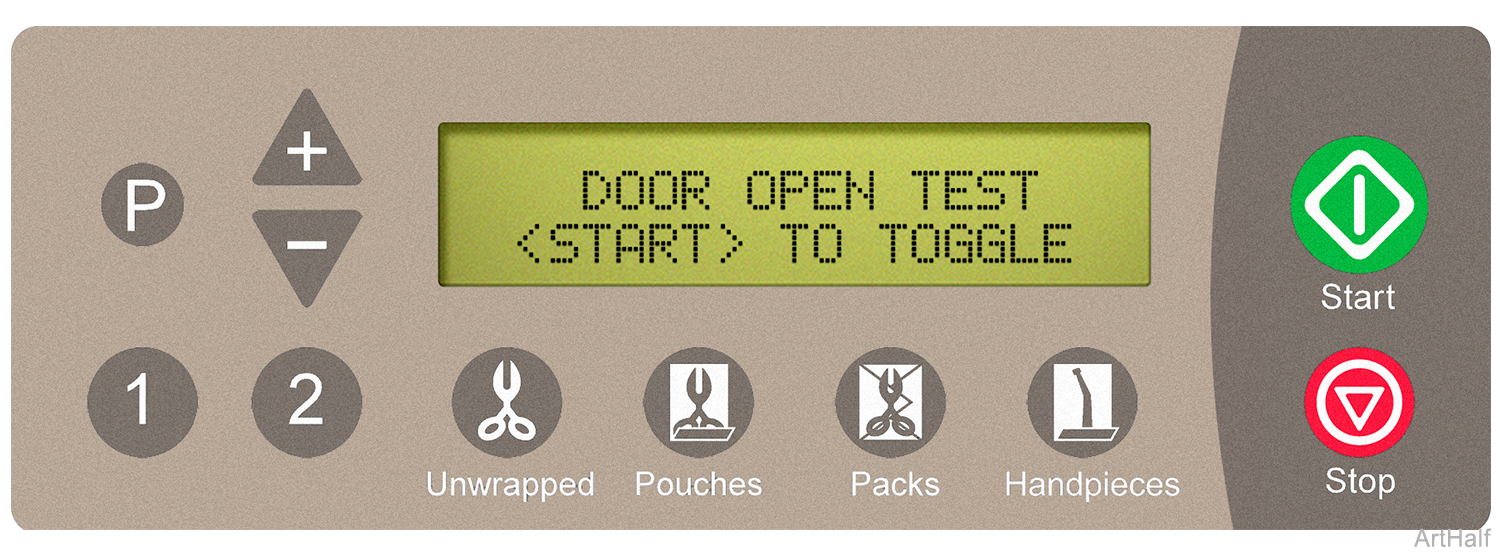
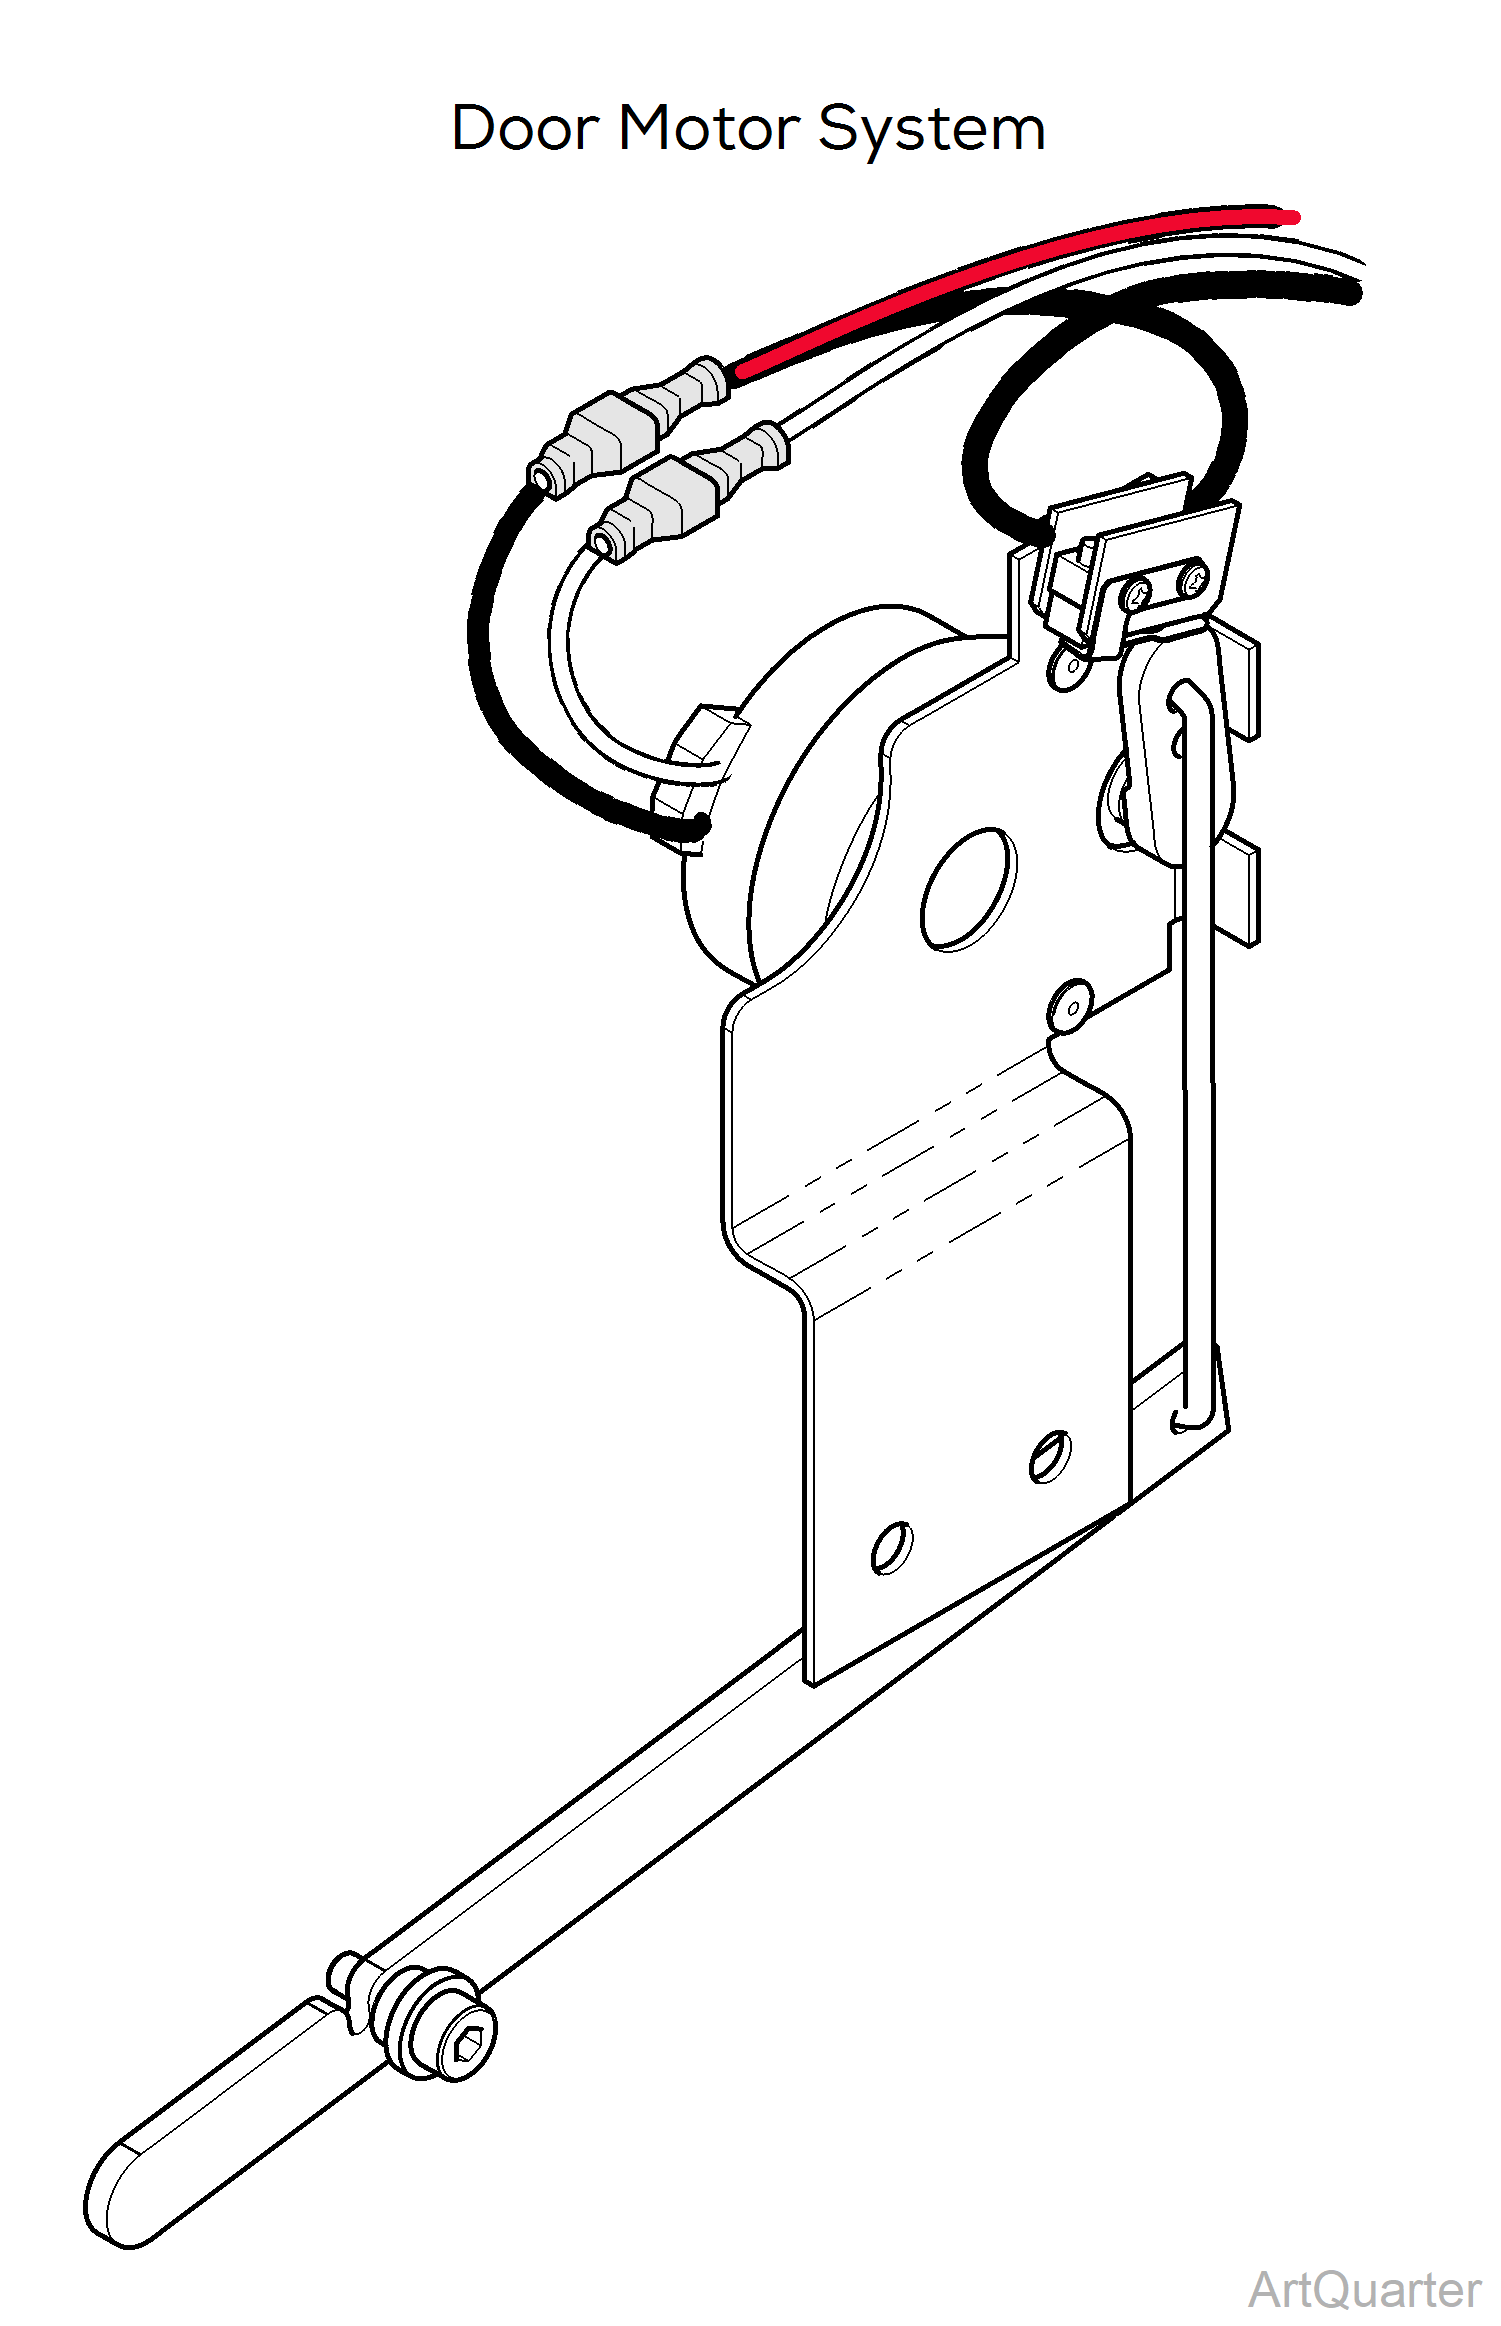
The door should open after approximately 15 seconds. This indicates the PC board and door motor are functioning properly.
1.Press the Start button. This energizes the Door Motor System.
2.Press the Stop button for the next test.
|
Model |
M9M11 |
| Serial Number | All |

Do not run this test more than twice without allowing unit to cool. Doing so may cause the sterilizer to overheat.
The heating element should heat up for approximately 15 seconds, then shut off. This indicates the PC board and heating element are functioning properly.
1.Press the Start button. This energizes the Heating Element.
2.Press the Stop button for the next test.
|
Model |
M9M11 -020 thru -022, -033, -034 |
| Serial Number | All |
The display shows the status of the High-Limit Thermostats, the Door Switch, and the Water Level Sensor. If the display reading indicates a malfunction, test the corresponding component. Press the Stop button for the next test.
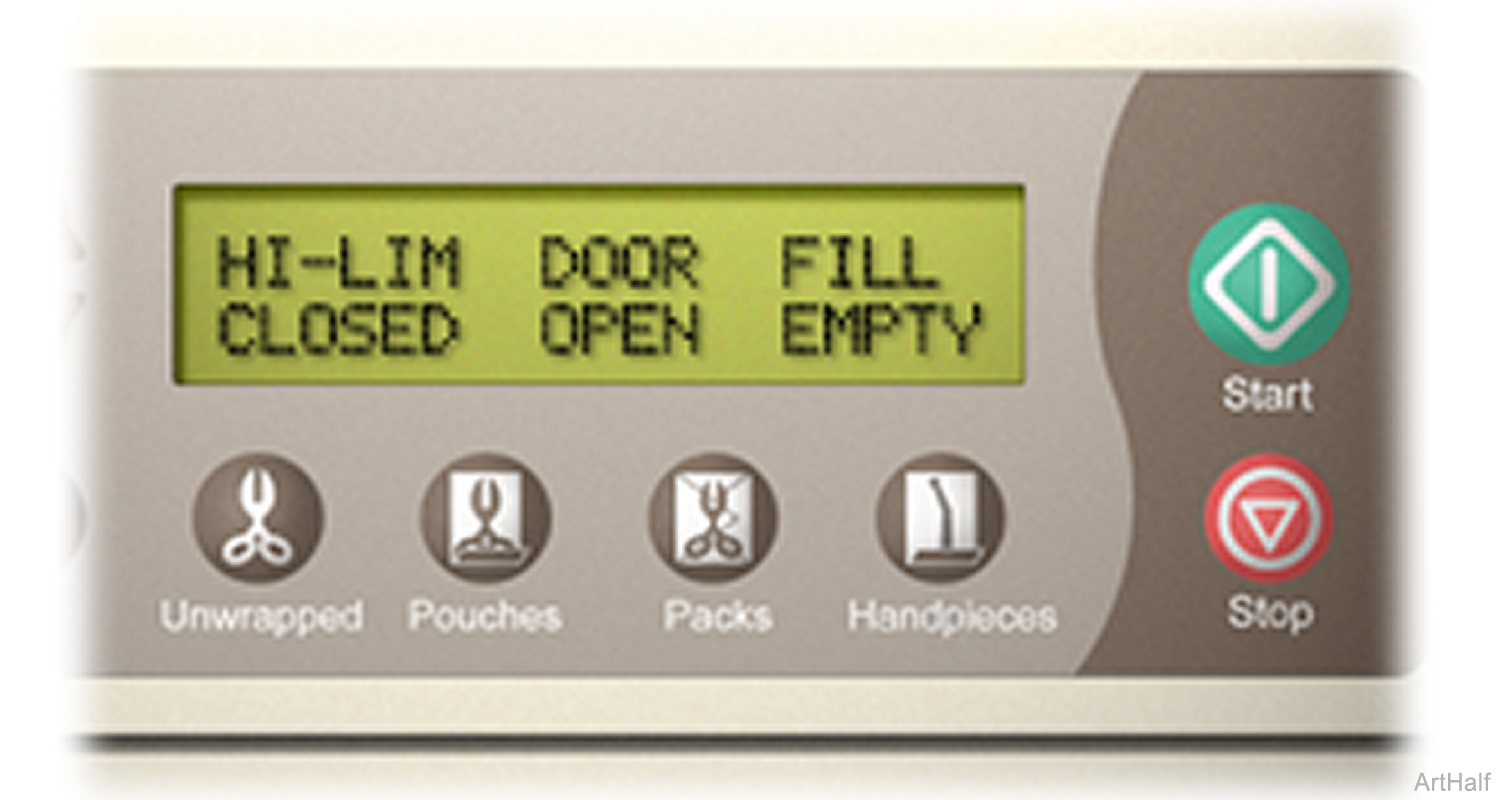
Status should always be closed.
Open indicates malfunctioning thermostat(s) or that the unit has overheated.
Status should correctly reflect the position of the door.
Status should reflect the water level in the chamber. If water is contacting the sensor, status should be full. If not, empty.
|
Model |
M9M11 -040 thru -043 |
| Serial Number | All |
The display shows the status of the High-Limit Thermostats, the Door Switch, and the Water Level Sensor. If the display reading indicates a malfunction, test the corresponding component. Press the Stop button for the next test.
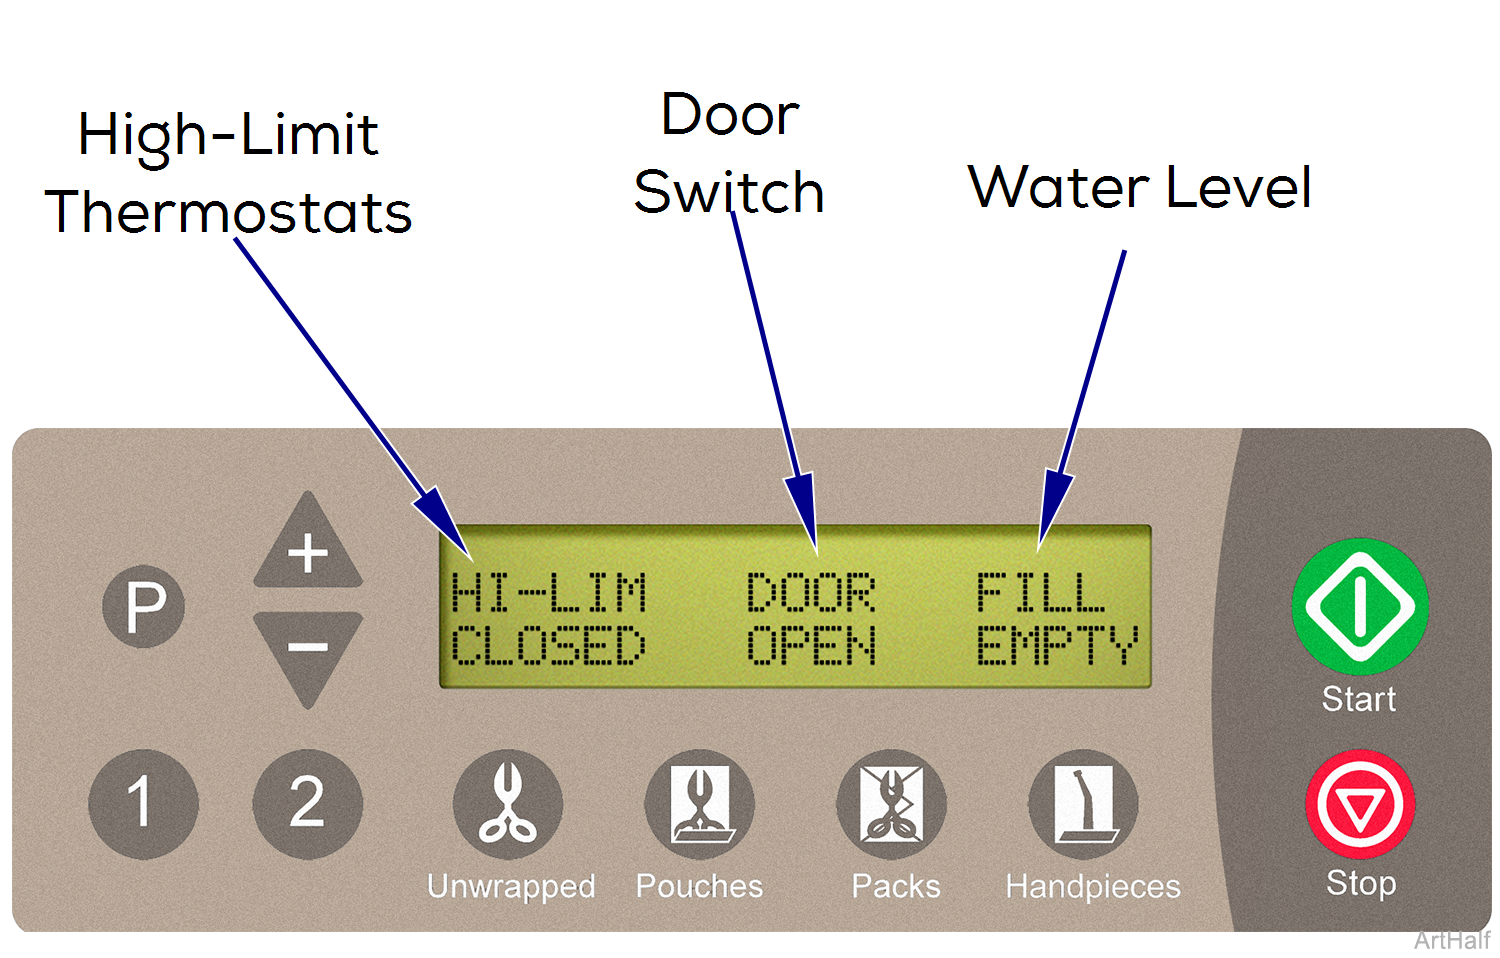
Status should always be closed.
Open indicates malfunctioning thermostat(s) or that the unit has overheated.
Status should correctly reflect the position of the door.
Status should reflect the water level in the chamber. If water is contacting the sensor, status should be full. If not, empty.
|
Model |
M9M11 |
| Serial Number | All |

The display shows the temperature / pressure inside the chamber. Press the Stop button to return to the Test Selection Screen.
Verify Chamber Temperature w/ thermometer.
With the door open Chamber Pressure display should show: 0.0 PSI (0.0 kPa)

