640 Doran Scale Exam Table Calibration Procedure Test and Repair
The Two Point calibration will calibrate the scale using only one weight that can be user defined. This calibration procedure is effective and can be used in the field with a test weight.
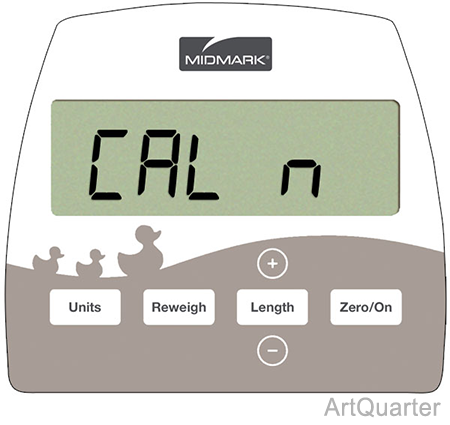
1.Enter Setup mode.
a.Press and hold Reweigh and Zero together.
b.Release both buttons when the display reads CAL n.
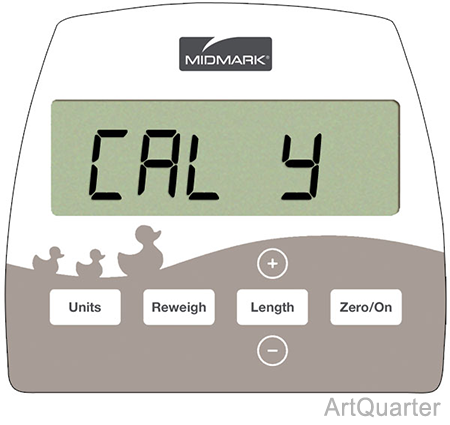
2.Press + button to change display to CAL y.
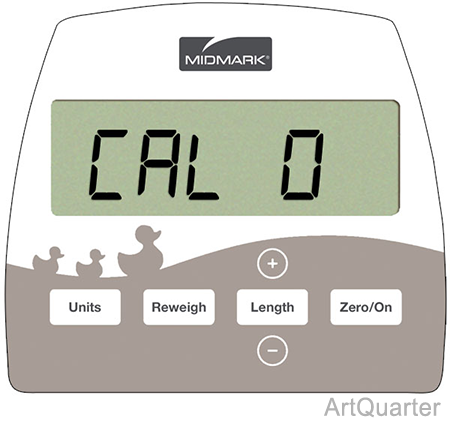
3.Press length.
Display reads CAL 0
4.Remove all weight from the scale platform.
During calibration be sure vibration and air currents are not present.
A 30 lb weight is required for this procedure
5.Calibrate
a.Press length to perform zero calibration.
b.The display will count down to zero. The counter will reset if too much motion (Er nn) is detected.
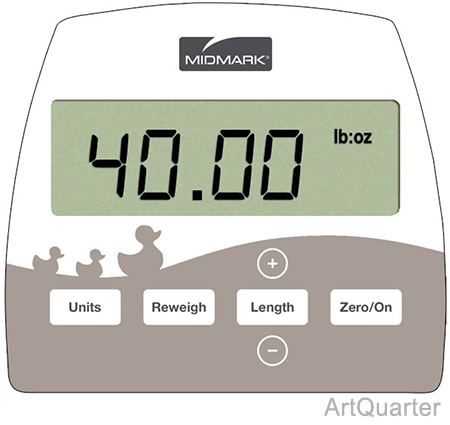
c.The scale will display 40.00, representing a 40 lbs span point calibration.
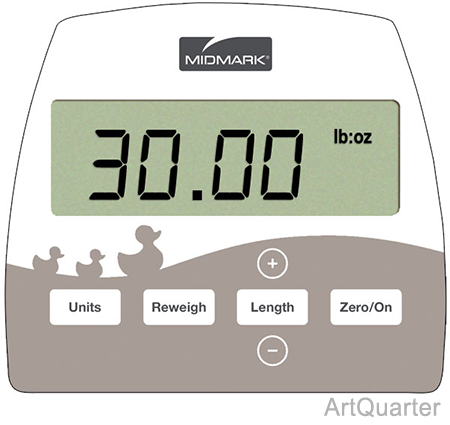
d.Change the calibration weight by using the + or - buttons to scroll the weight value to 30 lbs.
e.Place a 30 lb weight on the platform.
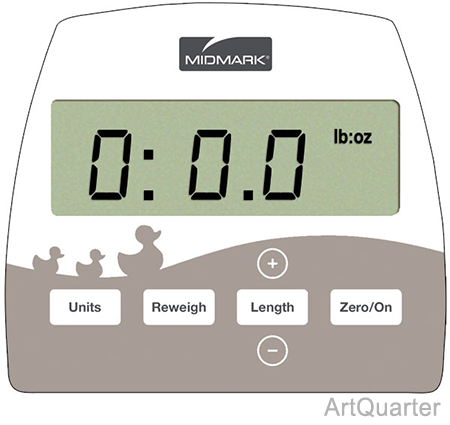
f.Press length to accept the span weight value. The display will count down to zero and return to the weigh mode.
The span weight value can be changed to any weight between 5 and 40 LB. For maximum accuracy, use between 20 lbs to 40lbs.
If Erng appears on the display, the span calibration has detected a negative range. If this error persists, consult the raw counts table. The following table shows the acceptable Raw Counts for no load and full load. Raw Counts can be viewed through the last setup parameter. Refer to parameter setup for more information regarding parameter viewing. If the scales raw count is not within the ranges specified in the following table, replace the scale.
| Calibration Requirement in Raw Counts | Minimum | Maximum |
|---|---|---|
| Zero Calibration Point | 200 | 20000 |
|
Required Calibration Span - 100% of Capacity Scale Cal Point - Zero Cal Point |
6000 | 30000 |
| Required Calibration Span - 5% of Capacity Scale Cal Point - Zero Cal Point | 300 | 1500 |

