640 Tanita Scale Exam Table Digital Scale Test and Repair
If scale reading is out of tolerance perform Calibration Procedure. If necessary, replace digital scale assembly. Do not use scale until problem has been rectified.
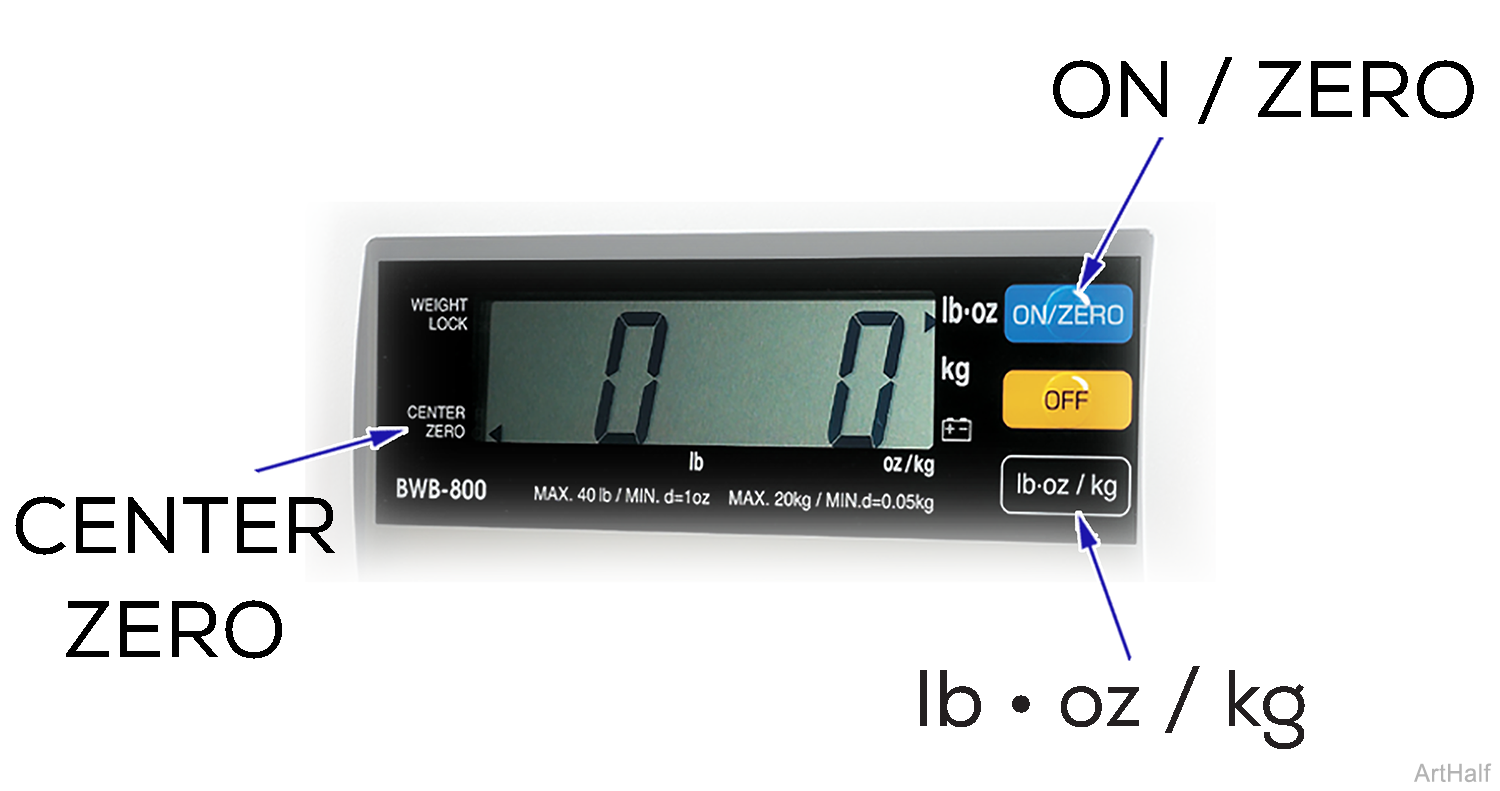
1.Press ON / ZERO button. Display: Flashes “8.8.8.8.8”, then shows “0.0” Arrow appears beside CENTER ZERO indicates scale is zeroed and ready for use.
2.Press lb • oz / kg button to select unit of measure. Display: Arrow appears beside selected unit lb • oz / kg.
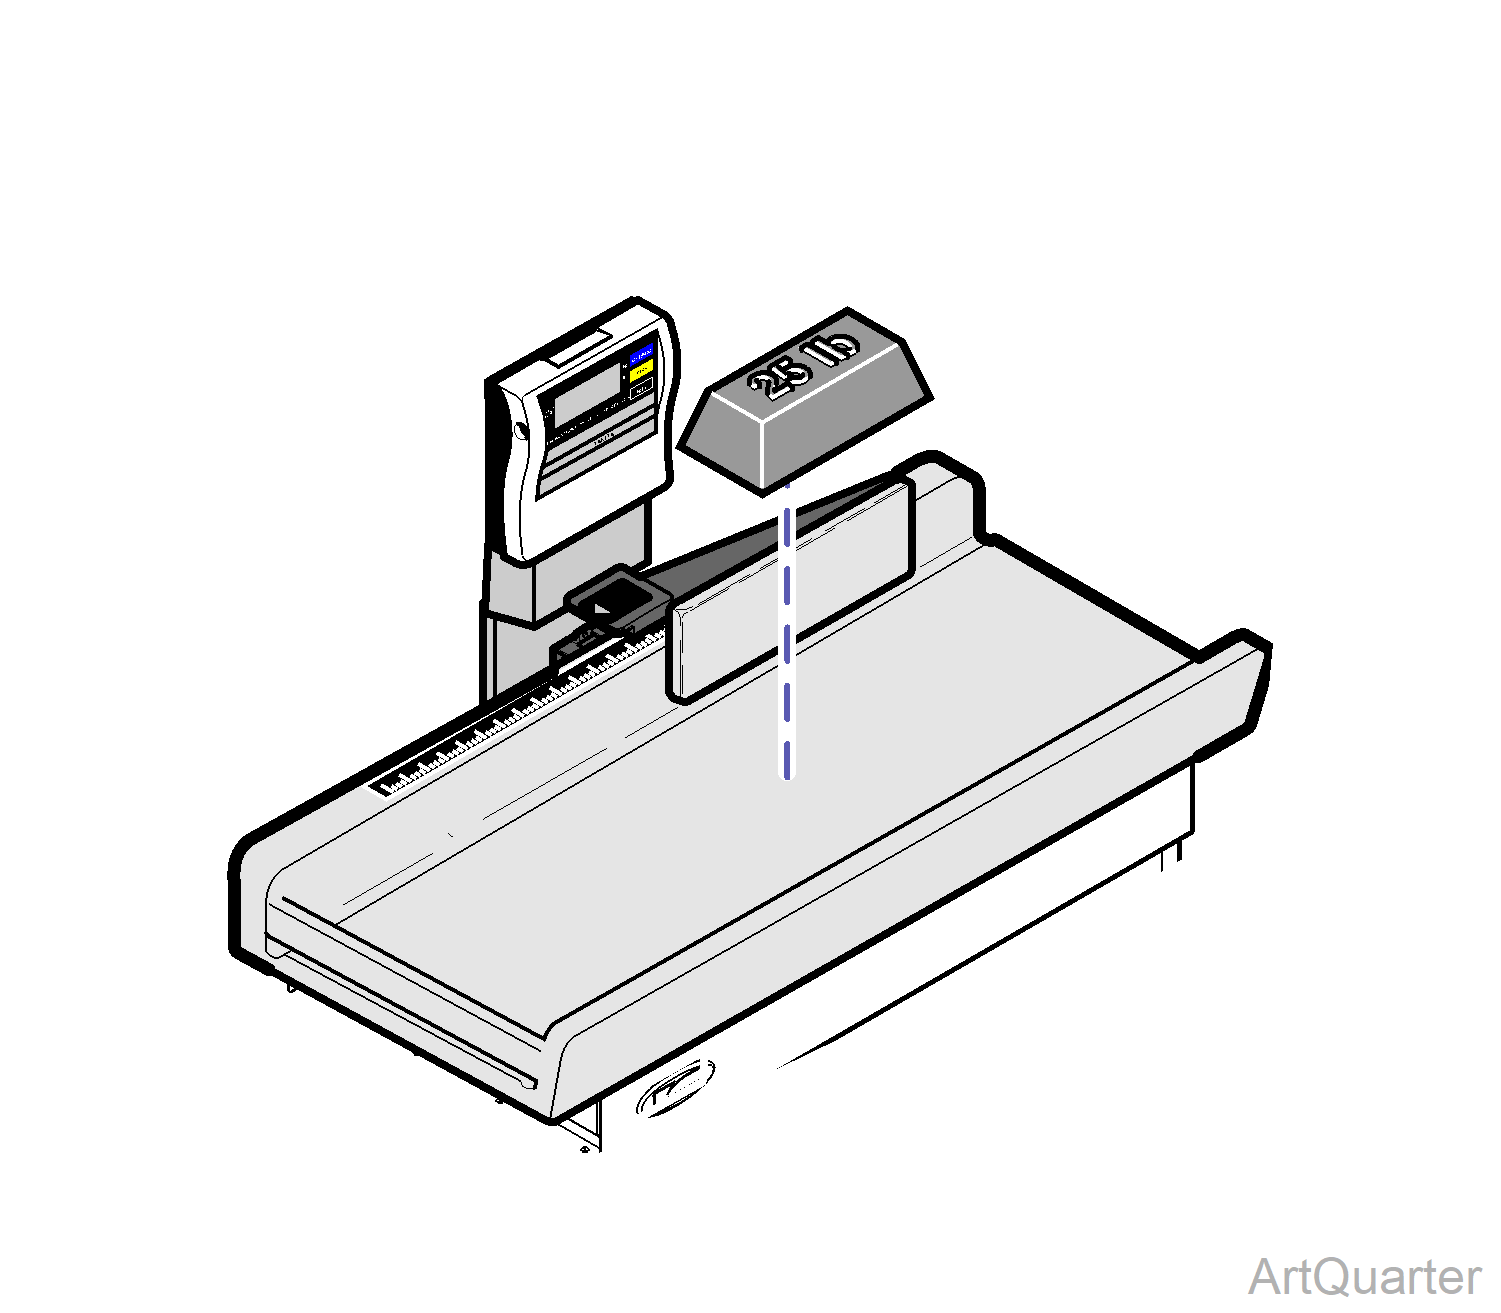
3.Place a 25 lb (11.3 kg) calibrated test weight in the center of the table top.
4.The weight displayed should match the calibrated test weight.
Allowable tolerance: + 2 oz (56 g)
The Calibration Procedure must be performed when any of the following conditions occur:
•Scale readings appear to be inaccurate.
•The digital display, or any other scale component is repaired or replaced.
•Annually, as part of a scheduled maintenance plan.
•The table is moved geographically to a new location with a significantly different elevation level.
Calibration Procedure
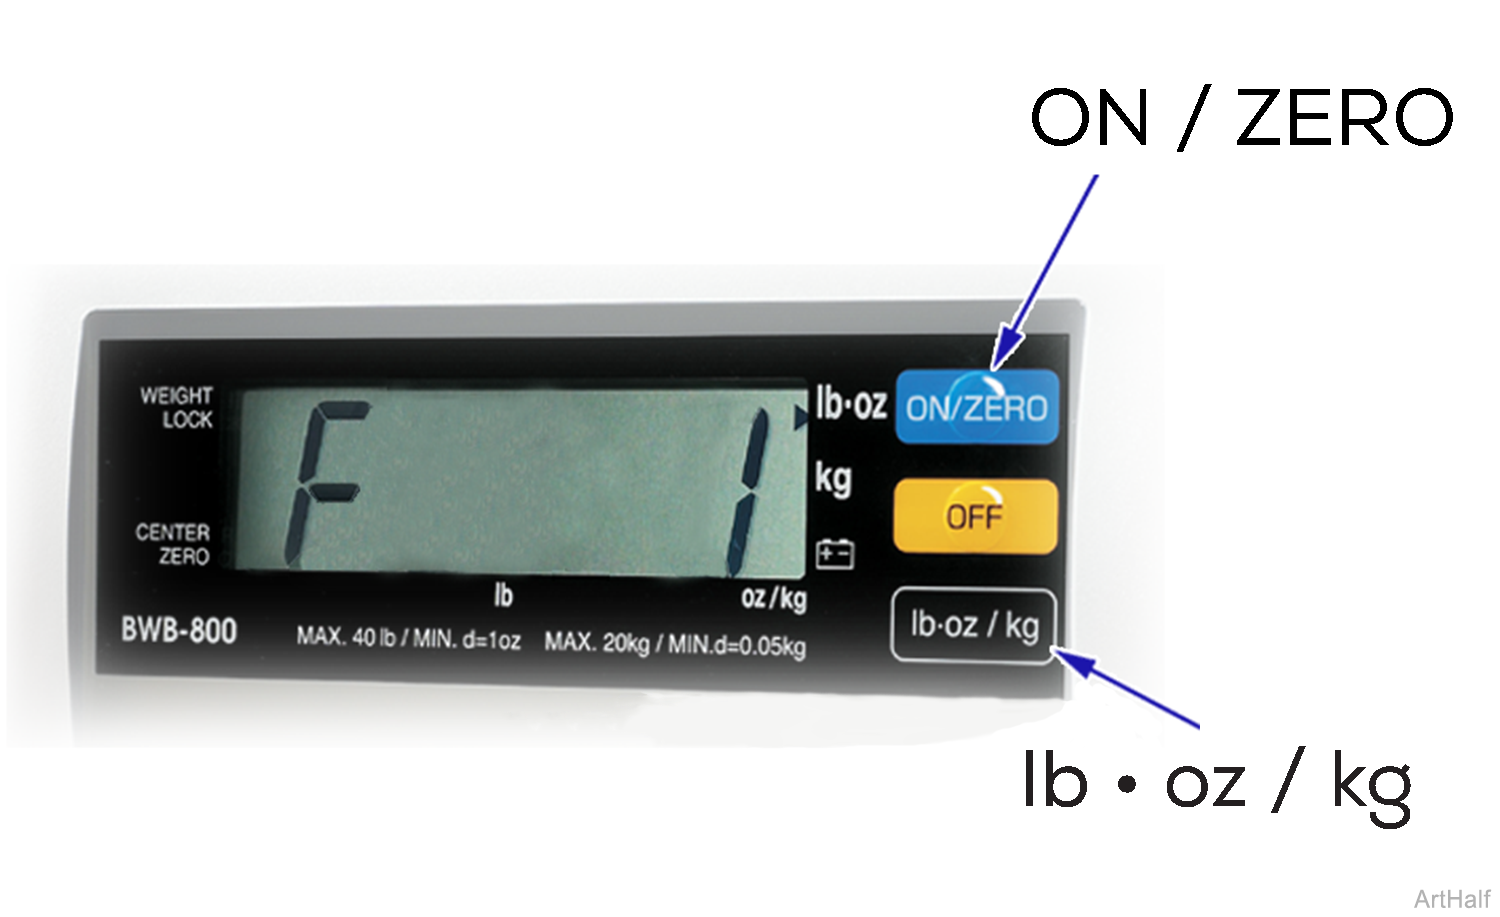
1.While pressing the lb • oz / kg button, press & release the ON / ZERO button to turn display power ON. Release lb • oz / kg button when 'F 1' appears on display. Display: ' 88888 ' ' F 1 '
2.Press the ON / ZERO button. Display: ' F 2 '
3.Press the lb • oz / kg button. Display: either ' 9 ' or ' 16 '
4.If the display shows ' 16 ', press the lb • oz / kg button. Display: initially ' 0' will change to ' 2 '.
If the display shows ' 9 ', press the ON / ZERO button, then press the lb • oz / kg button. Display: initially: ' 0'
Once display changes to ' 2 ', go to Step 5. Display: will change to: ' 2 '
5.Gently place 50 lb. of calibrated weight on the center of the table top. Allow weight to stabilize for 10 seconds, then press the lb • oz / kg button. Display: ' F 1 '
6.Remove weights from table. Press OFF button
7.Perform the Verify scale accuracy procedure.
8.Perform Gravity Correction Procedure.
The Gravity Correction Procedure must be performed when any of the following conditions occur:
•Whenever the scale is calibrated.
•The table is moved geographically to a new location with a significantly different elevation level.
Gravity Correction Procedure
1.While pressing the lb • oz / kg button, press & release the ON / ZERO button to turn display power ON. Release lb • oz / kg button when 'F 1' appears on display. Display: ' 88888 ' ' F 1 '
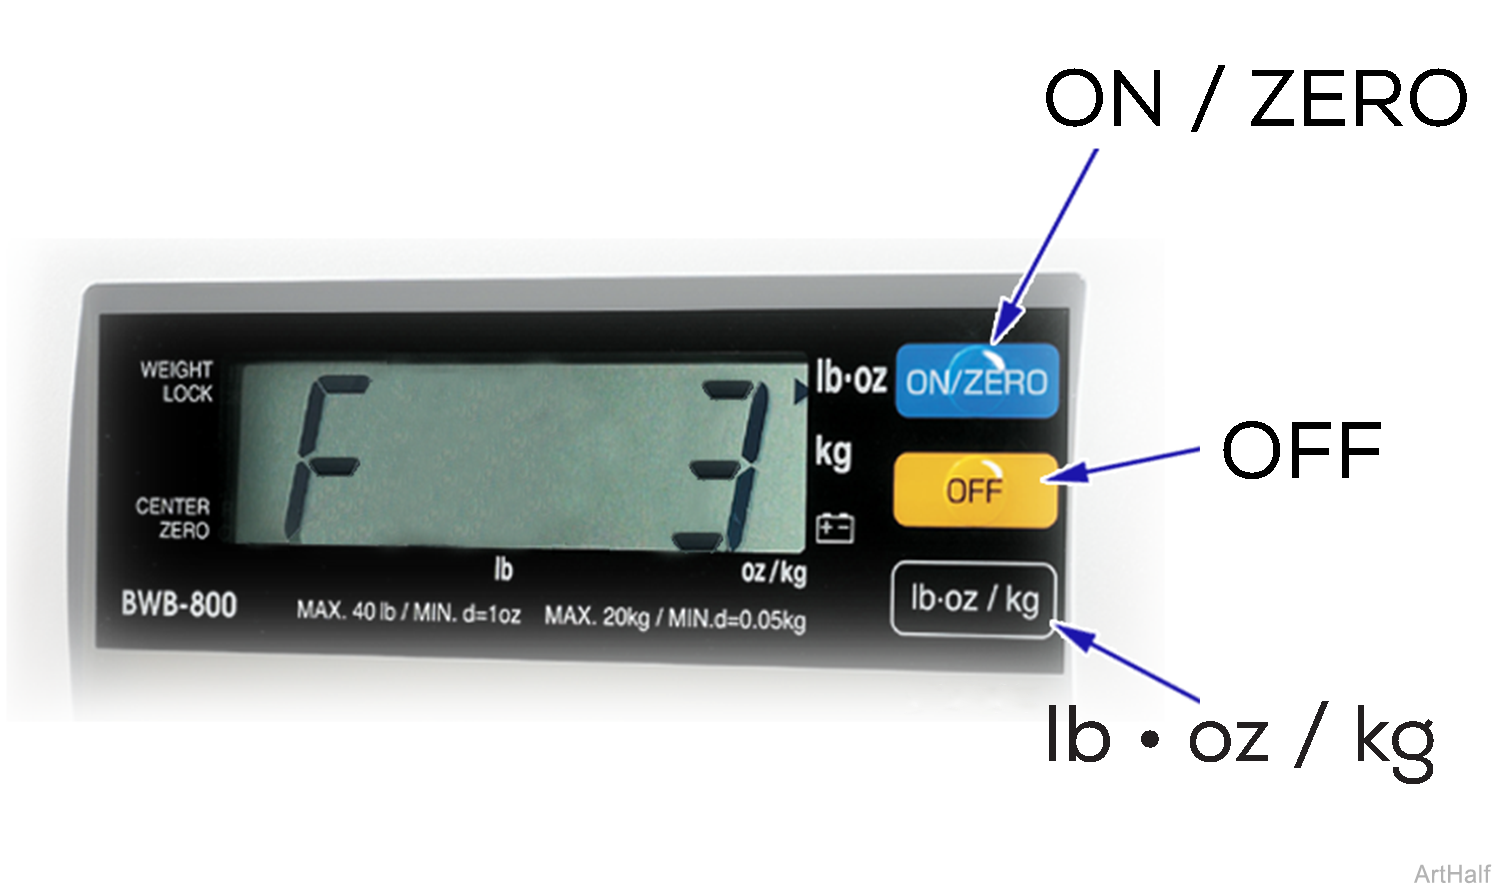
2.Press the ON / ZERO button until display shows 'F 3'. Display: ' F 3 '
3.Press the lb • oz / kg button. Display: ' 0.00'
4.Adjust the gravitational compensation value to 0.00. Press ON / ZERO button to increase Press OFF button to decrease. Display: 0.0x ' adjust if necessary to show ' 0.00 '
5.Press the lb • oz / kg button. Display: ' F 1'
6.Press the OFF button.
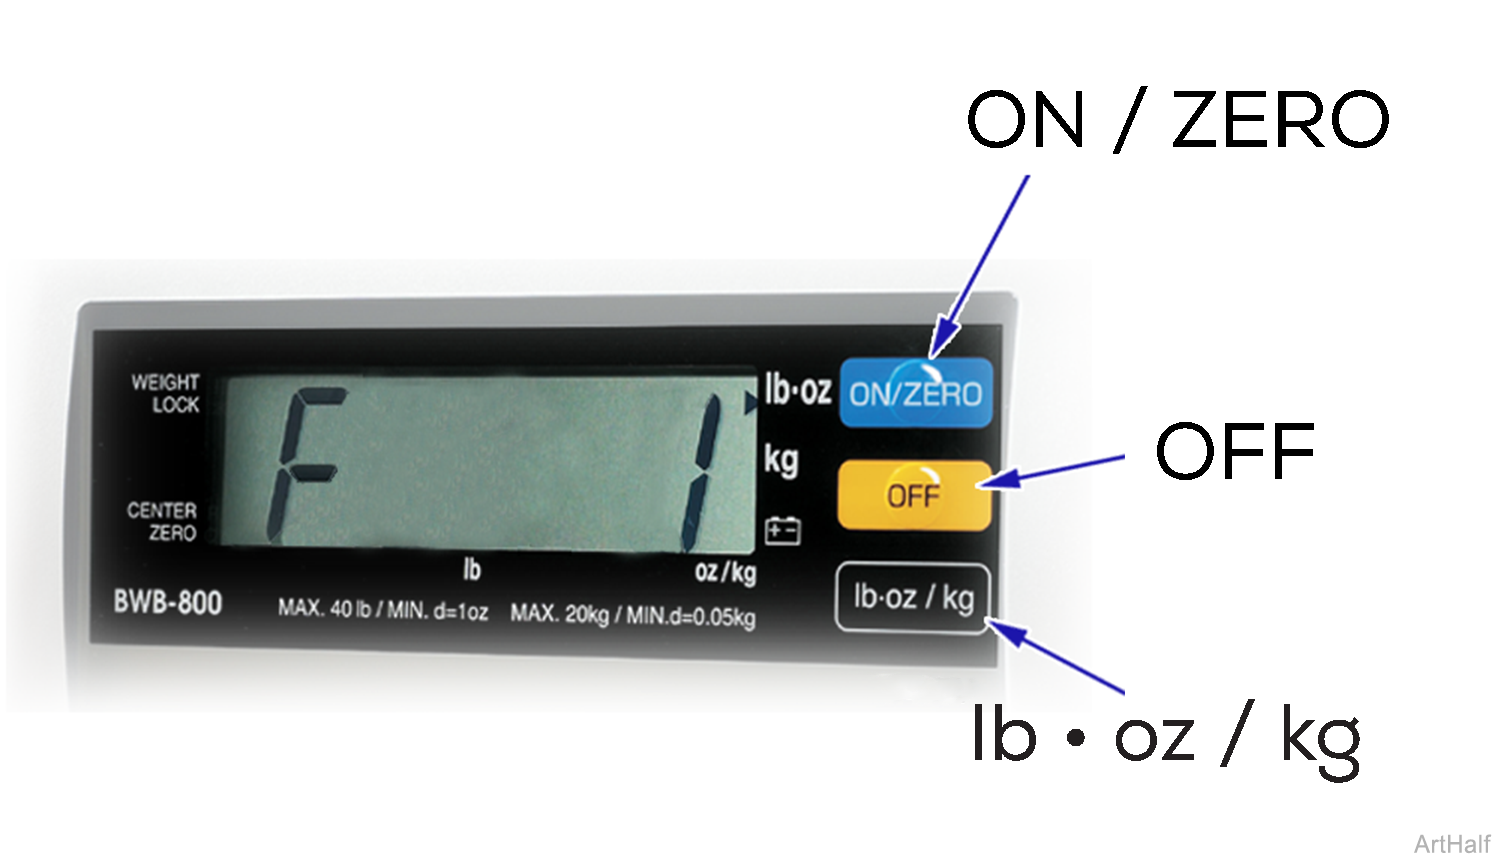
The Display Mode Setting Procedure must be performed when any of the following conditions occur:
•The digital display unit is replaced.
•The PC board inside the digital display unit is replaced.
Display Mode Setting Procedure
1.While pressing the lb • oz / kg button, press & release the ON / ZERO button to turn display power ON. Display: ' 88888 '
Release lb • oz / kg button when ' F 1 'appears on display. Display: 'F 1'
2.Press the ON / ZERO button until display shows 'F 4' .
3.Press the lb • oz / kg button. The mode setting should be 'H8830'. If an initial mode setting has not been performed, only 'H' will be displayed.
4.Press the ON / ZERO button to change the first digit to ' 8 '. Then press the OFF button to change the second digit to ' 8 '. Display: ' Hxx ' to 'H88'
5.Press the lb • oz / kg button. Display: 'F1'
6.Press the ON / ZERO button until display shows 'F 5'.
7.Press the ON / ZERO button to change the third digit to ' 3 '. Then press the OFF button to change the fourth digit to ' 0 '. Display: ' H88xx ' to ' H8830 '
8.Press the lb • oz / kg button. Display: 'F1'
9.Press the OFF button to turn to turn digital display off.

