Canis Major Scale Test and Repair
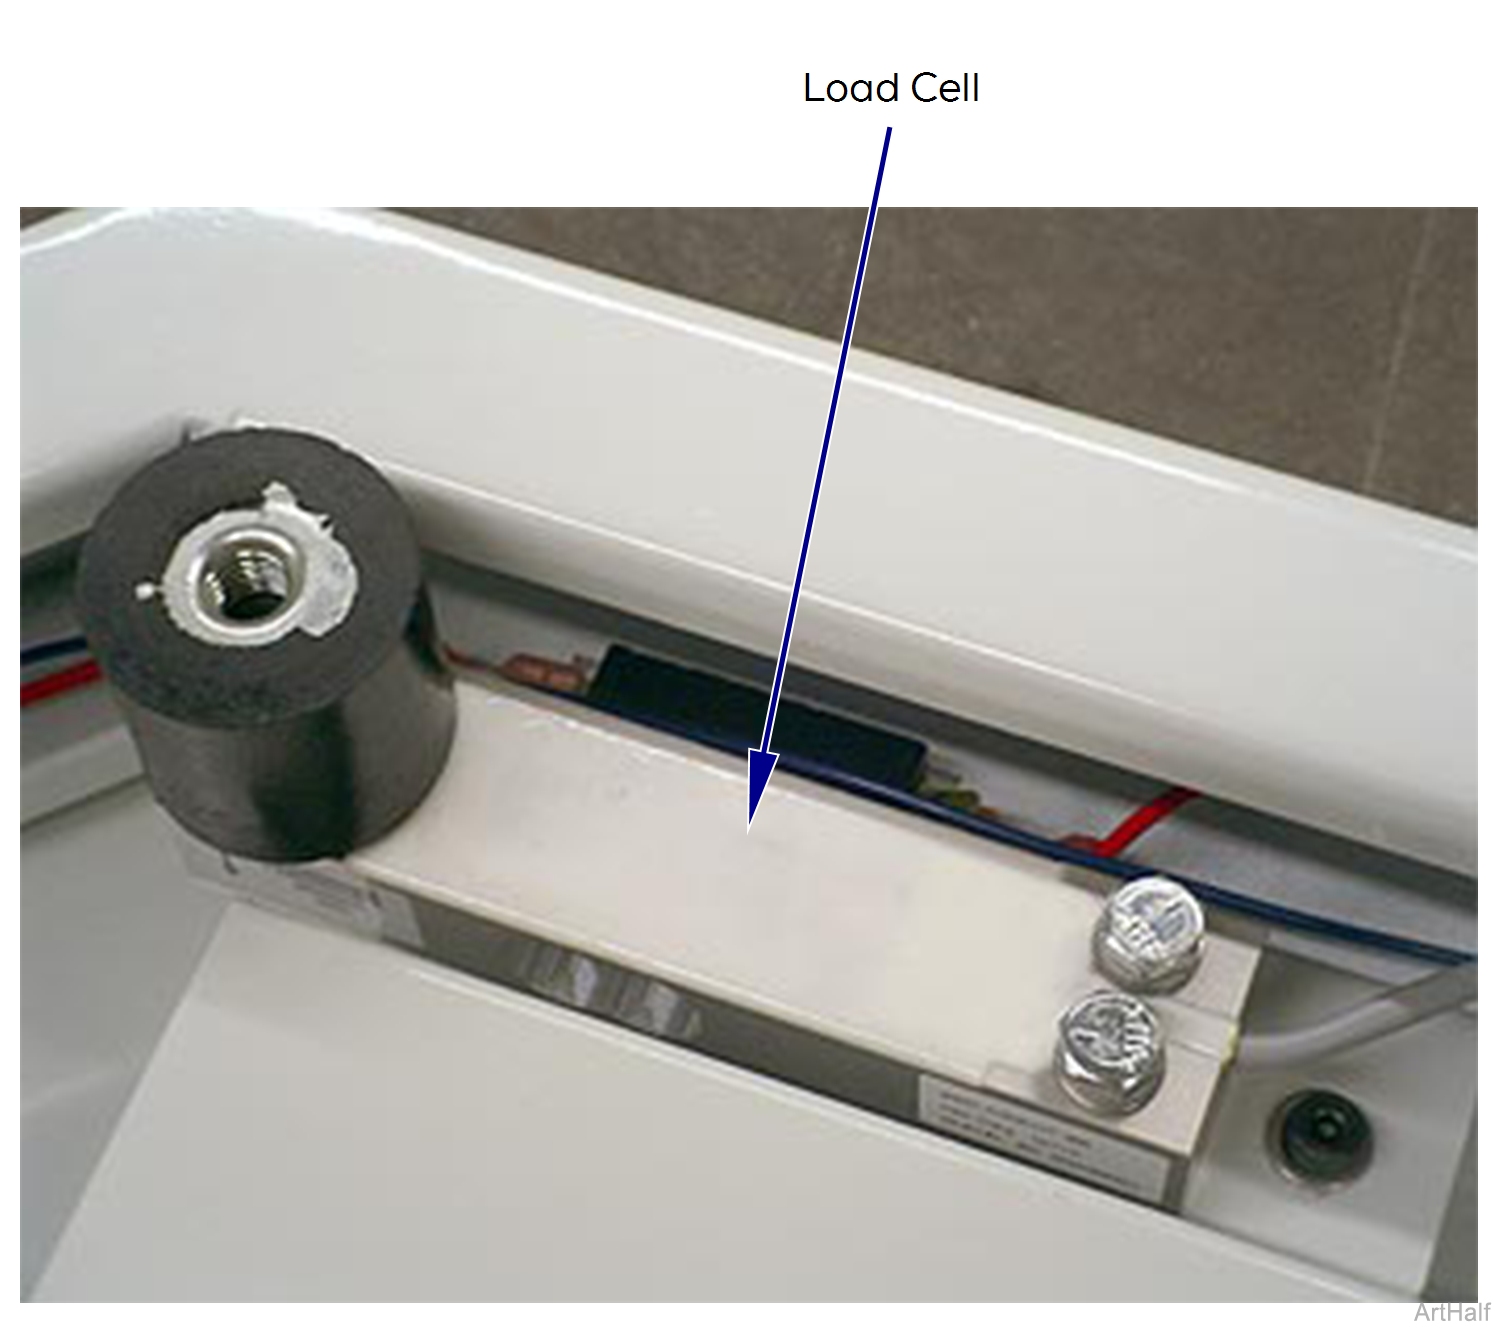
The scale which is optional on both the dry and wet tables incorporates four load sensors located under the table top surface.
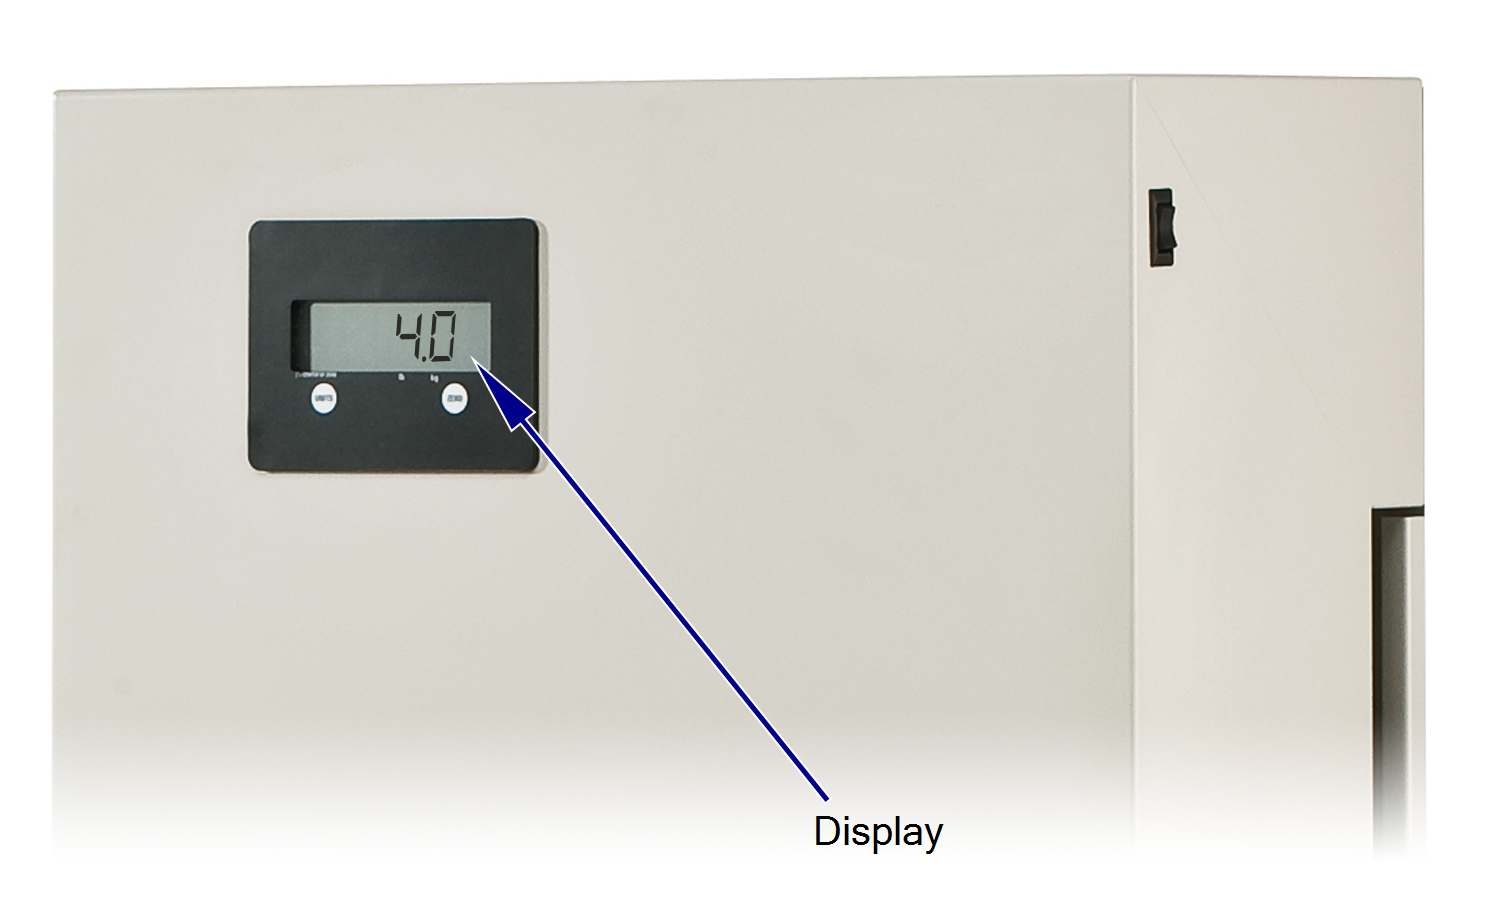
The scale provides a continuous weight that is accurate to + or - 0.67%. The display is located on the front of the of the column near the top.
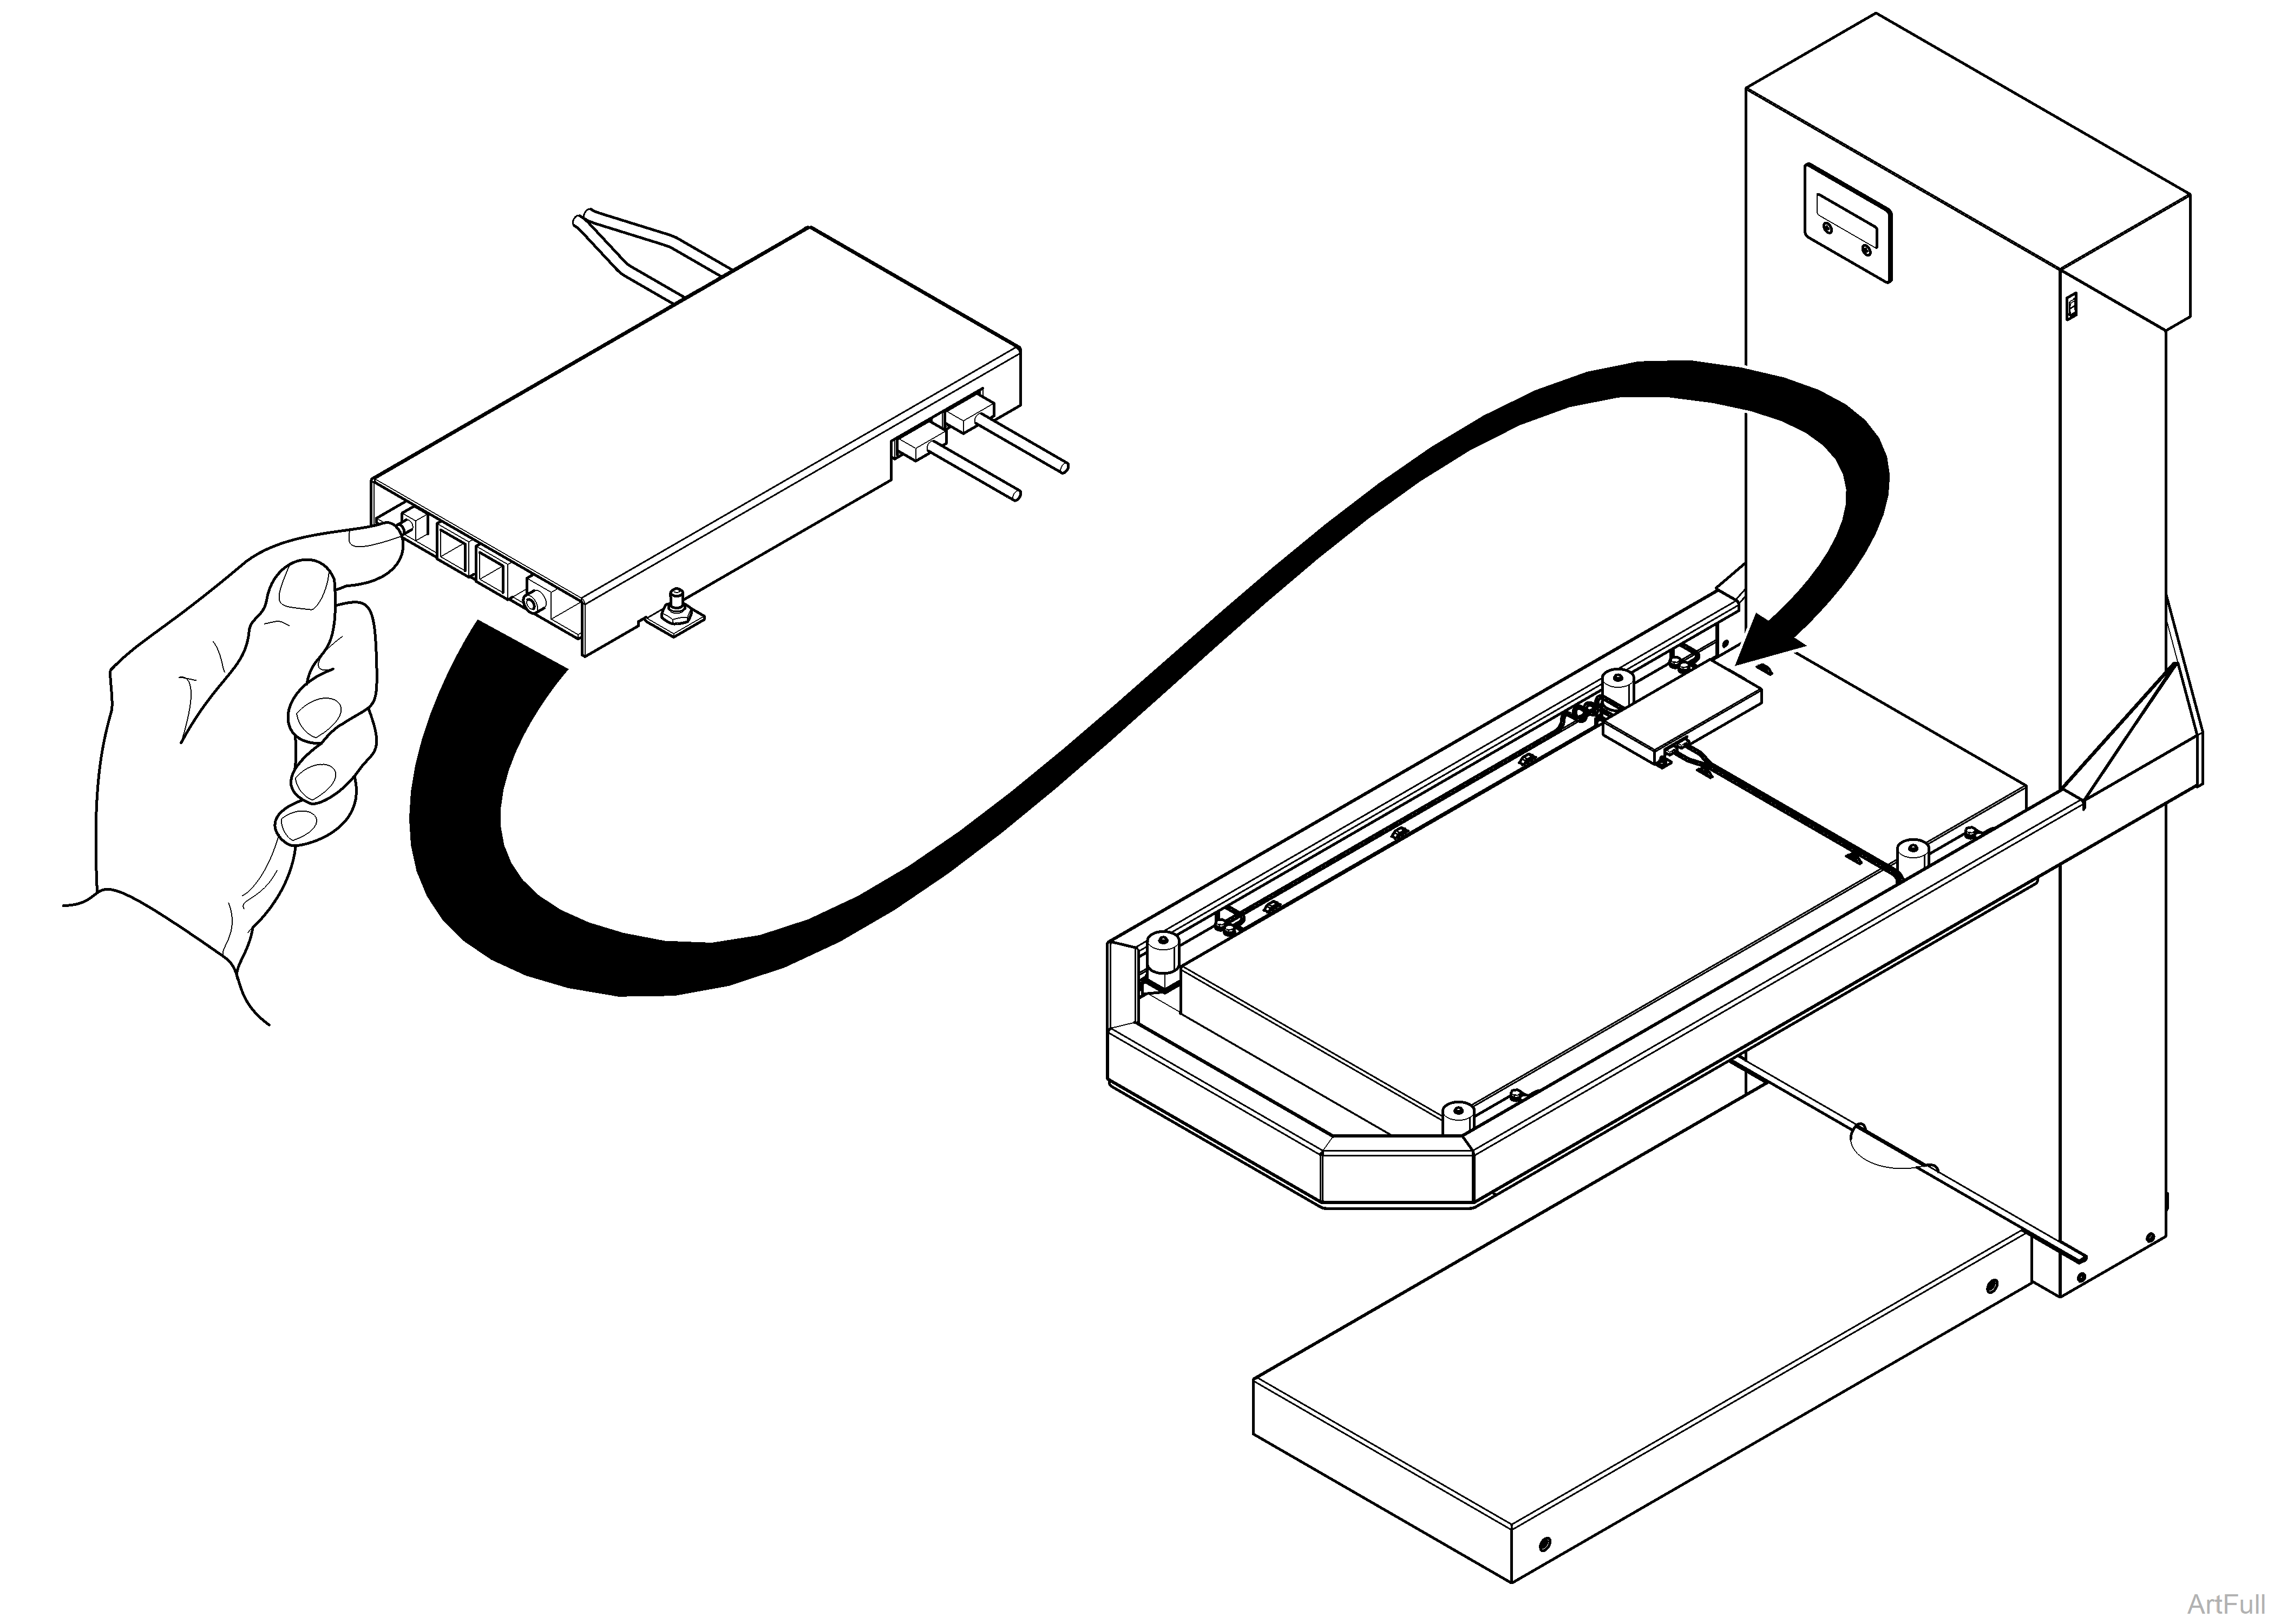
50 lb Weight is Required for Calibrating Scale. Selections shown in graphics are factory default settings.
1.Lift back left corner of table top to access calibration button on the PC board.
2.Press the "CAL" button on the PC board and lower table top back in to position.
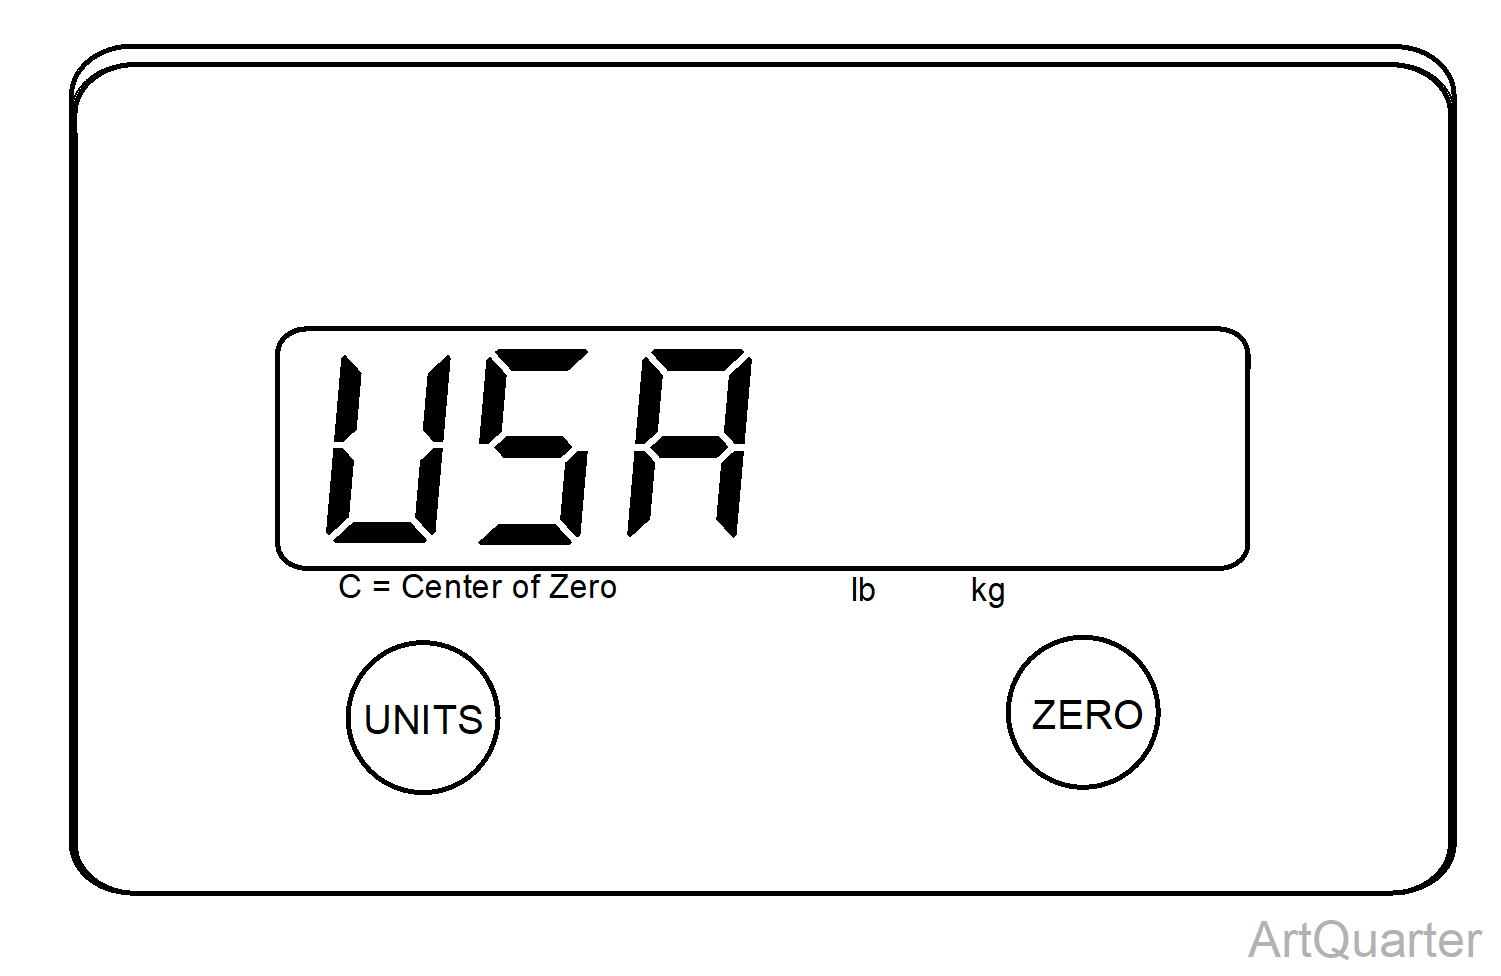
3.Select USA (100%) or CAN (2% zero range) by pressing Unit button. Lock in selection by pressing Zero button.
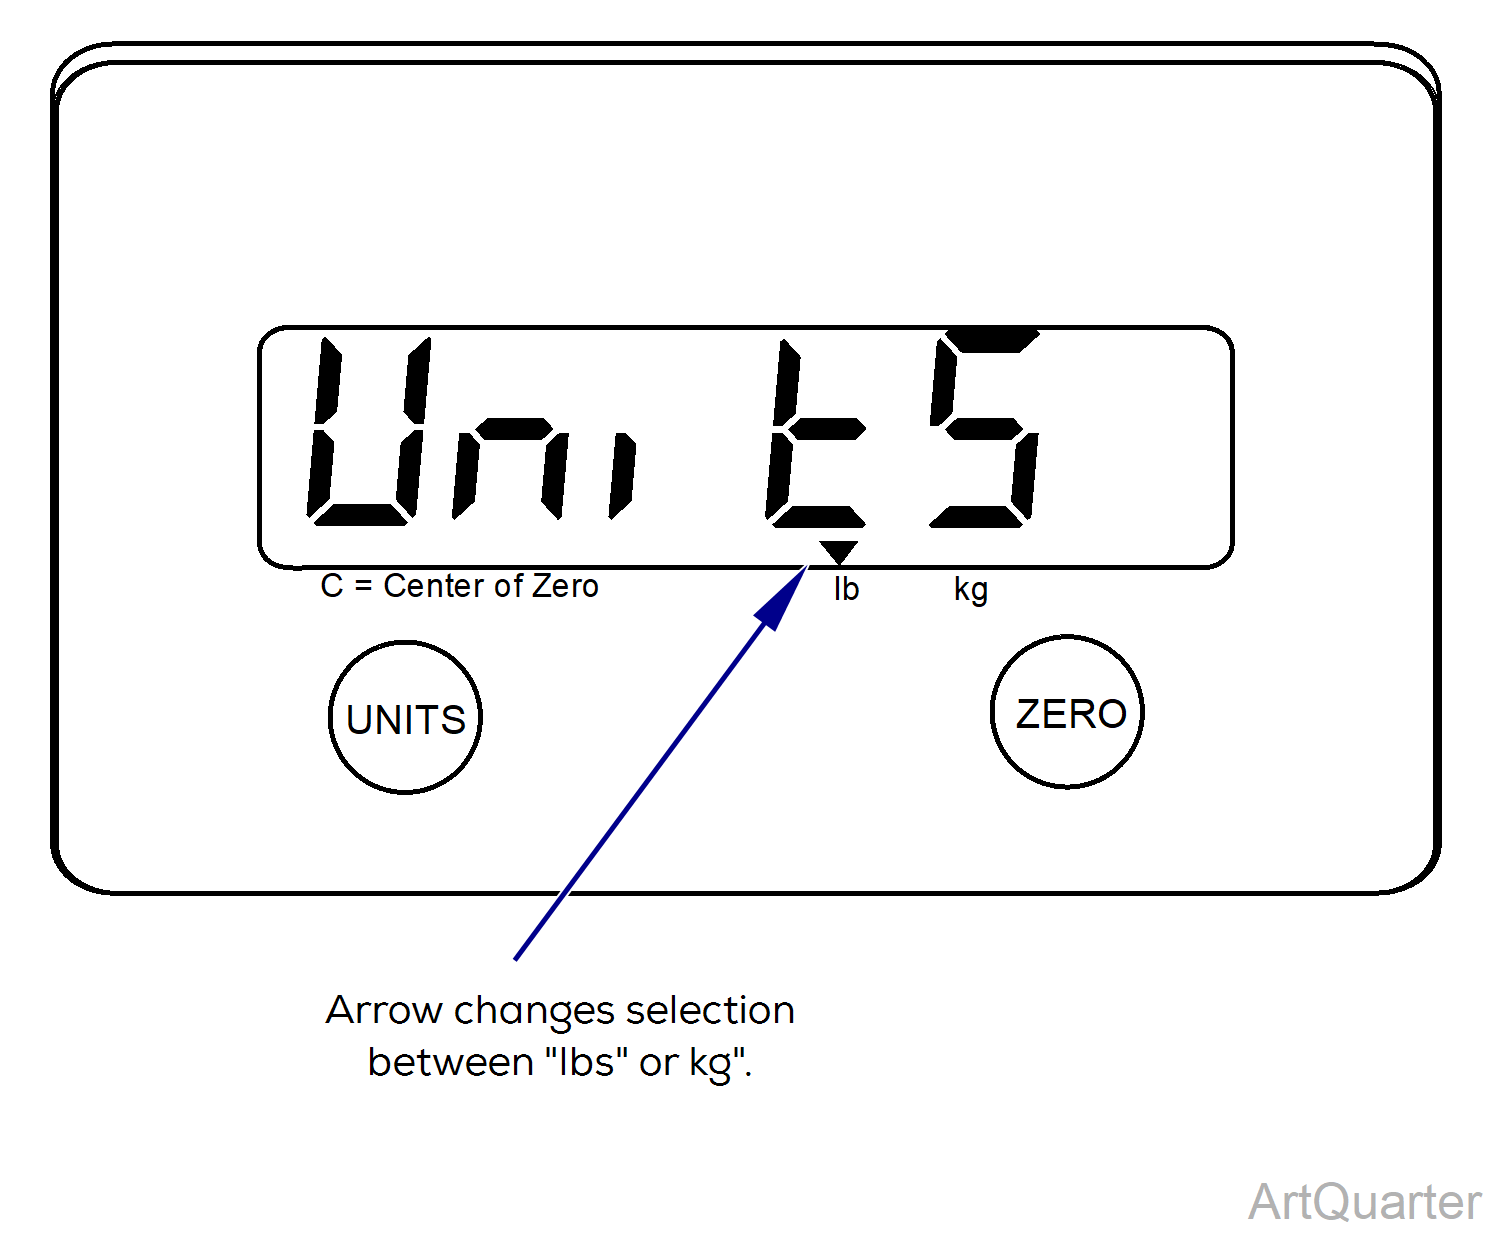
4.Select "lbs"[*] or "kg" by pressing UNIT button. Lock in selection by pressing ZERO button.
To have both unit types available for use, select unit button until the selection arrow is above both "lbs" and "kg", then lock in selection by pressing ZERO button
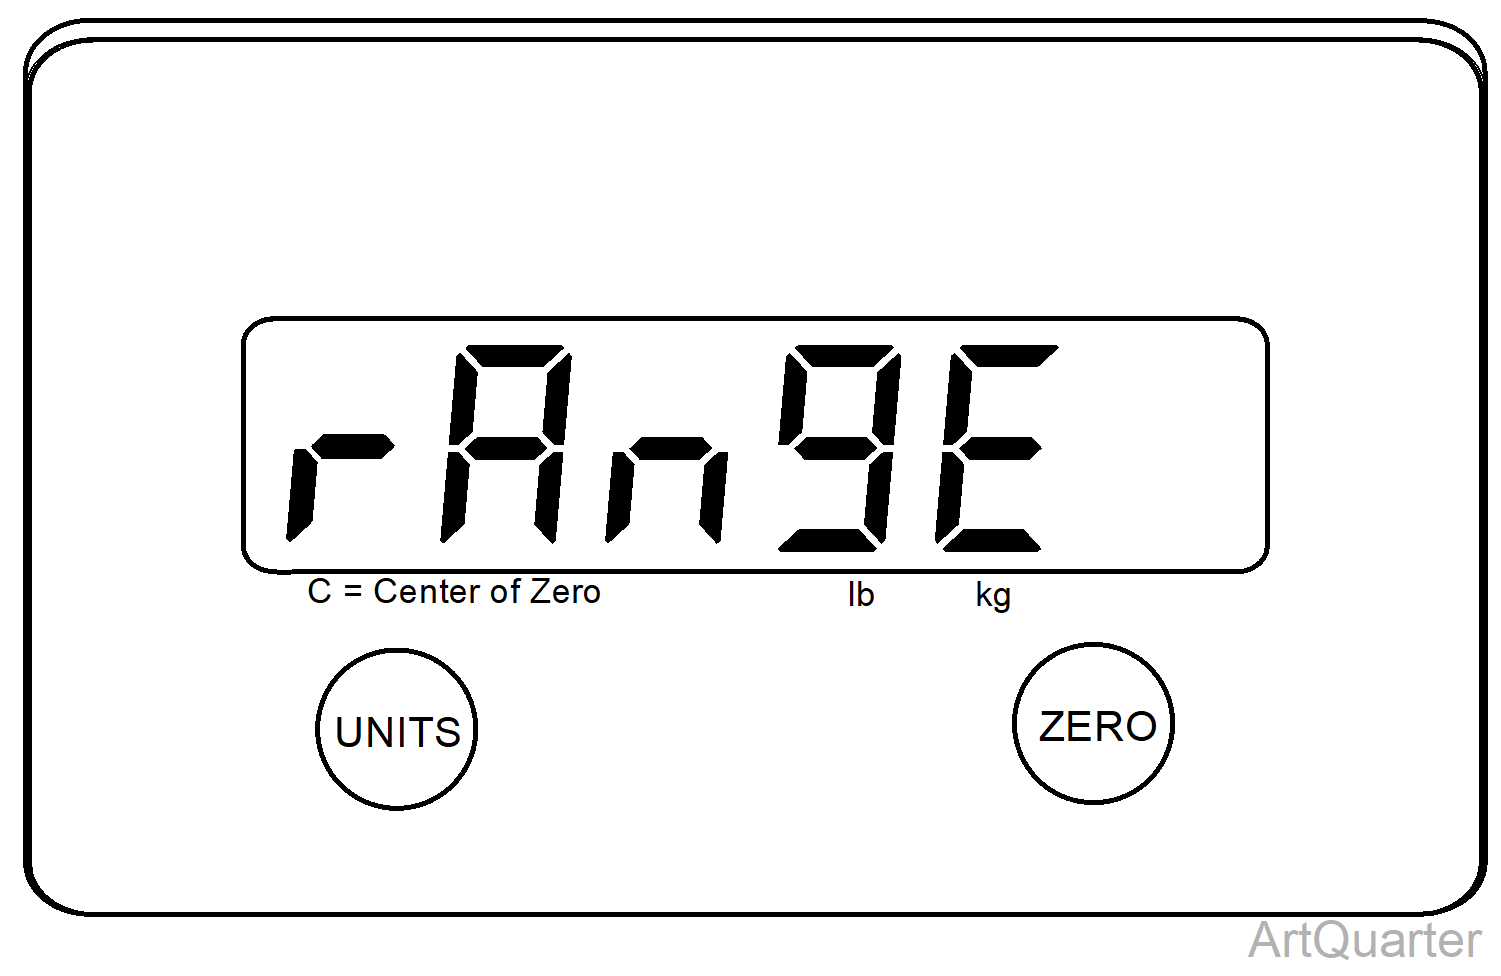
5.Select "RANGE" [*] (enable) or "norAng" (disable) by pressing UNIT button. Lock in selection by pressing ZERO button.
| Weight | Range |
|---|---|
| 0-30 lbs | 0.1 lbs |
| 30-70 lbs | 0.2 lbs |
| 75-300 lbs | 0.5 lbs |
| norAng = 0-300 lbs | 0.1 lbs |
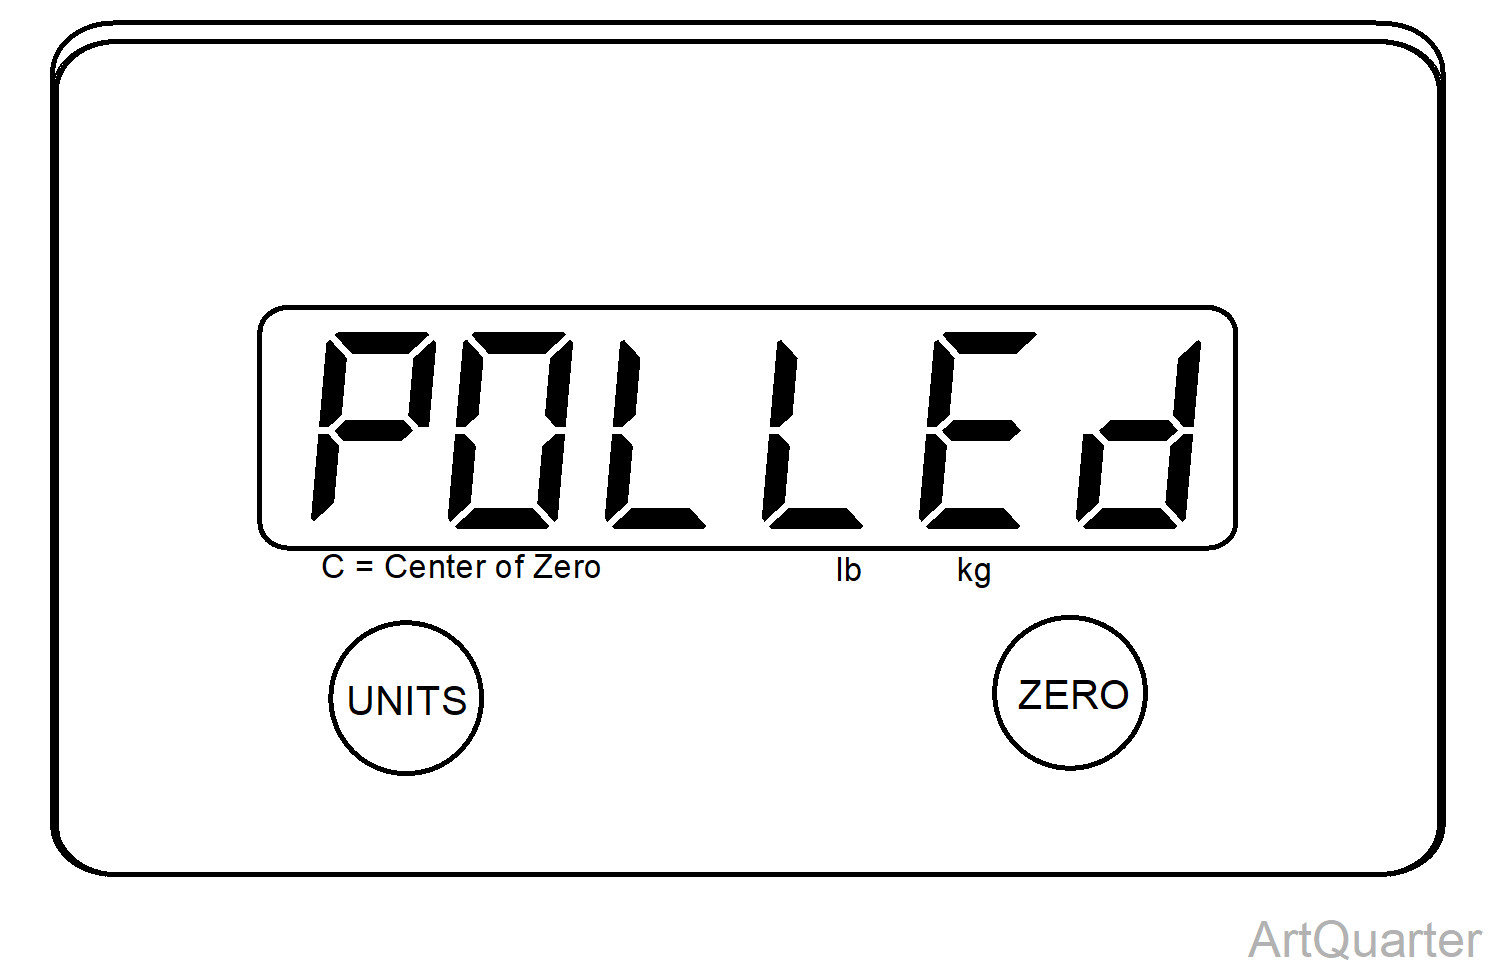
6.Select "POLLED" (factory setting) or "CONT" (continuous) by pressing UNIT button. Lock in selection by pressing ZERO button.
Output Settings: POLLED = The Computer Requests the Output by Sending the Scale a "CR" Character (OD HEX). CONT = The Output is Automatically Transmitted Every 0.5 Seconds.
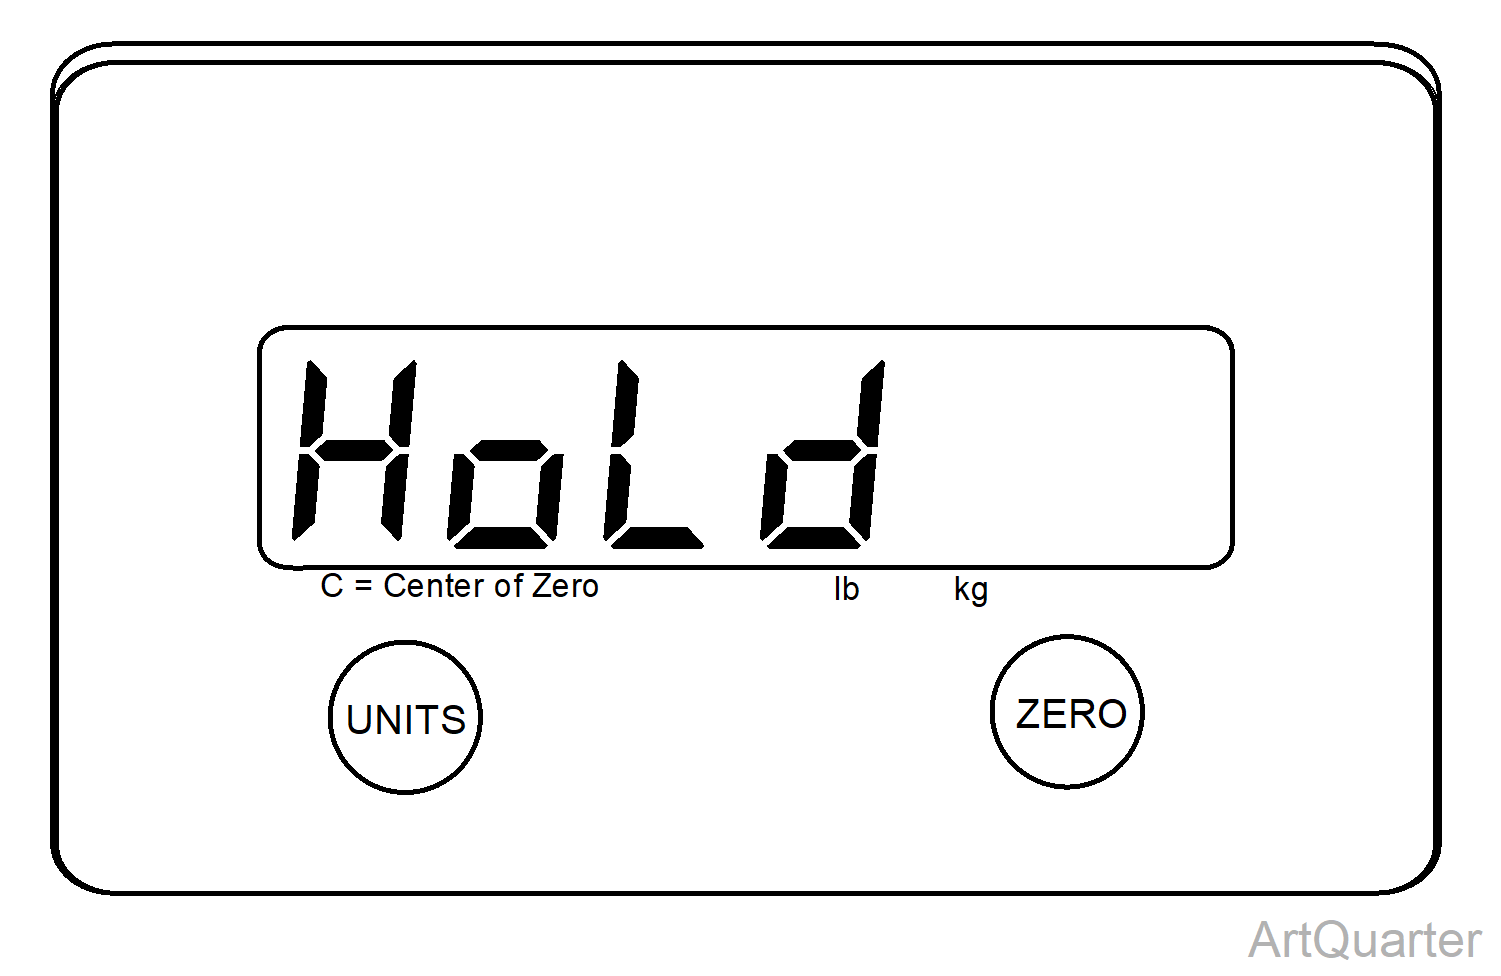
7.Select "nohold" (disabled) or "Hold" (Factory Setting - enabled) by pressing UNIT button. Lock in selection by pressing ZERO button. nohold = Weight will be Normal, but Unstable. Hold = Selecting Hold after 3 Seconds of Stable Weight will Lock the Weight in after Weight is Removed from Scale

8.To Establish Zero Reference Point, unload the dead load count by pressing the ZERO button.
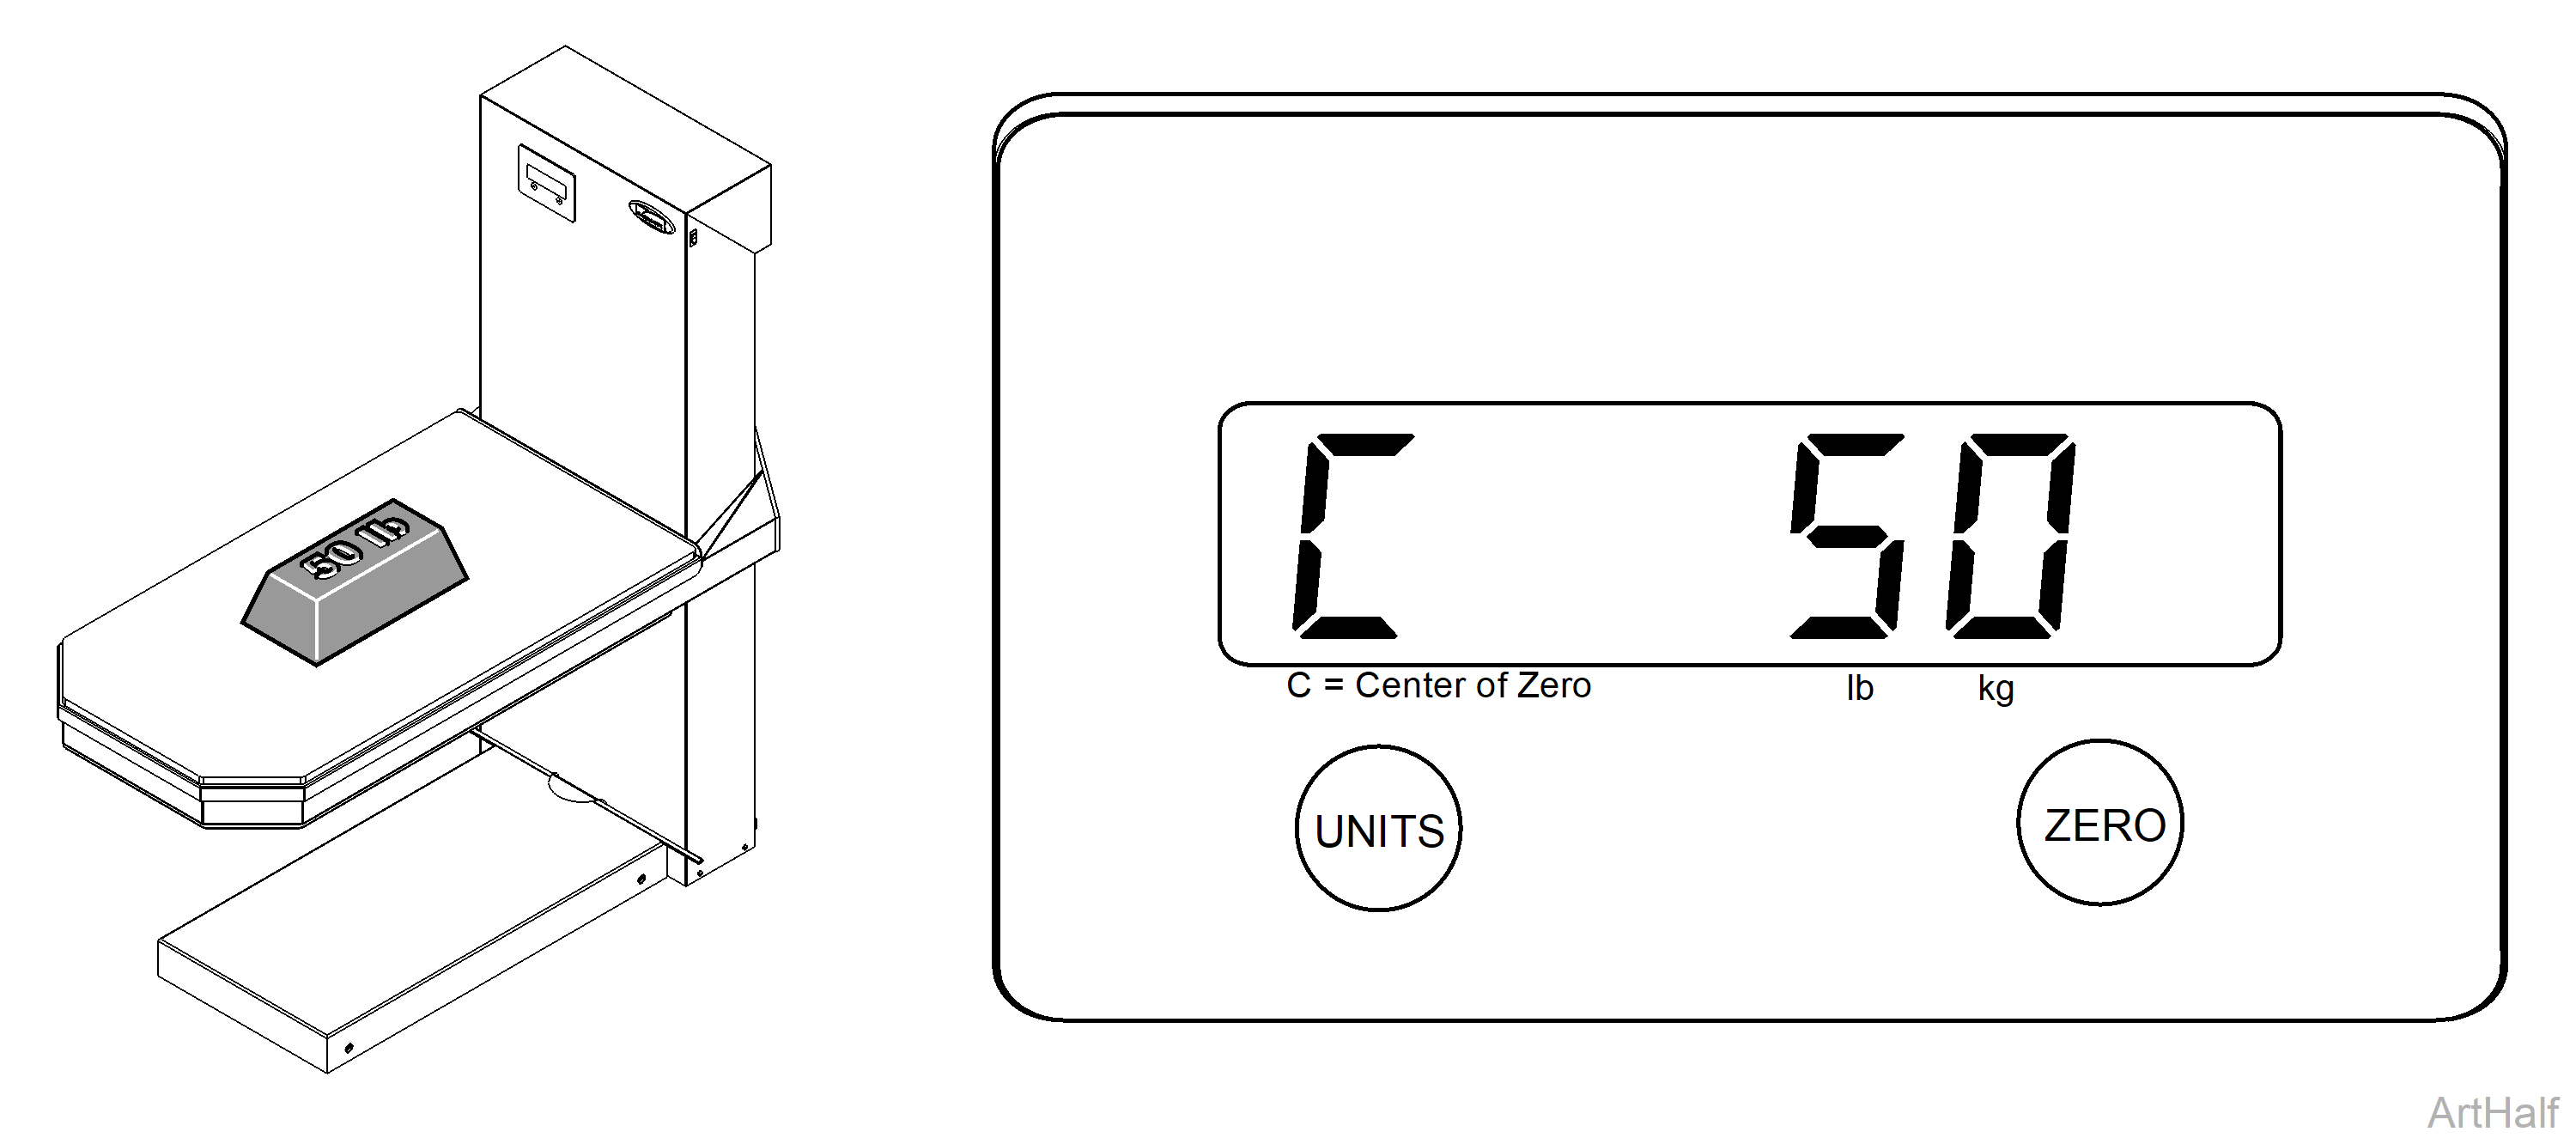
9.Press the UNIT button to toggle through calibration weights to 50.
10.Load 50 lb weight as evenly as possible. When the amount stabilizes at 50 lbs, press ZERO to span the scale.
11.Remove weight, calibration is completed.
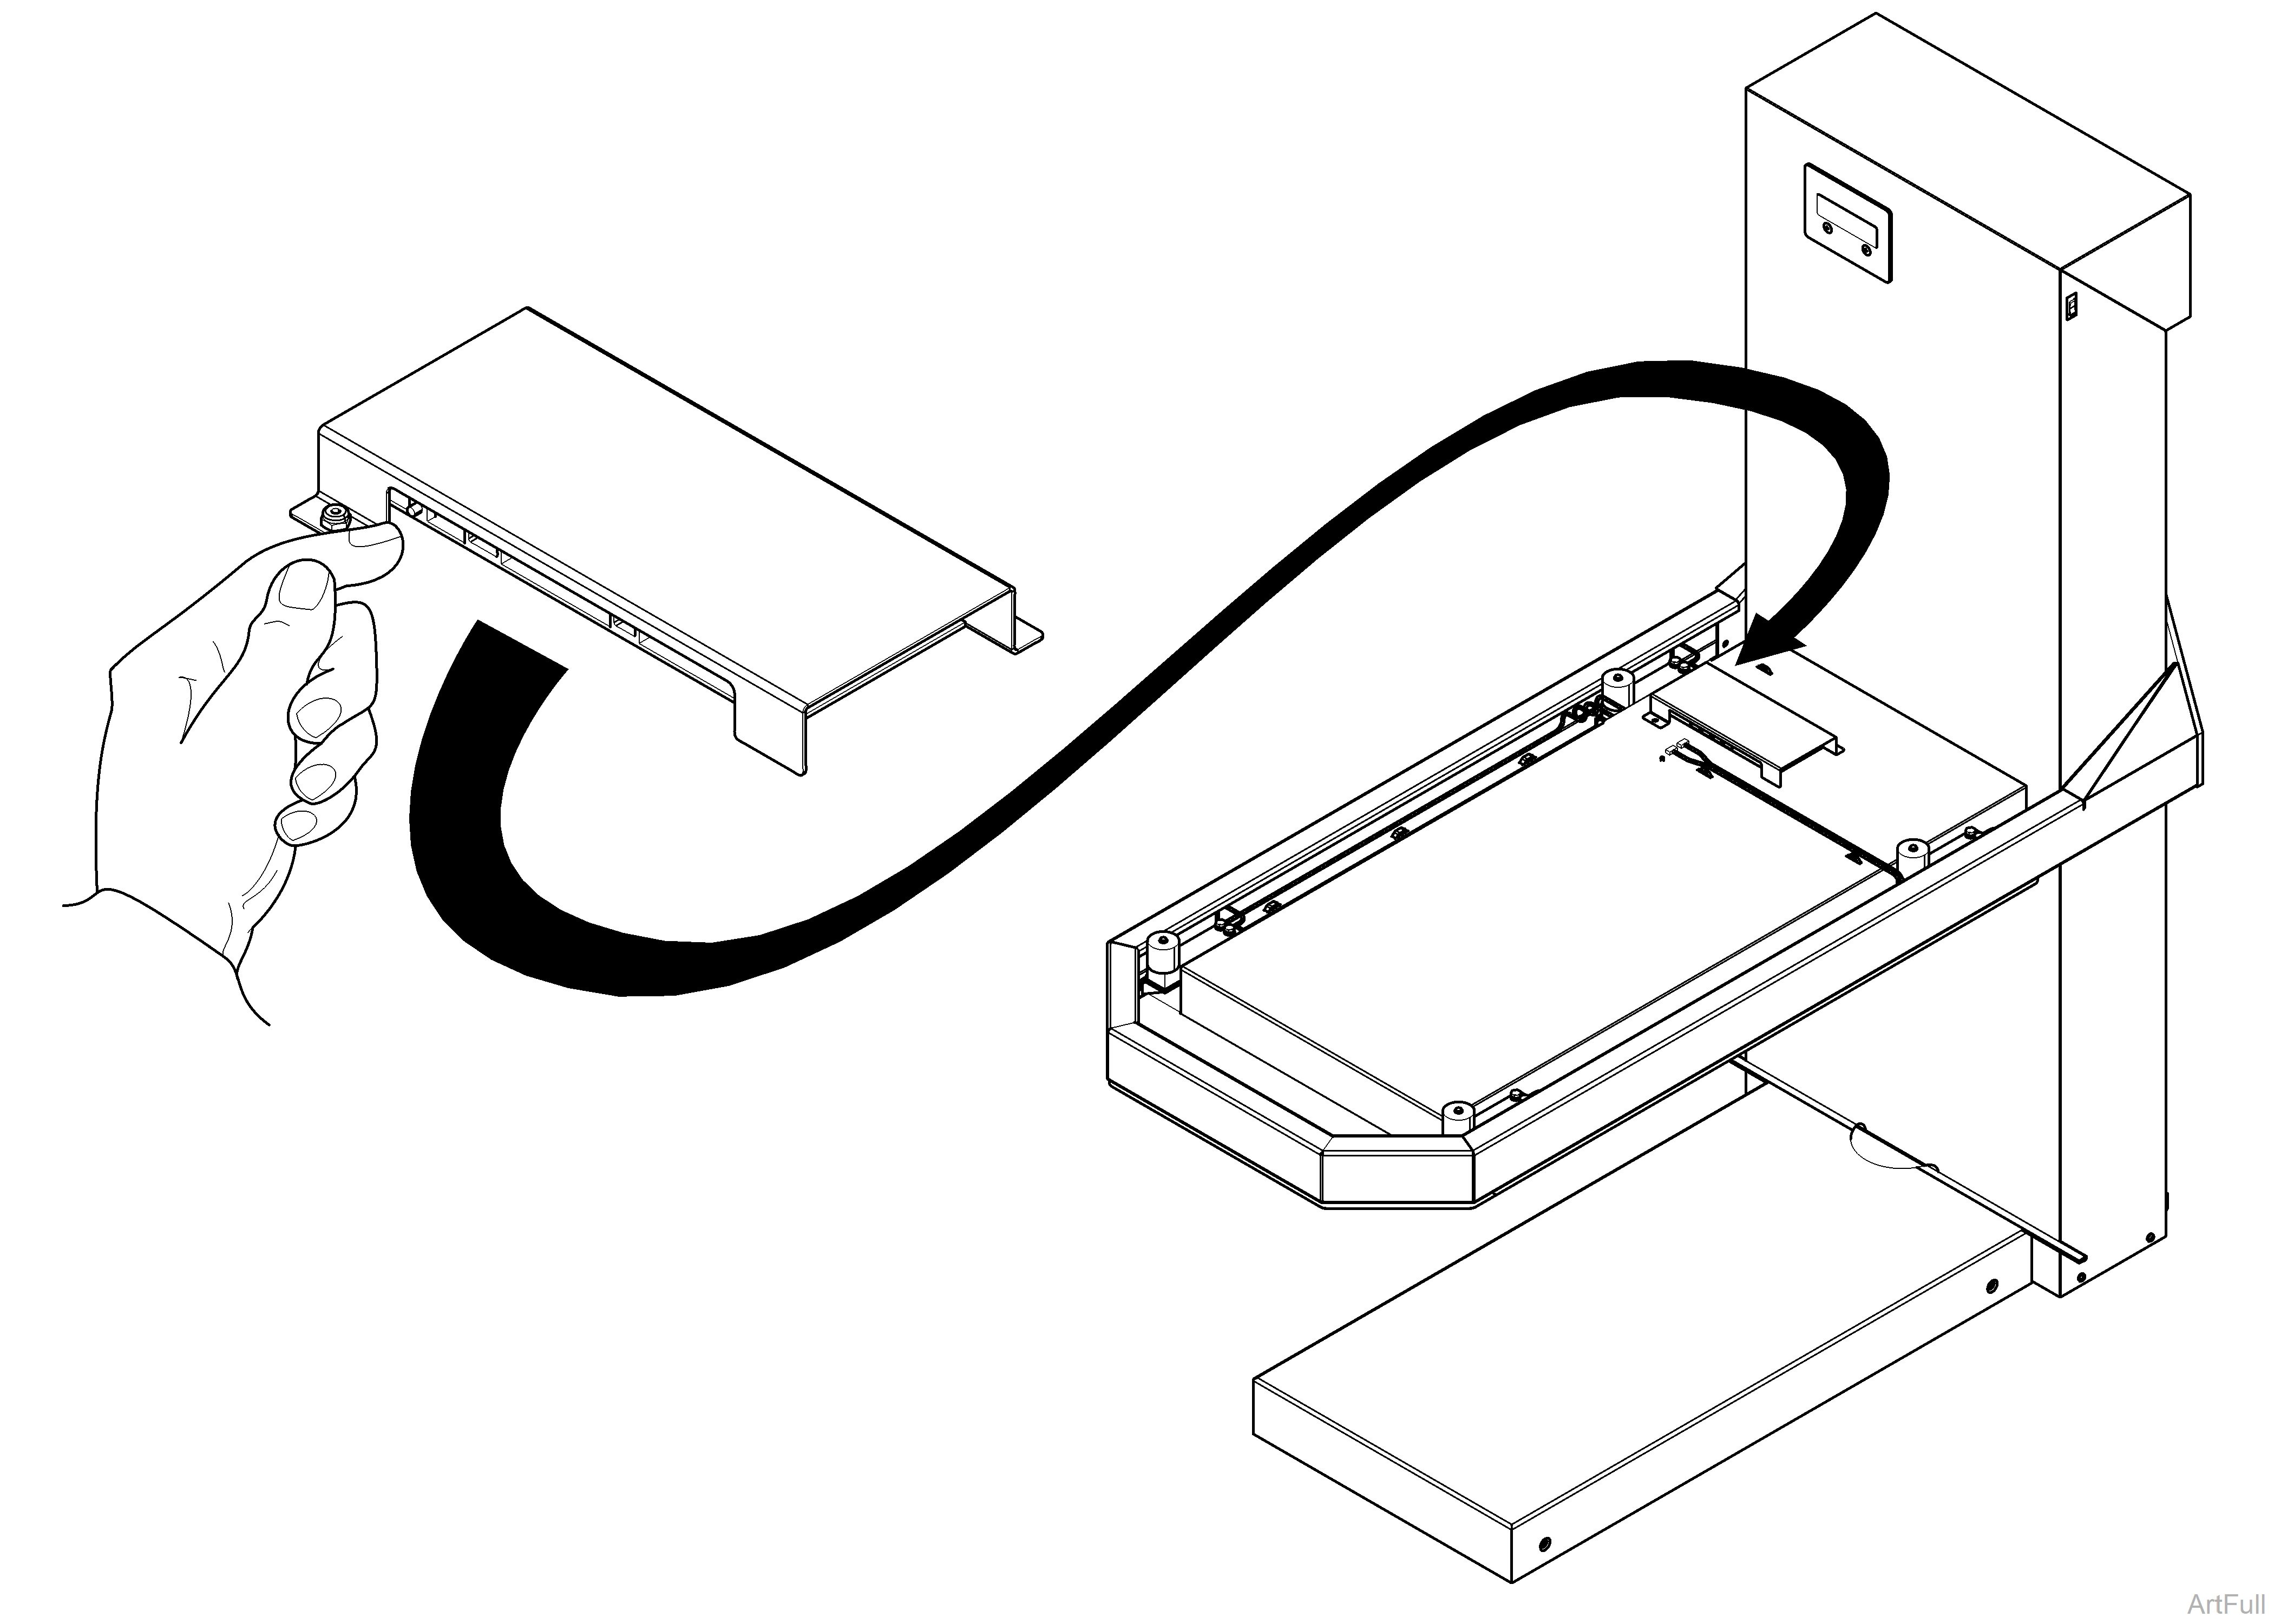
100 lb Weight is Required for Calibrating Scale. Selections shown in graphics are factory default settings.
1.Lift back left corner of table top to access calibration button on the PC board.
2.Press the "CAL" button on the PC board and lower table top back in to position.
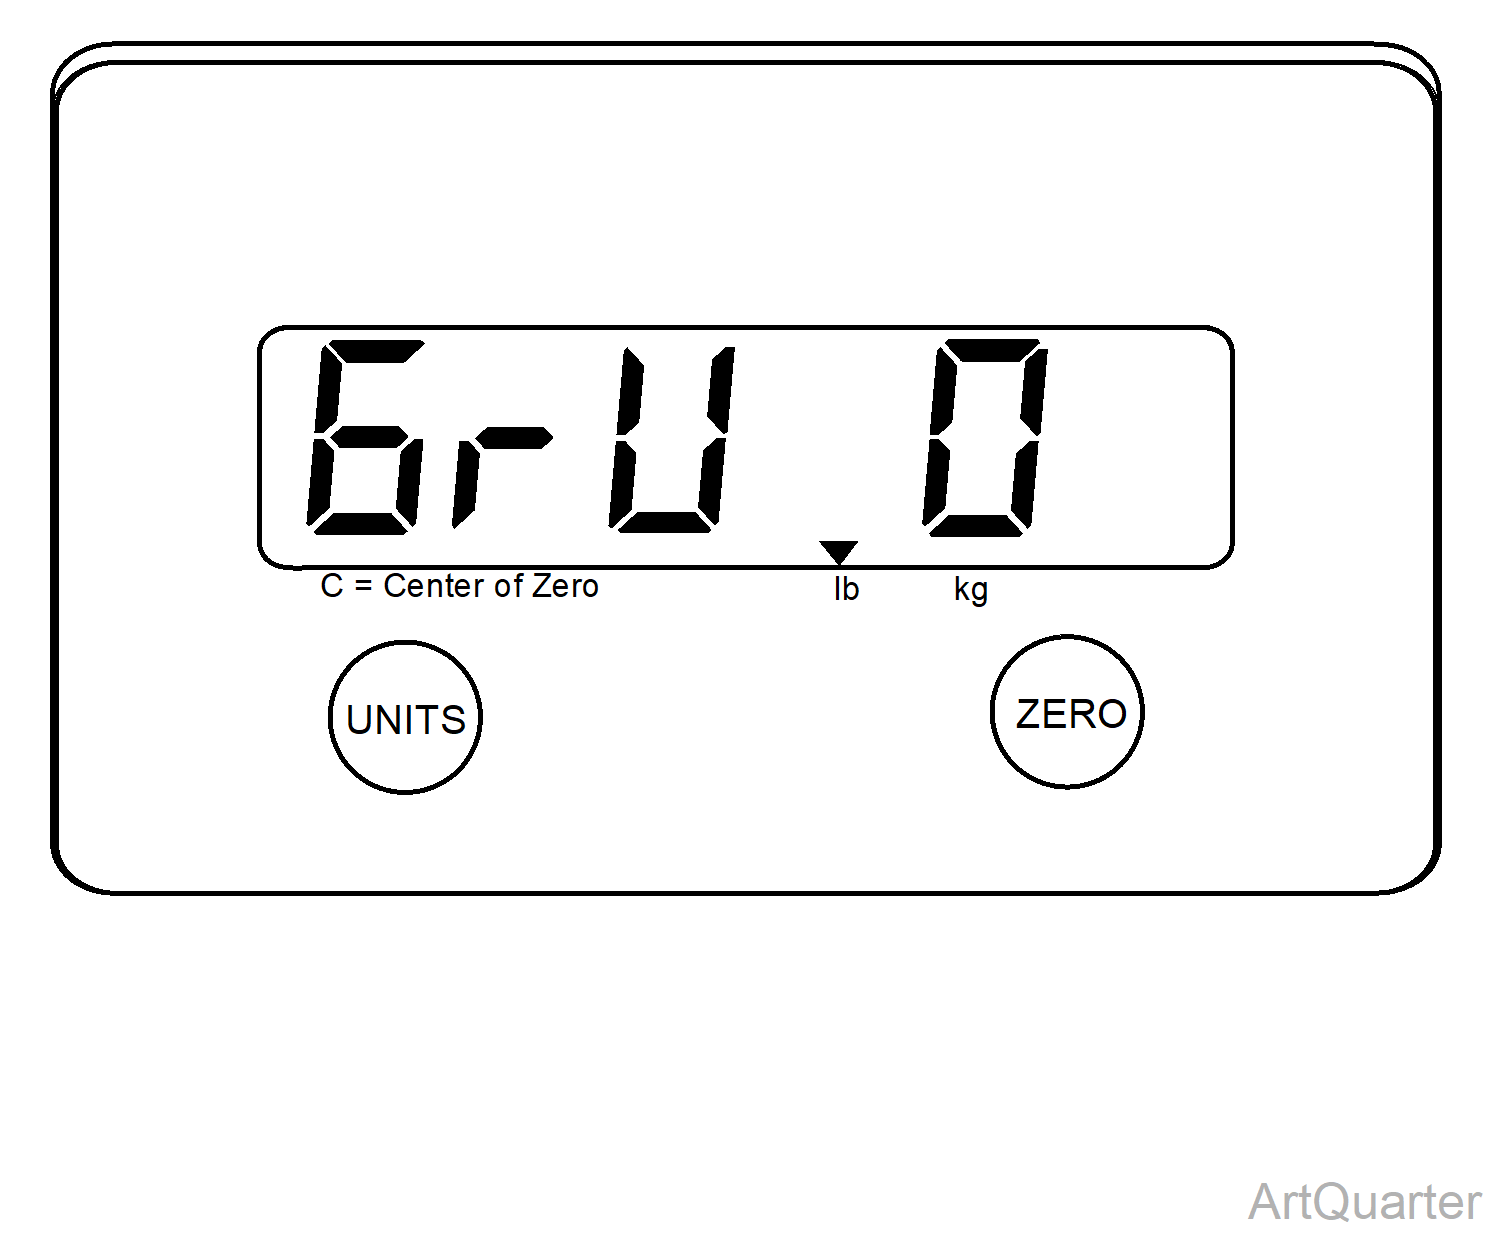
3.GrU 0 preset displays. Lock in selection by pressing Zero to accept.
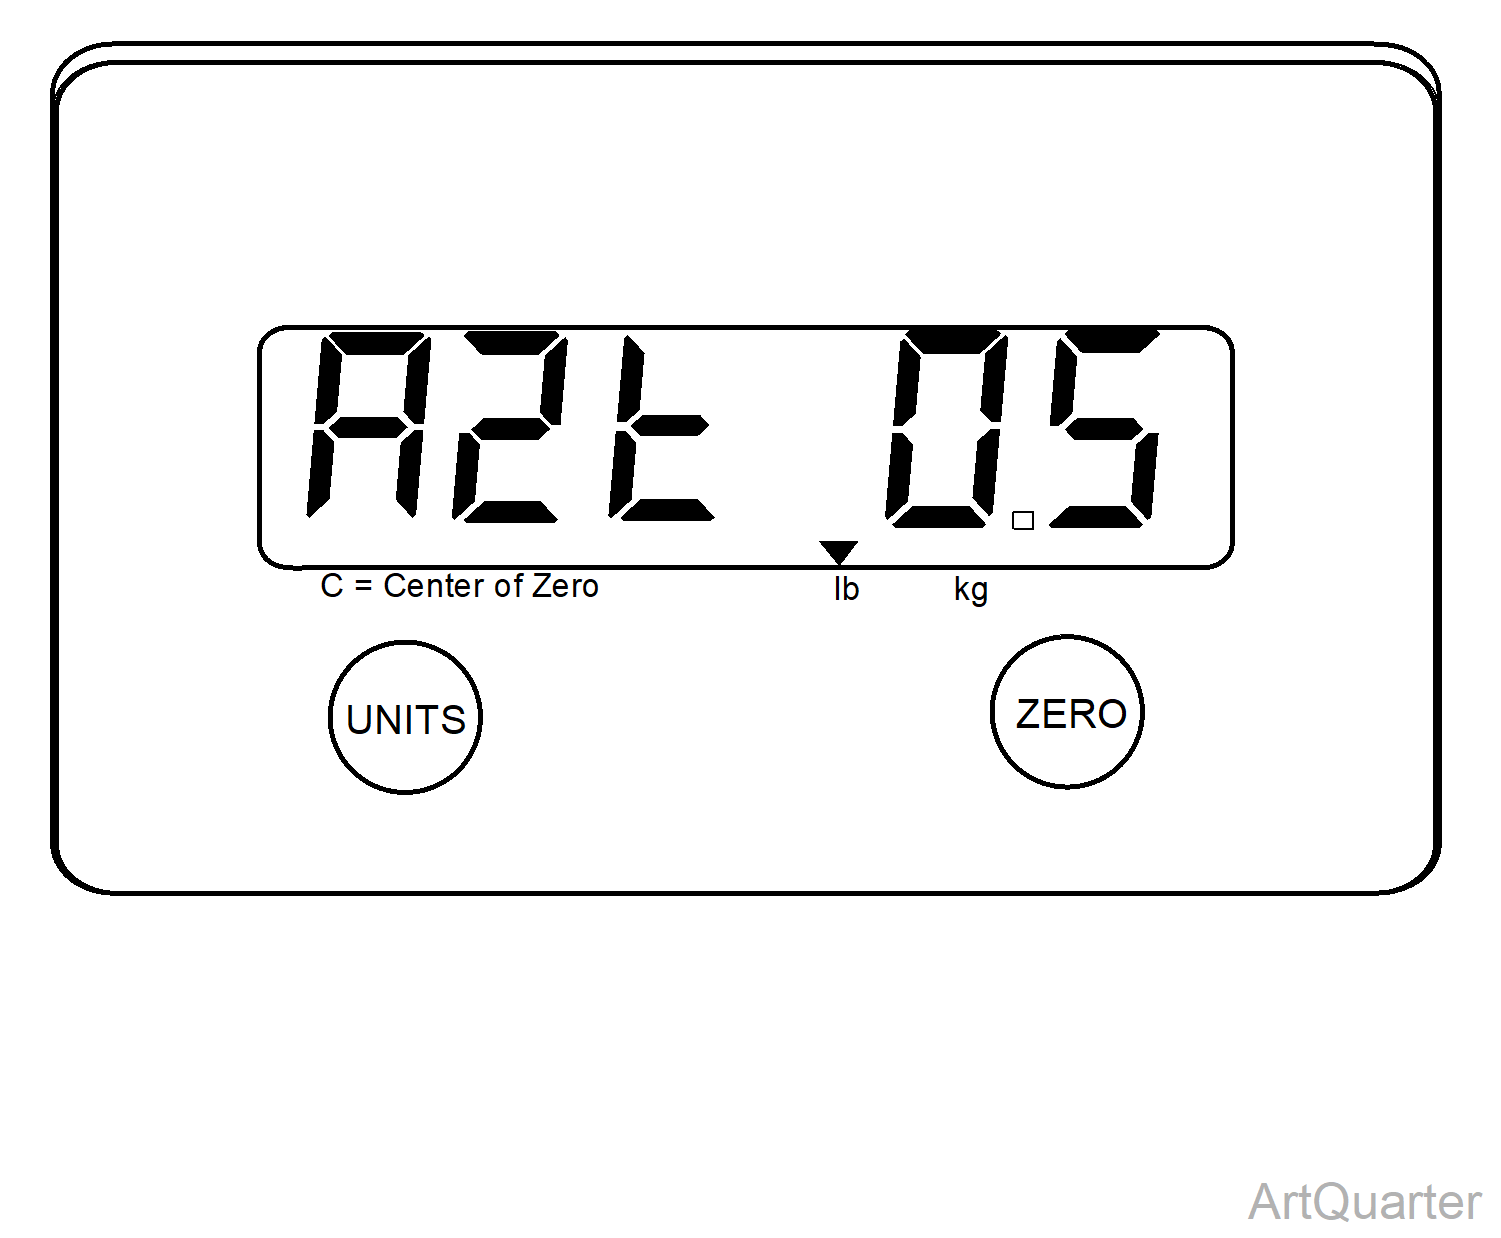
4.AZT 0.5 preset displays. Lock in selection by pressing Zero to accept.

5.Select USA (100%) or toggle to CAN (2% zero range) by pressing Unit button. Lock in selection by pressing Zero to accept.
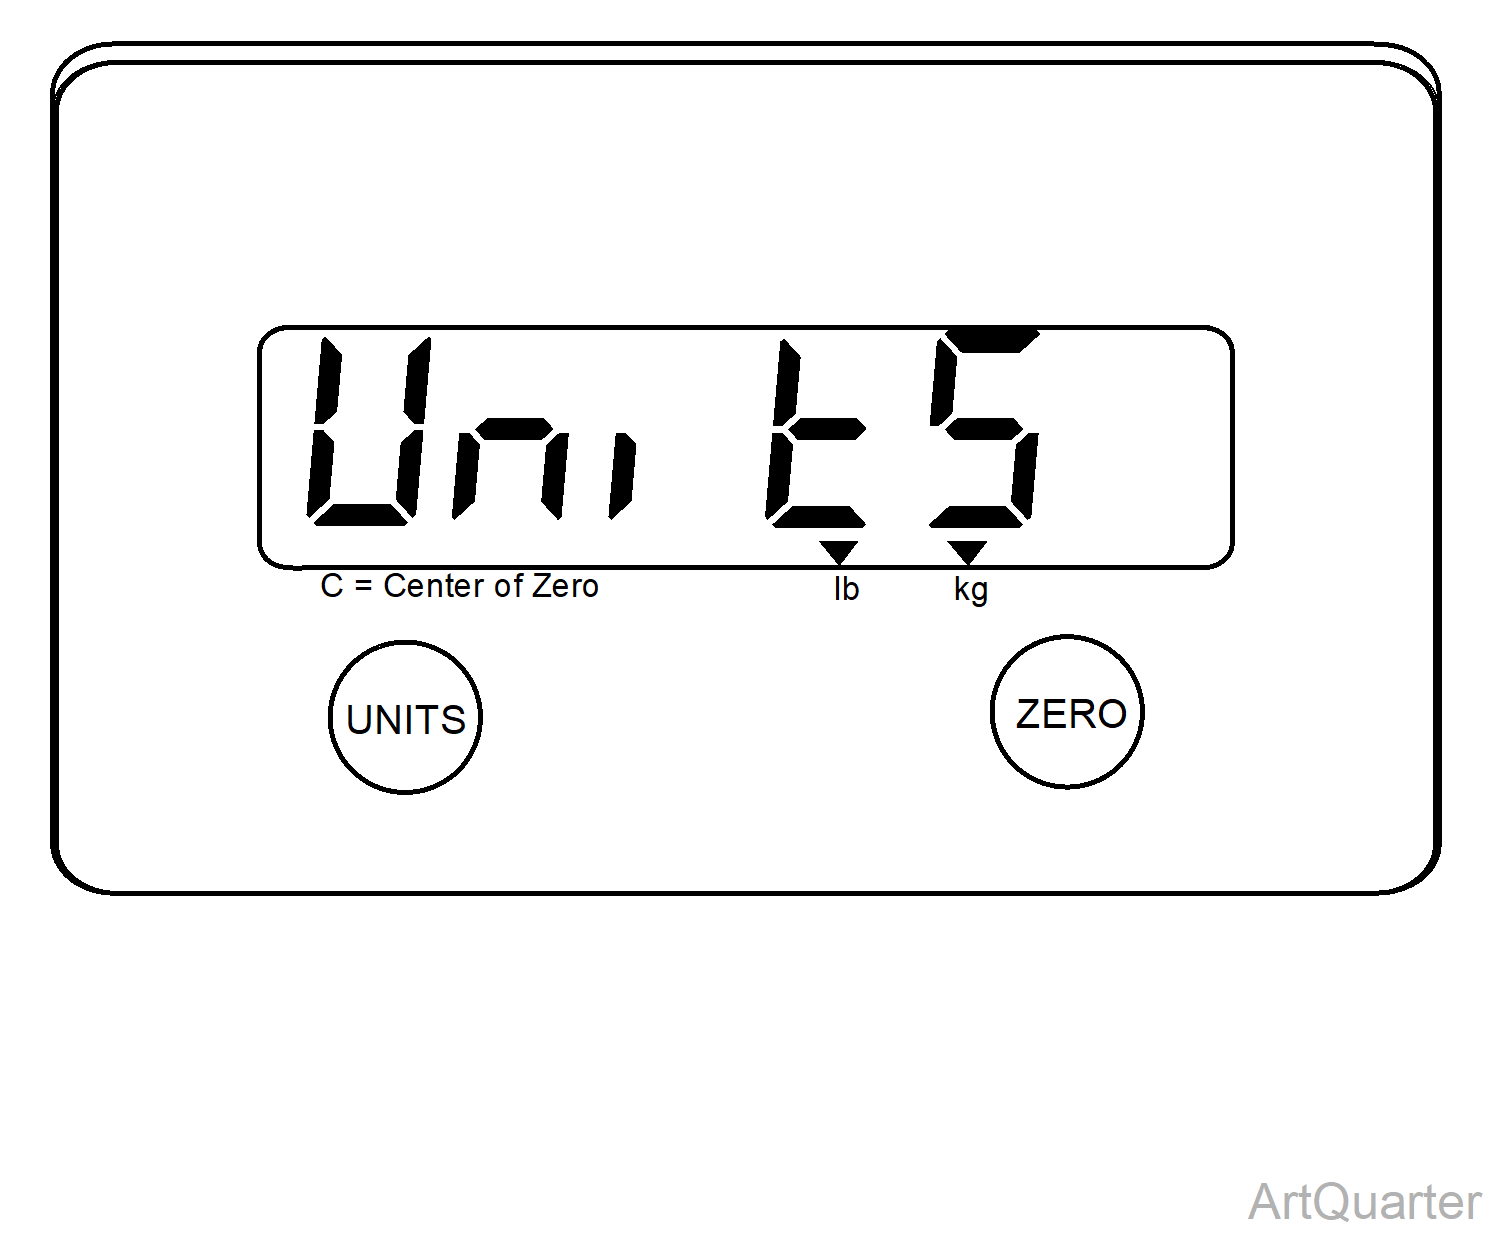
6.Units preset displays. Ensure arrows are above the pound and kilogram indicators. Lock in selection by pressing Zero to accept.
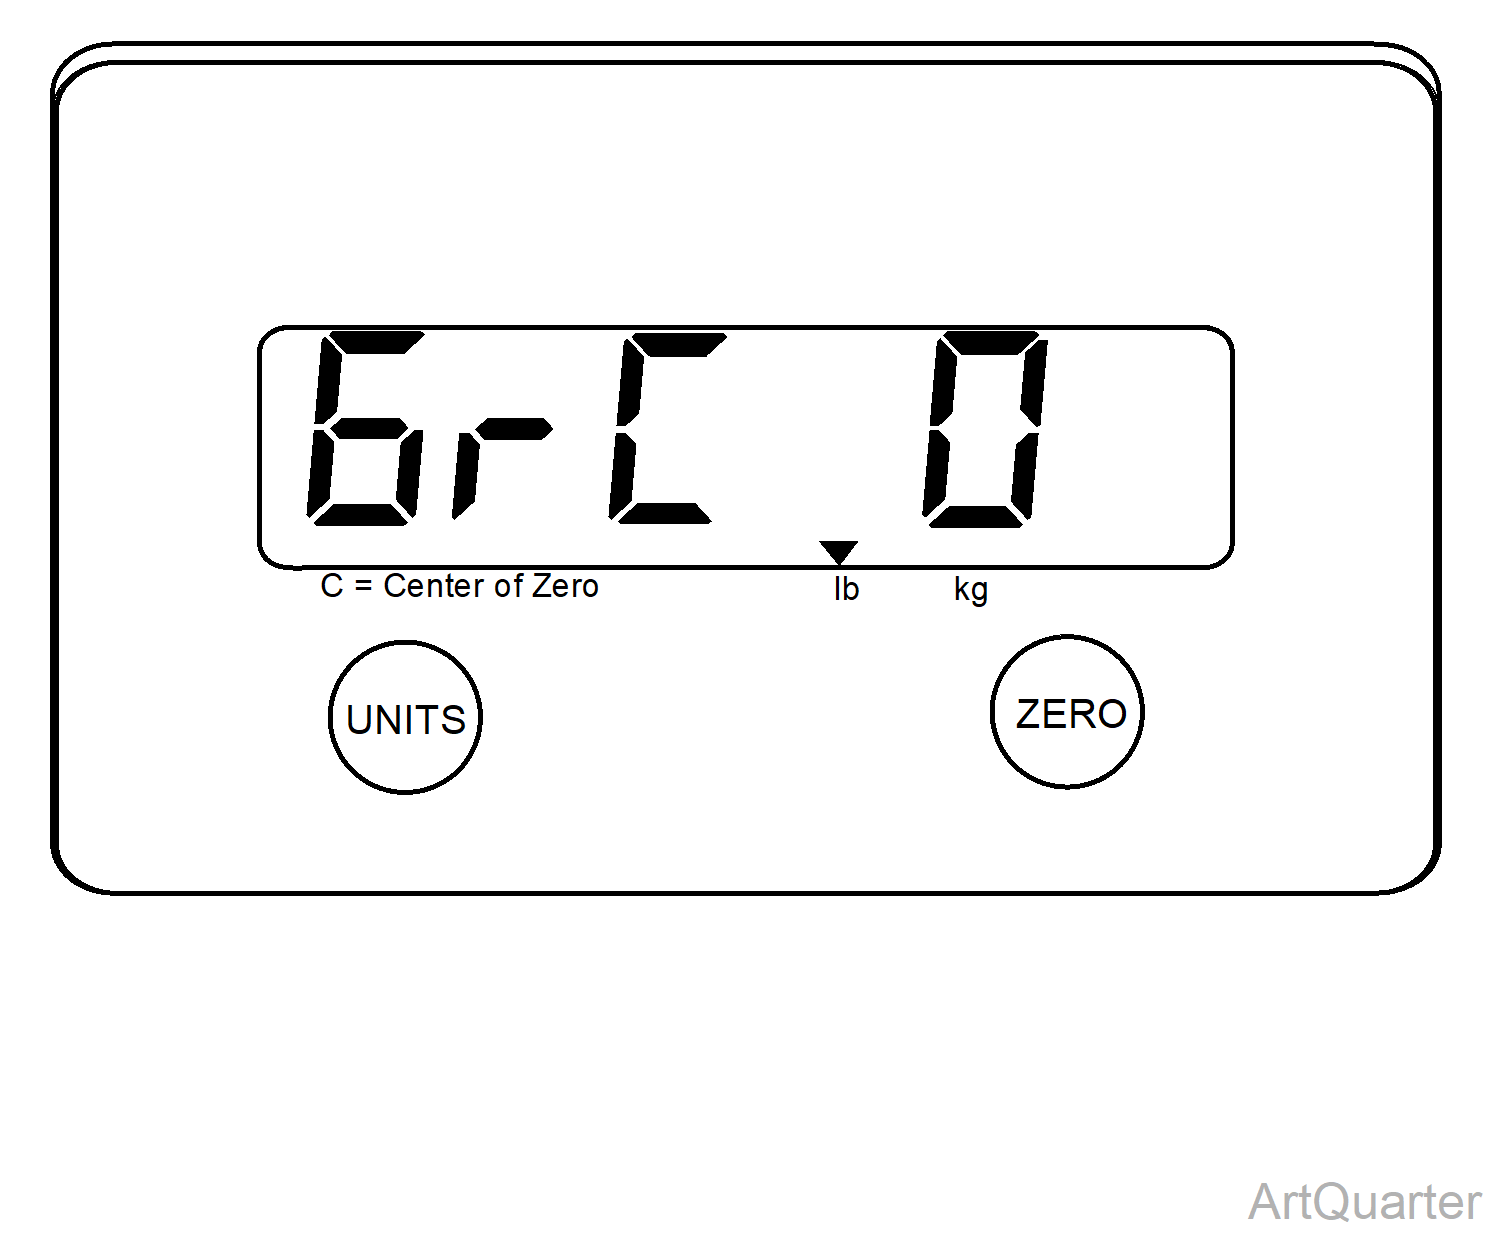
7.GrC 0 preset displays. Lock in selection by pressing Zero to accept.
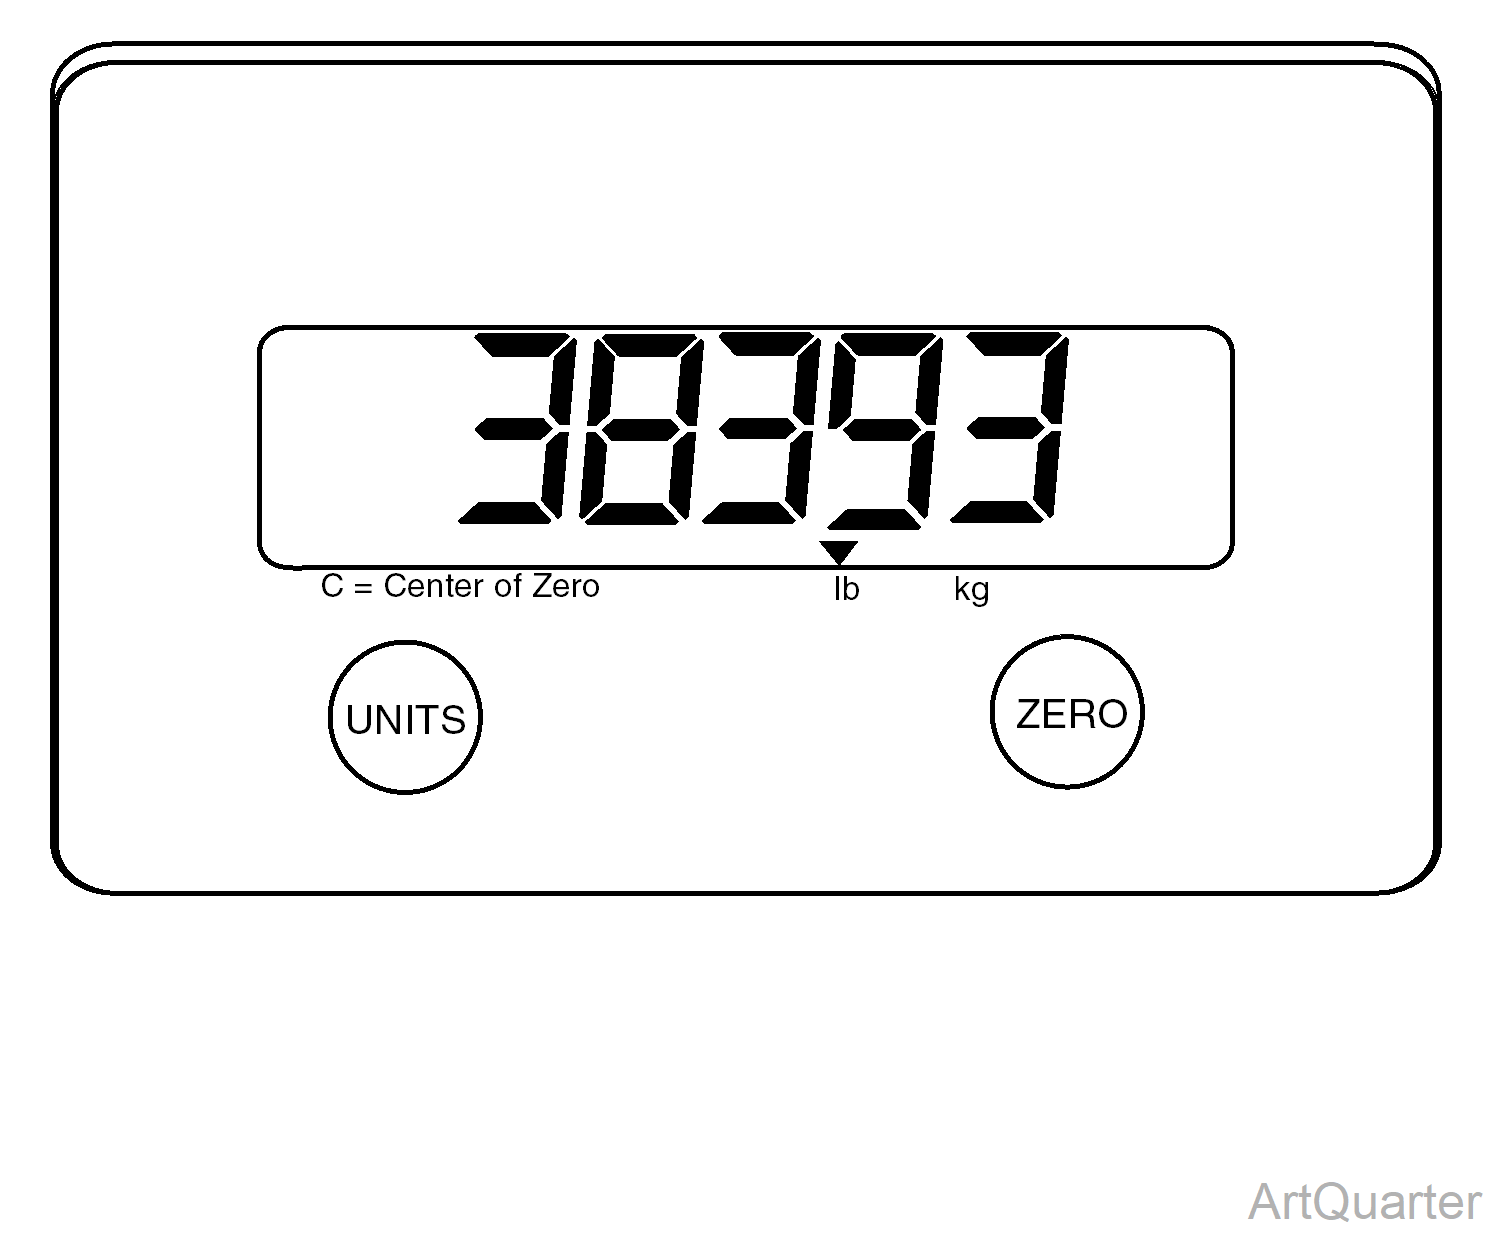
8.The board setting will display. Use the units button to toggle board setting selection to 38293. Lock in selection by pressing Zero to accept.
9.The system bounce will display. Press Zero to zero the bounce. Ensure bounce remains between -2 and 2. Press units to continue.
If bounce is outside of specified range, wait and then zero again. Check mounting of display and board if issue continues.
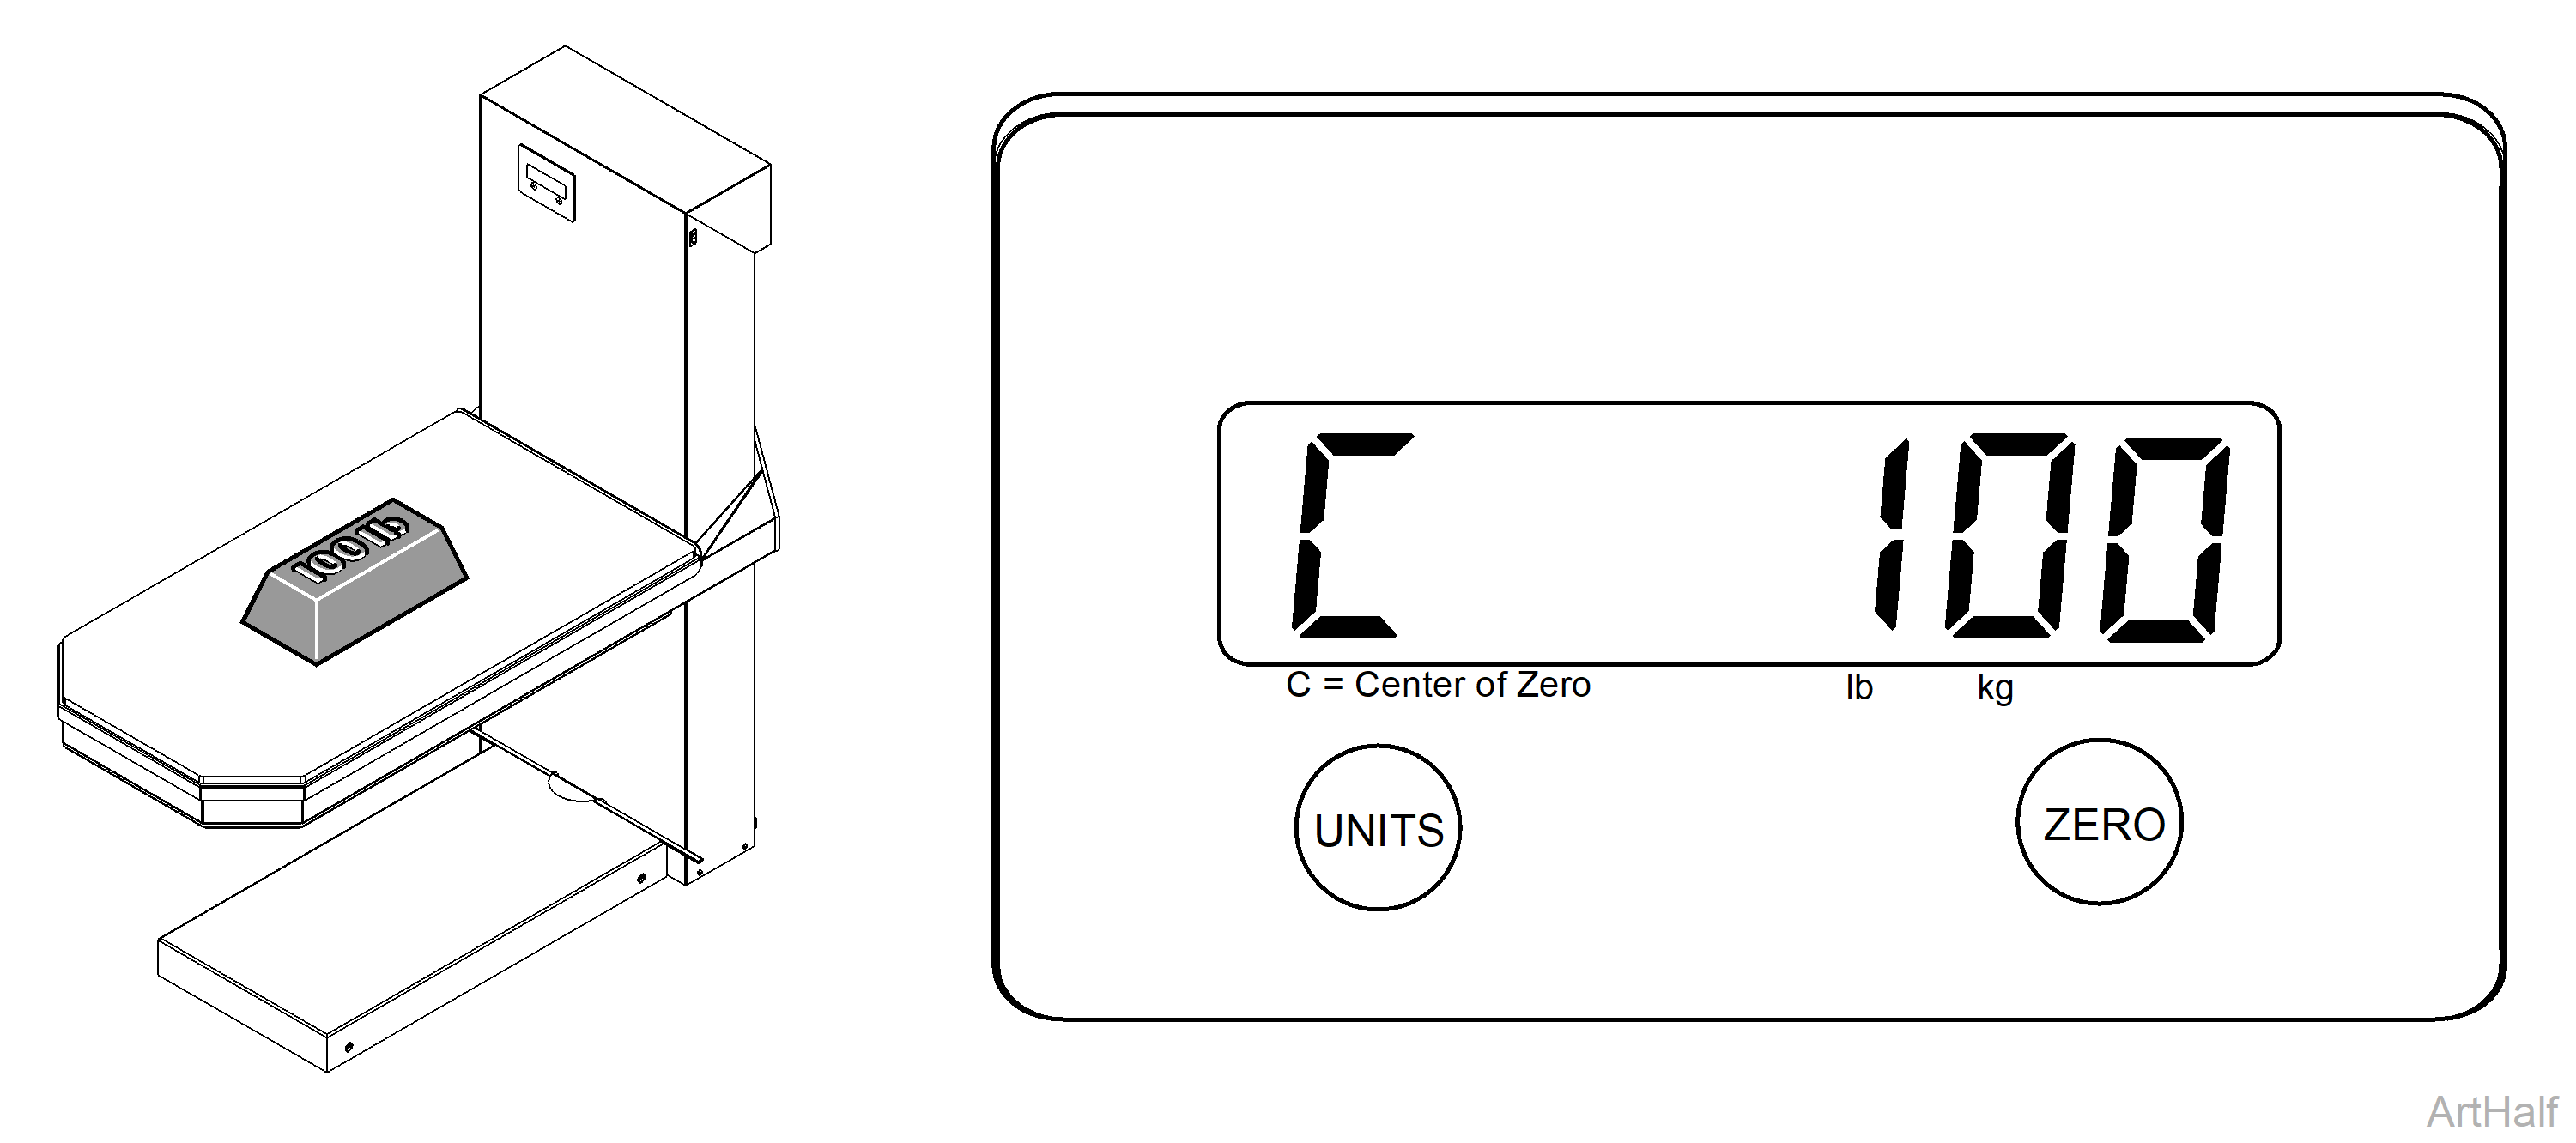
10.Press the UNIT button to toggle through calibration weights to 100.
11.Load 100 lb weight as evenly as possible. Press Zero to span the scale. Good displays.
12.Remove weight, calibration is completed.
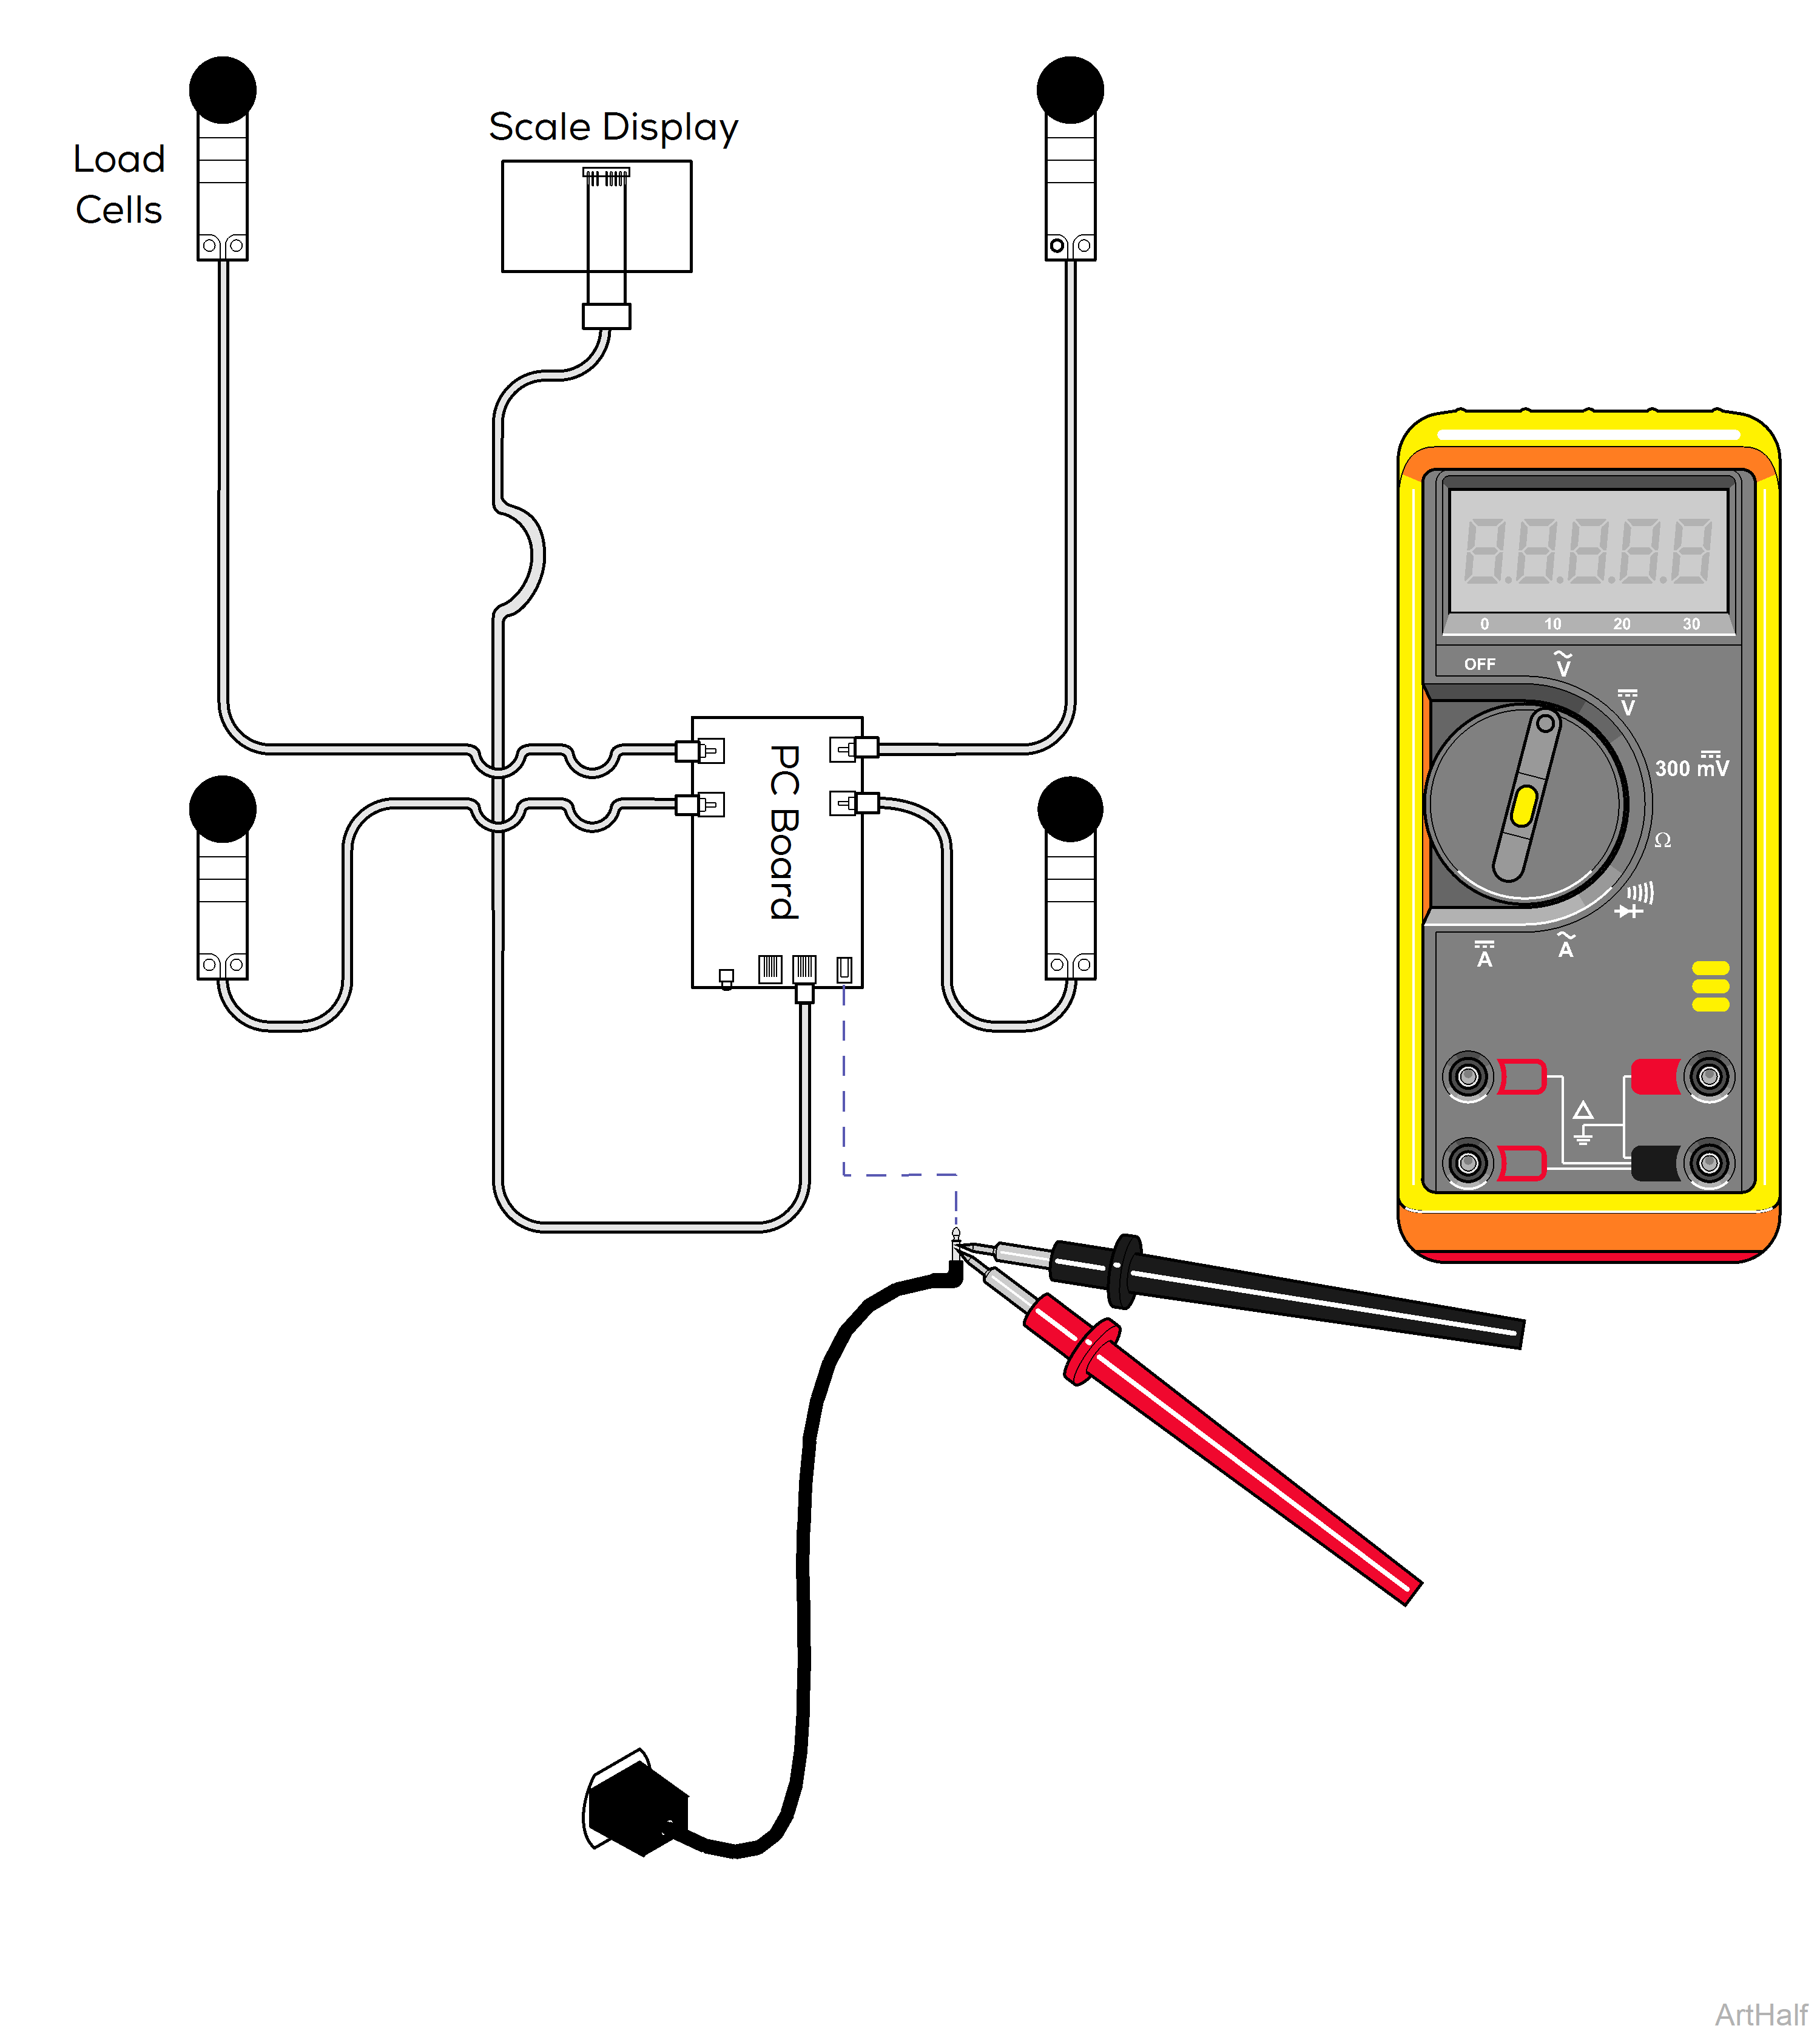
When testing components with power on use care to prevent electrical shock.
If replacing the transformer, verify the black wire with the faint white line is connected to the red wire.
1.Remove table top to access PC board for scale. Refer to:Table Top
2.Unplug transformer from PC board.
3.Check for 12VDC output on the end of transformer cable.
| Meter Reading | Status | Required Action |
|---|---|---|
| 12 VDC |

|
Transformer OK |
| < 12 VDC |

|
Replace Transformer |
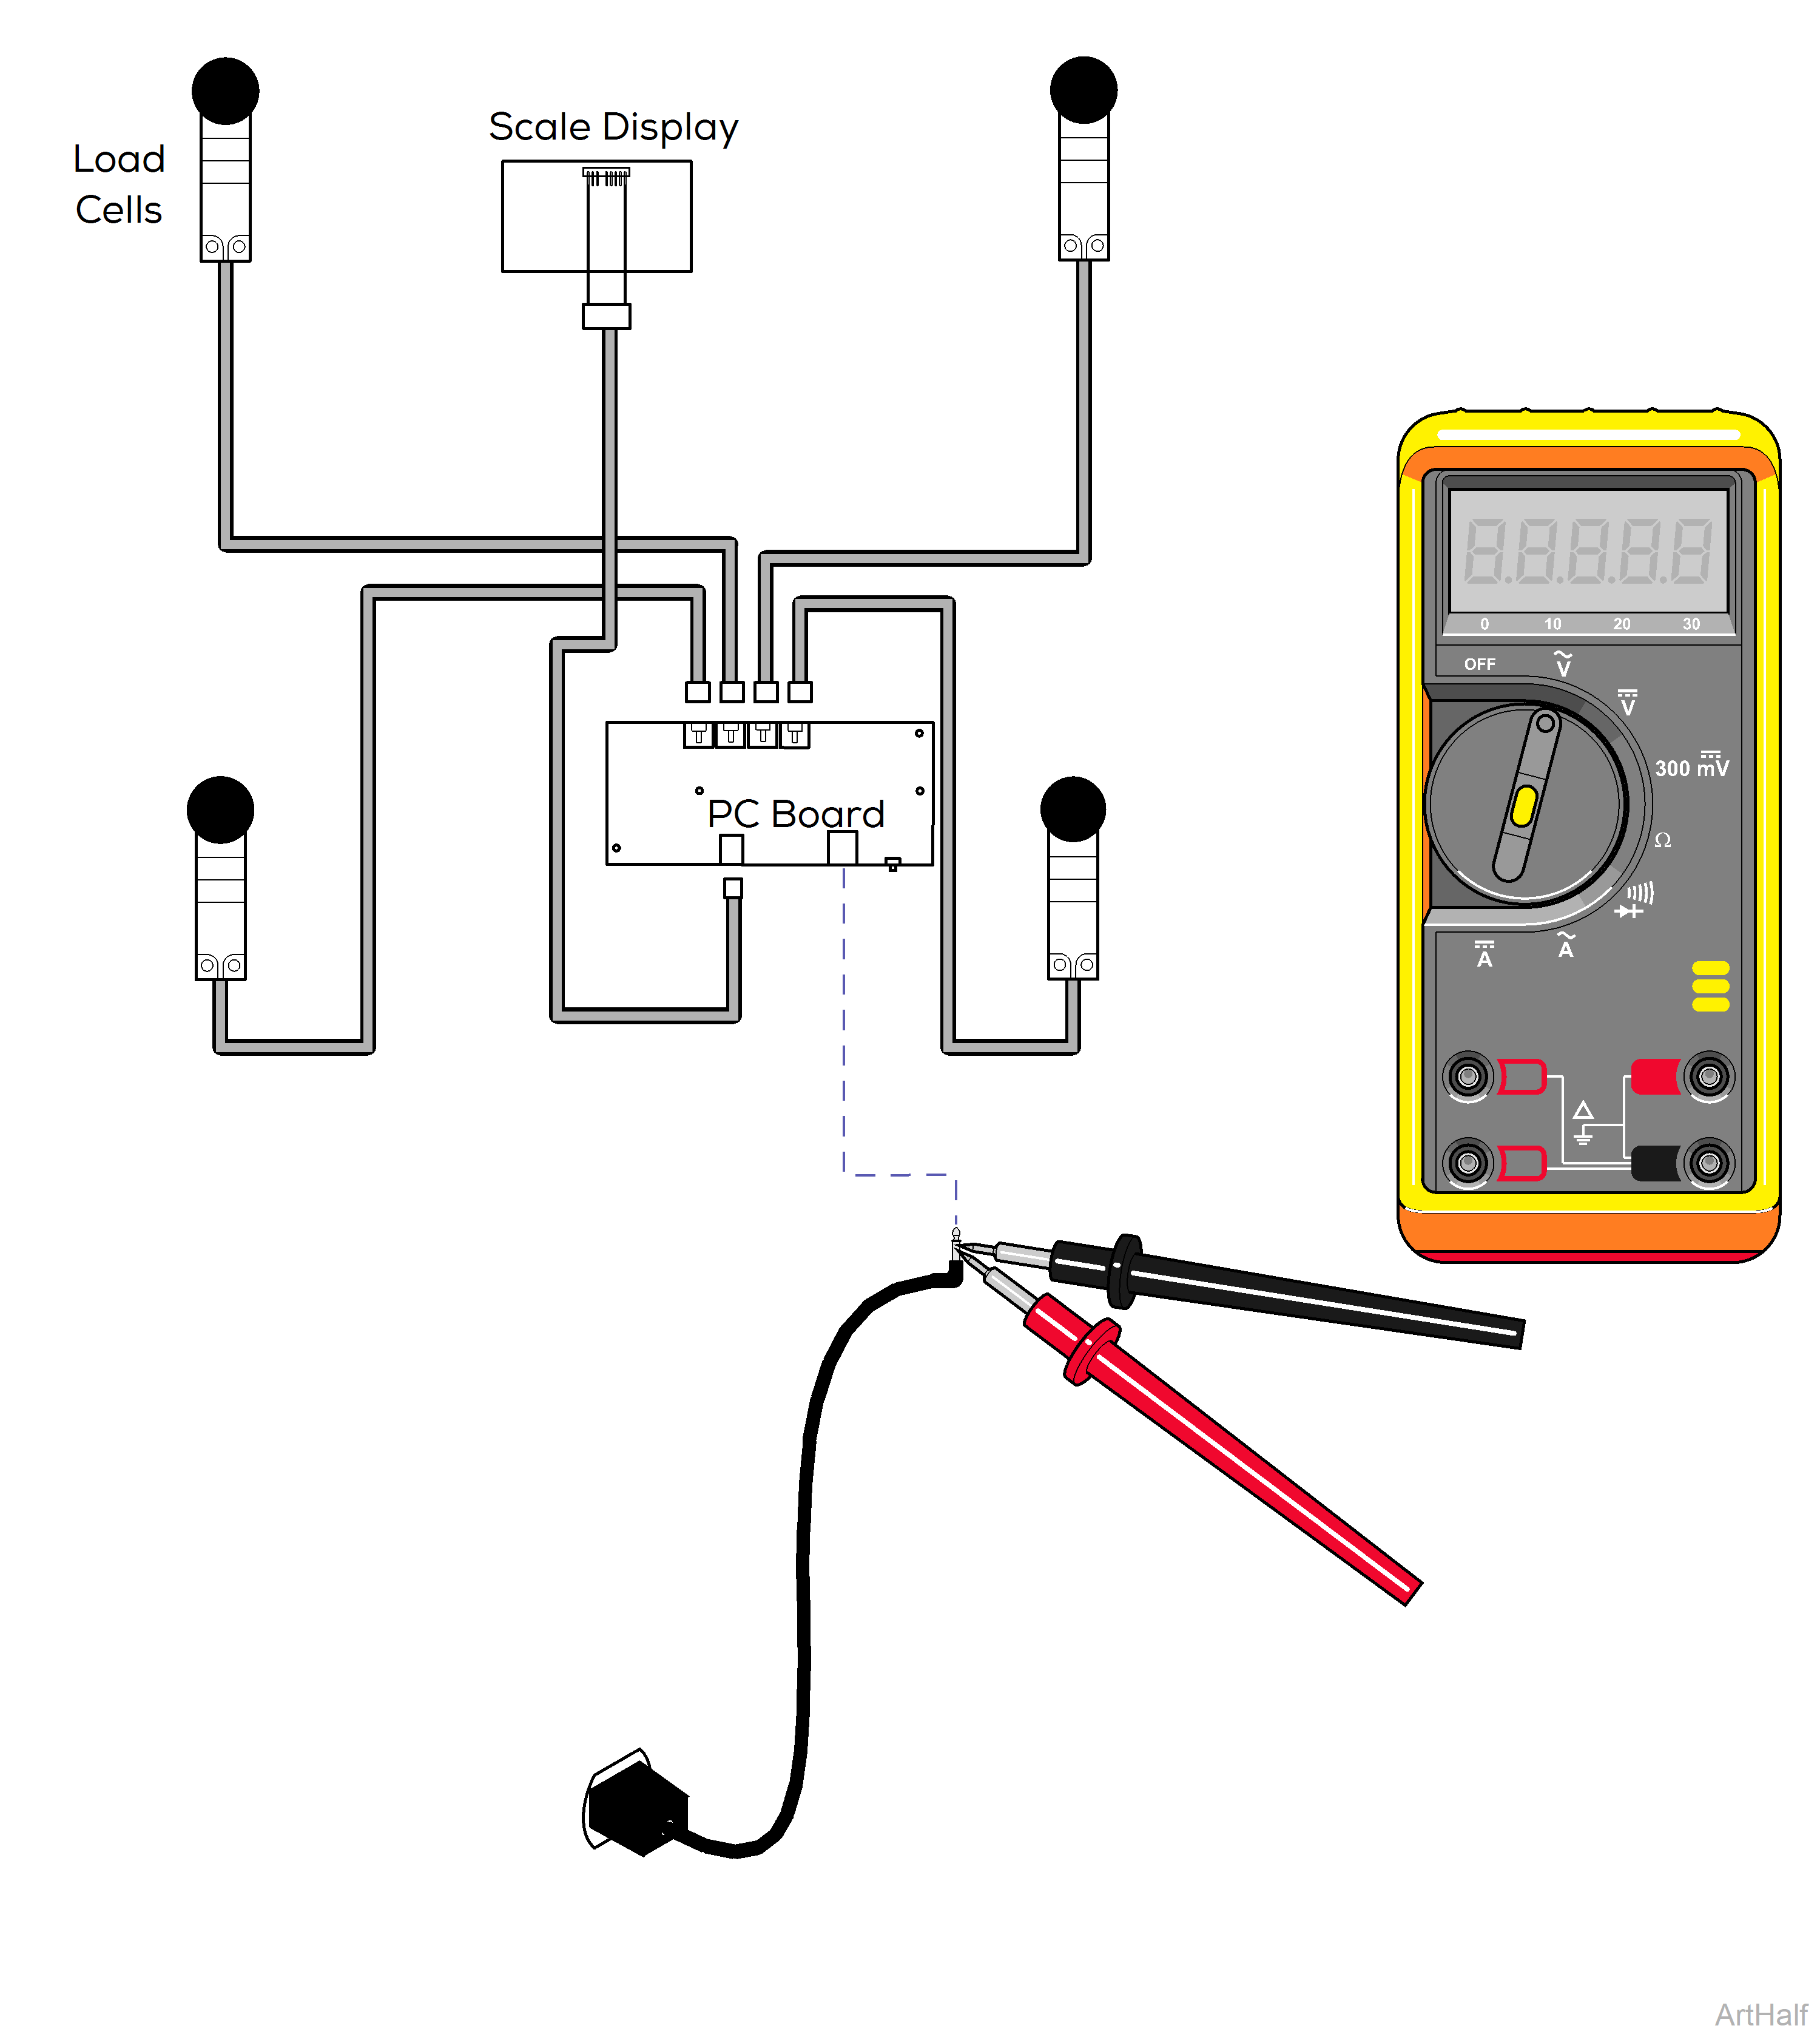
When testing components with power on use care to prevent electrical shock.
If replacing the transformer, verify the black wire with the faint white line is connected to the red wire.
1.Remove table top to access PC board for scale. Refer to:Table Top
2.Unplug transformer from PC board.
3.Check for 5 VDC output on the end of transformer cable.
| Meter Reading | Status | Required Action |
|---|---|---|
| 5 VDC |

|
Transformer OK |
| < 5 VDC |

|
Replace Transformer |
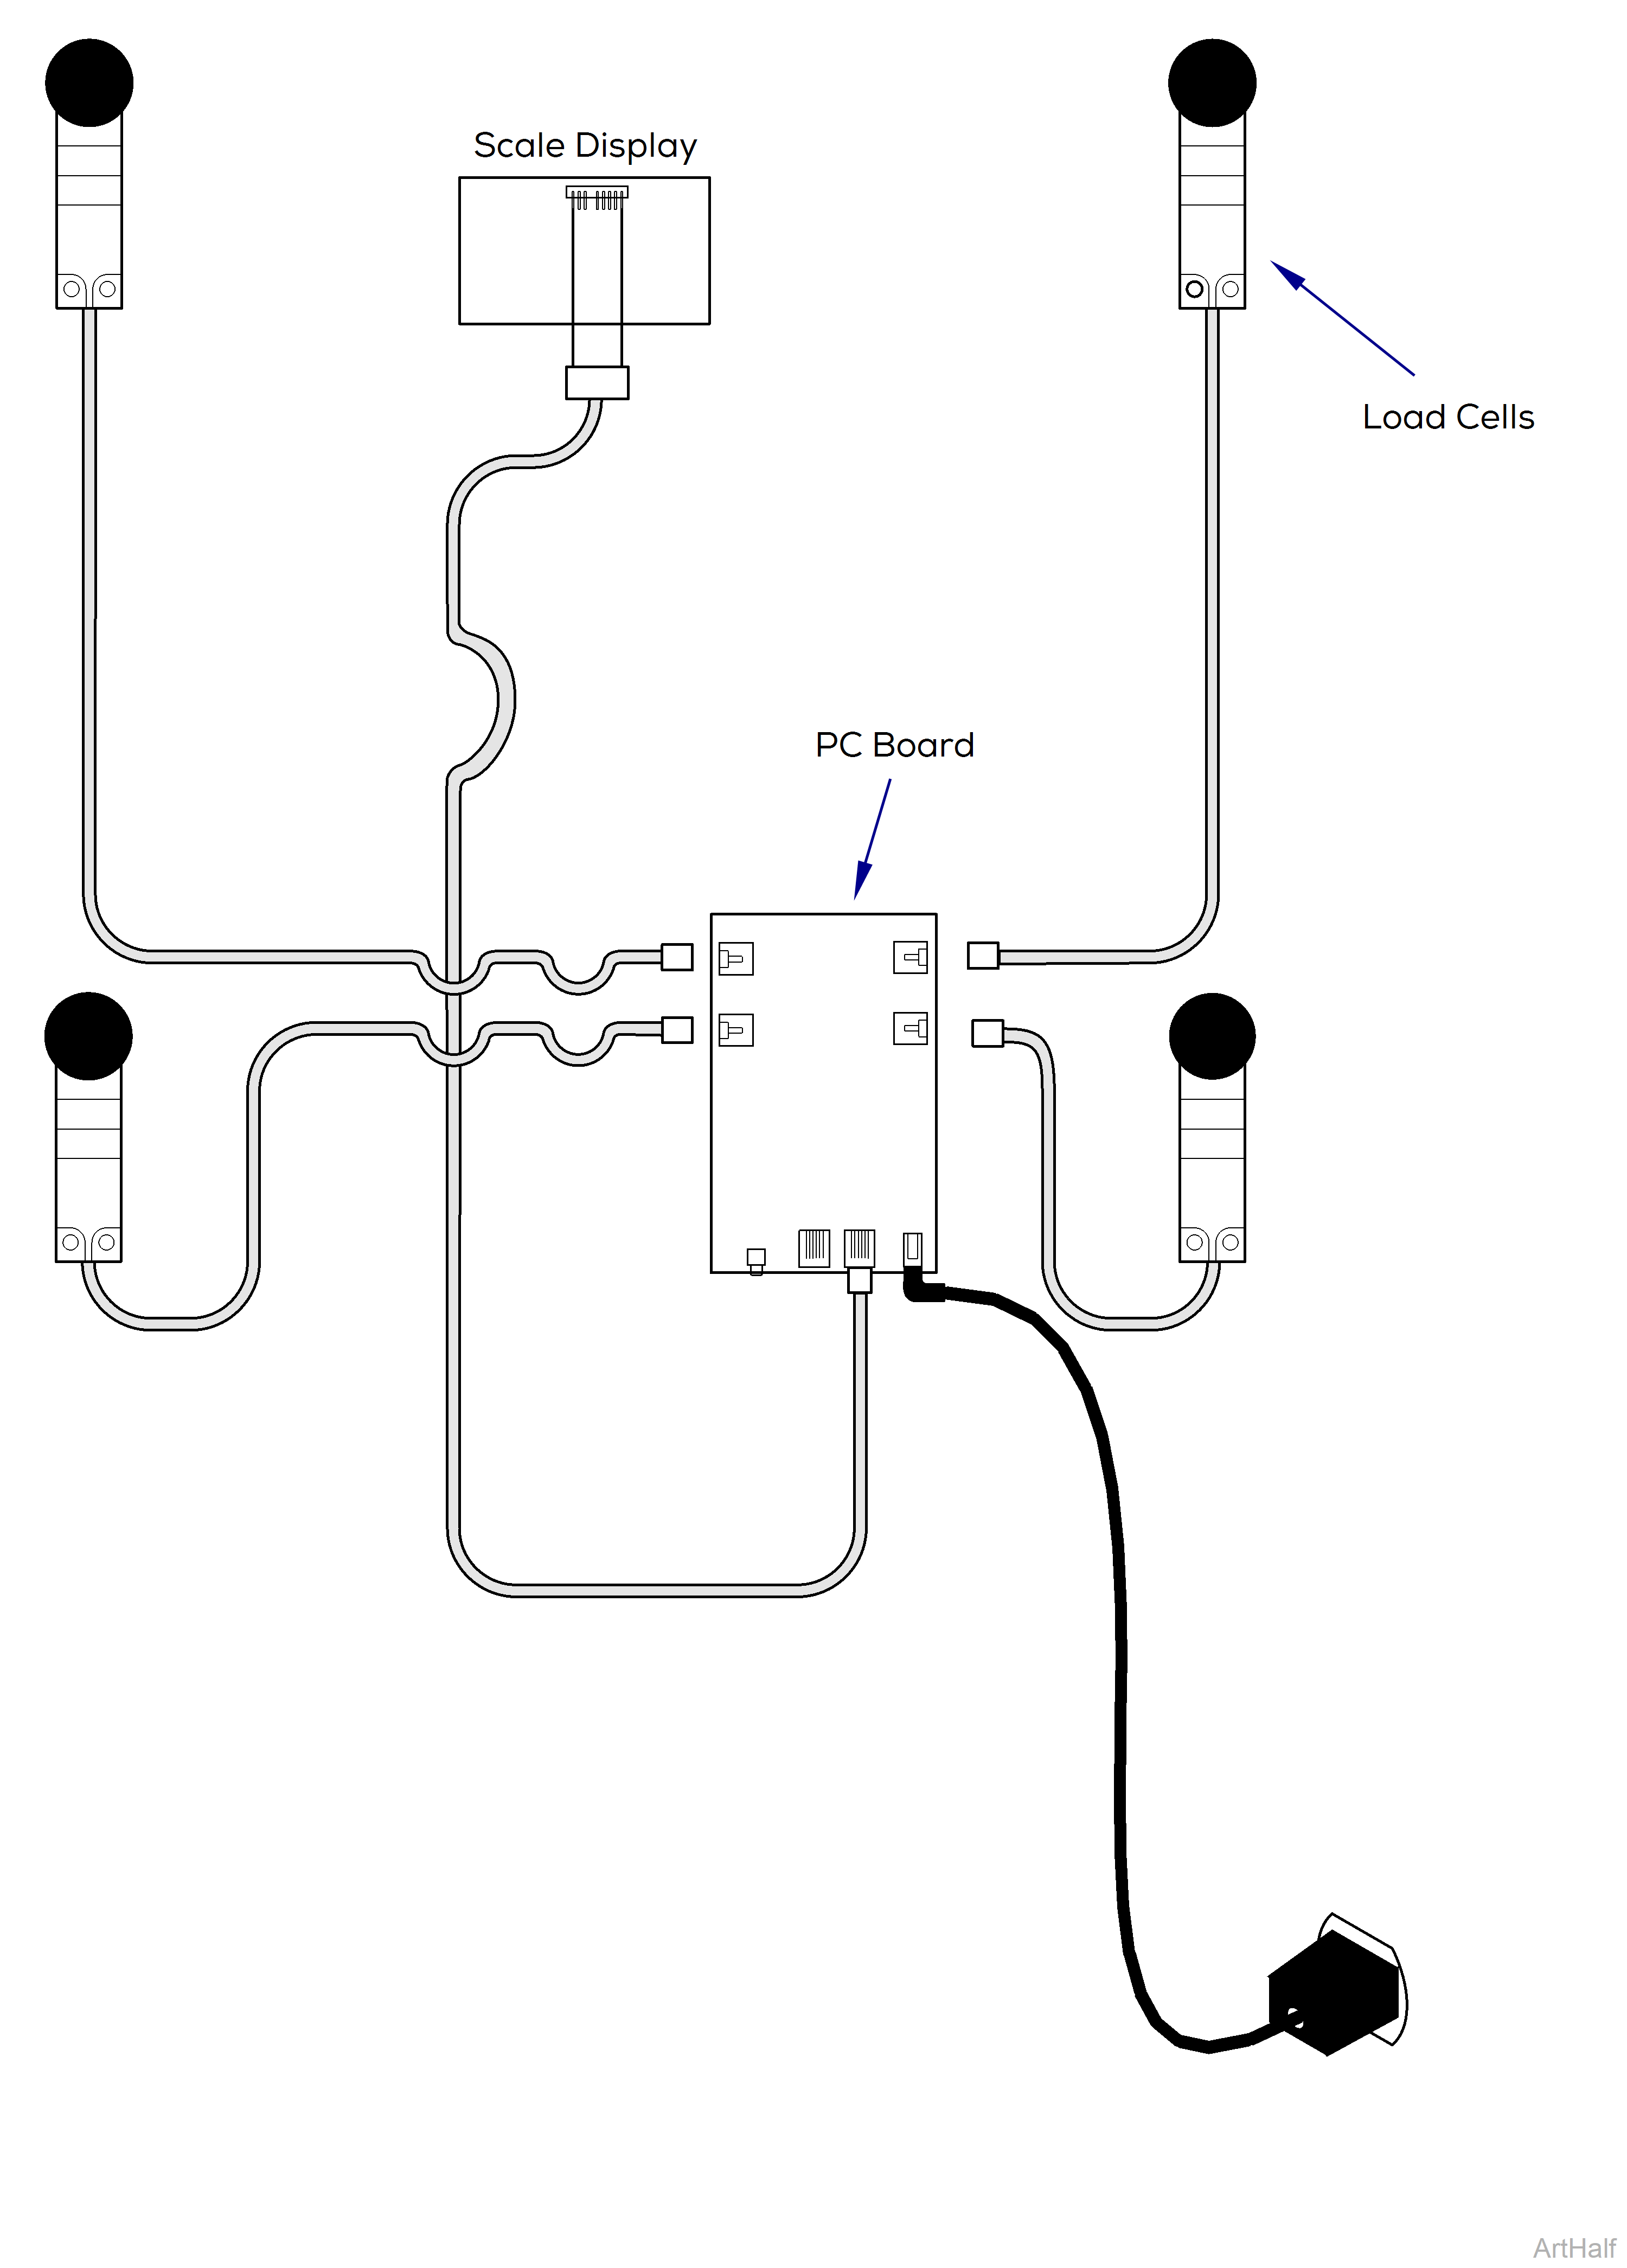
When testing components with power on use care to prevent electrical shock.
1.Remove table top to access load cells for scale. Refer to:Table Top
2.Unplug all four load cells at PC board.
Check each Load Cell.
3.Plug in one load cell and press on cell to load.
Verify each test shows up and down reading on display. If not, replace bad load cell. If all cells test ok, continue to next step.
4.Unplug one load cell at a time and calibrate with other three load cells connected. When the defective cell is removed, the unit will calibrate and weigh correctly.
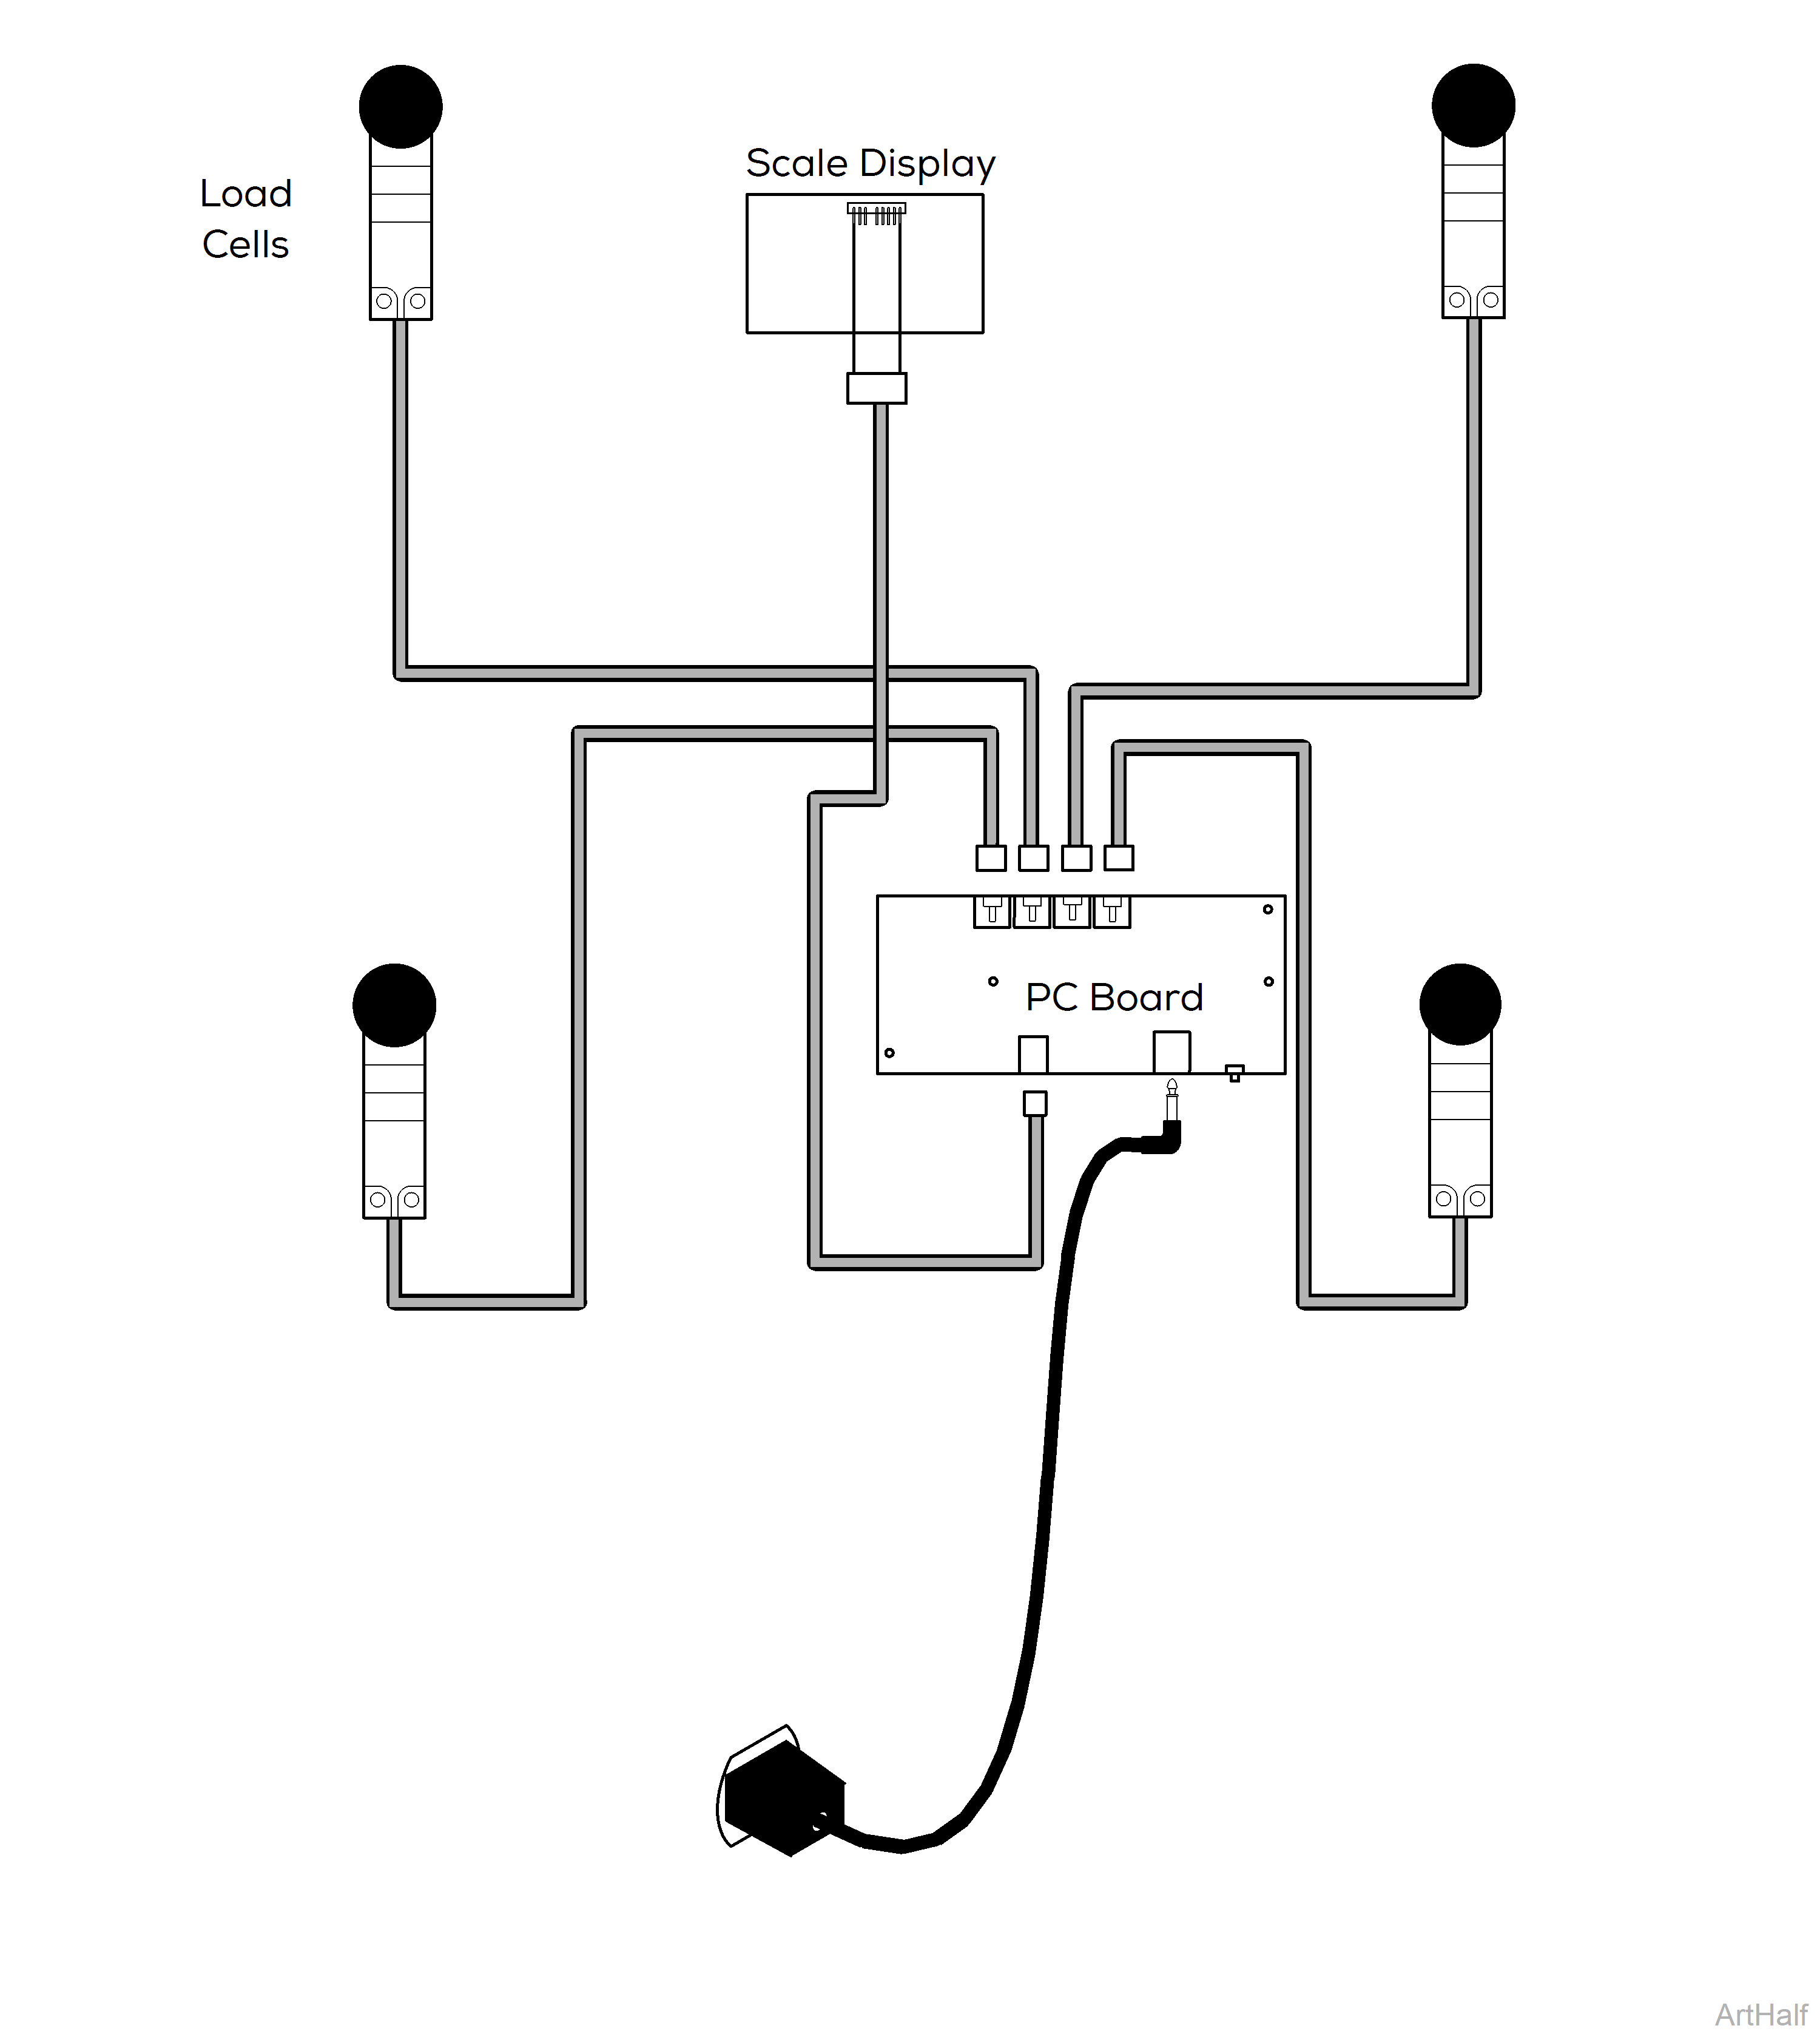
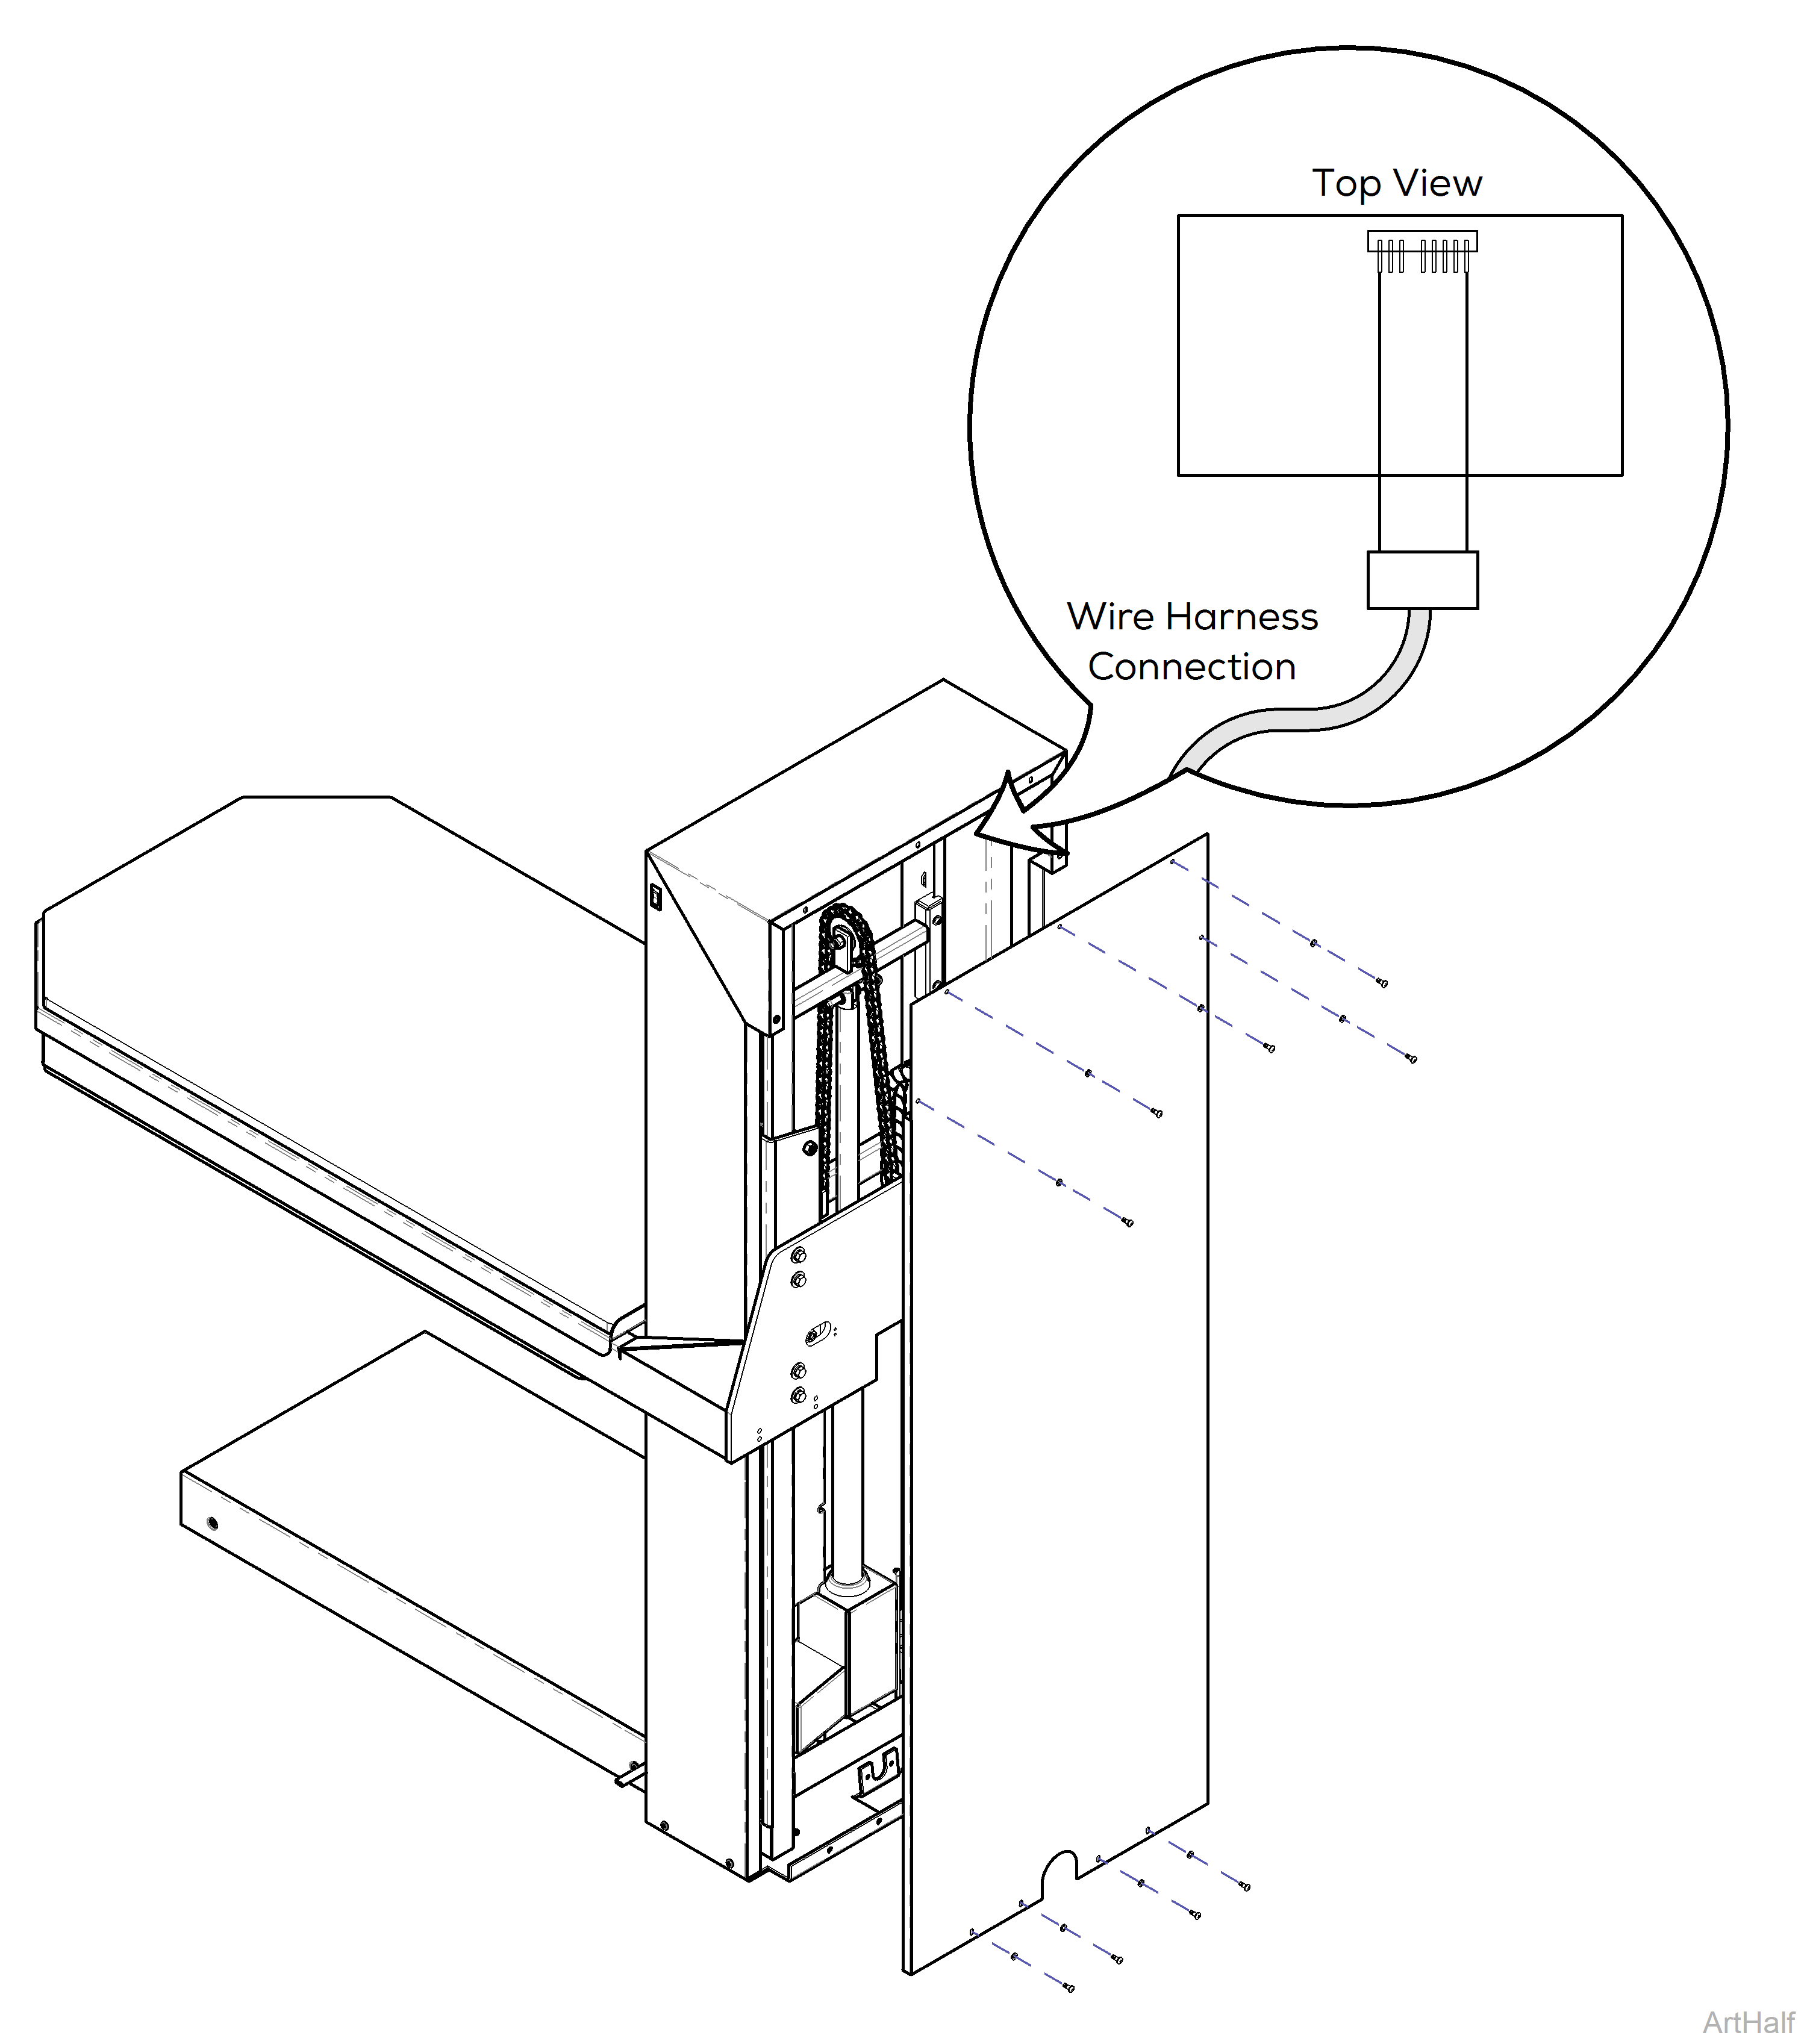
1.Unplug table from wall outlet.
2.Remove back panel from column. Refer to: Back Panel
3.Locate back of scale display behind electrical box. Verify wire harness from PC board is connected.

